Welcome to Webgility Online! We're thrilled to have you onboard. Getting started is quick and straightforward — just follow the steps below to set up your account and get started.
1). Visit my.webgility.com and log in using your Webgility Online credentials.2). After logging in, you'll find a Get Started guide with three simple steps to complete your initial setup.
Connect Your eCommerce Channels
3). Begin with Step 1 - Connect Your eCommerce Channel and click Get Connected. A panel will slide in on the right, allowing you to select your sales channel. For this example, we’ll use Shopify.4). Next, you must enter one part of the URL for your Shopify sales channel's admin address. For example, if your admin URL is https://MyStore.myshopify.com, you will need to enter ‘MyStore’. You can pick your timezone based on your location. Once you’ve entered this information, click Next.
Make sure to disable the pop-up blocker in your web browser to complete the authorization process. Then, enter your Shopify credentials to grant Webgility Online permission to sync your data.
Note: If you need assistance setting up your sales channel connection, refer to these guides:
- Connect Webgility with Amazon
- Connect Webgility with BigCommerce
- Connect Webgility with eBay
- Connect Webgility with Etsy
- Connect Webgility with Shopify
- Connect Webgility with Magento
- Connect Webgility with ShippingEasy
- Connect Webgility with ShipStation
- Connect Webgility with Square
- Connect Webgility with Walmart
- Connect Webgility with Shift4Shop
Connect QuickBooks Online
6). Proceed to Step 2 - Connect Your QuickBooks, and click Get Connected. At this time, we exclusively support connections with QuickBooks Online.
Post an order and review
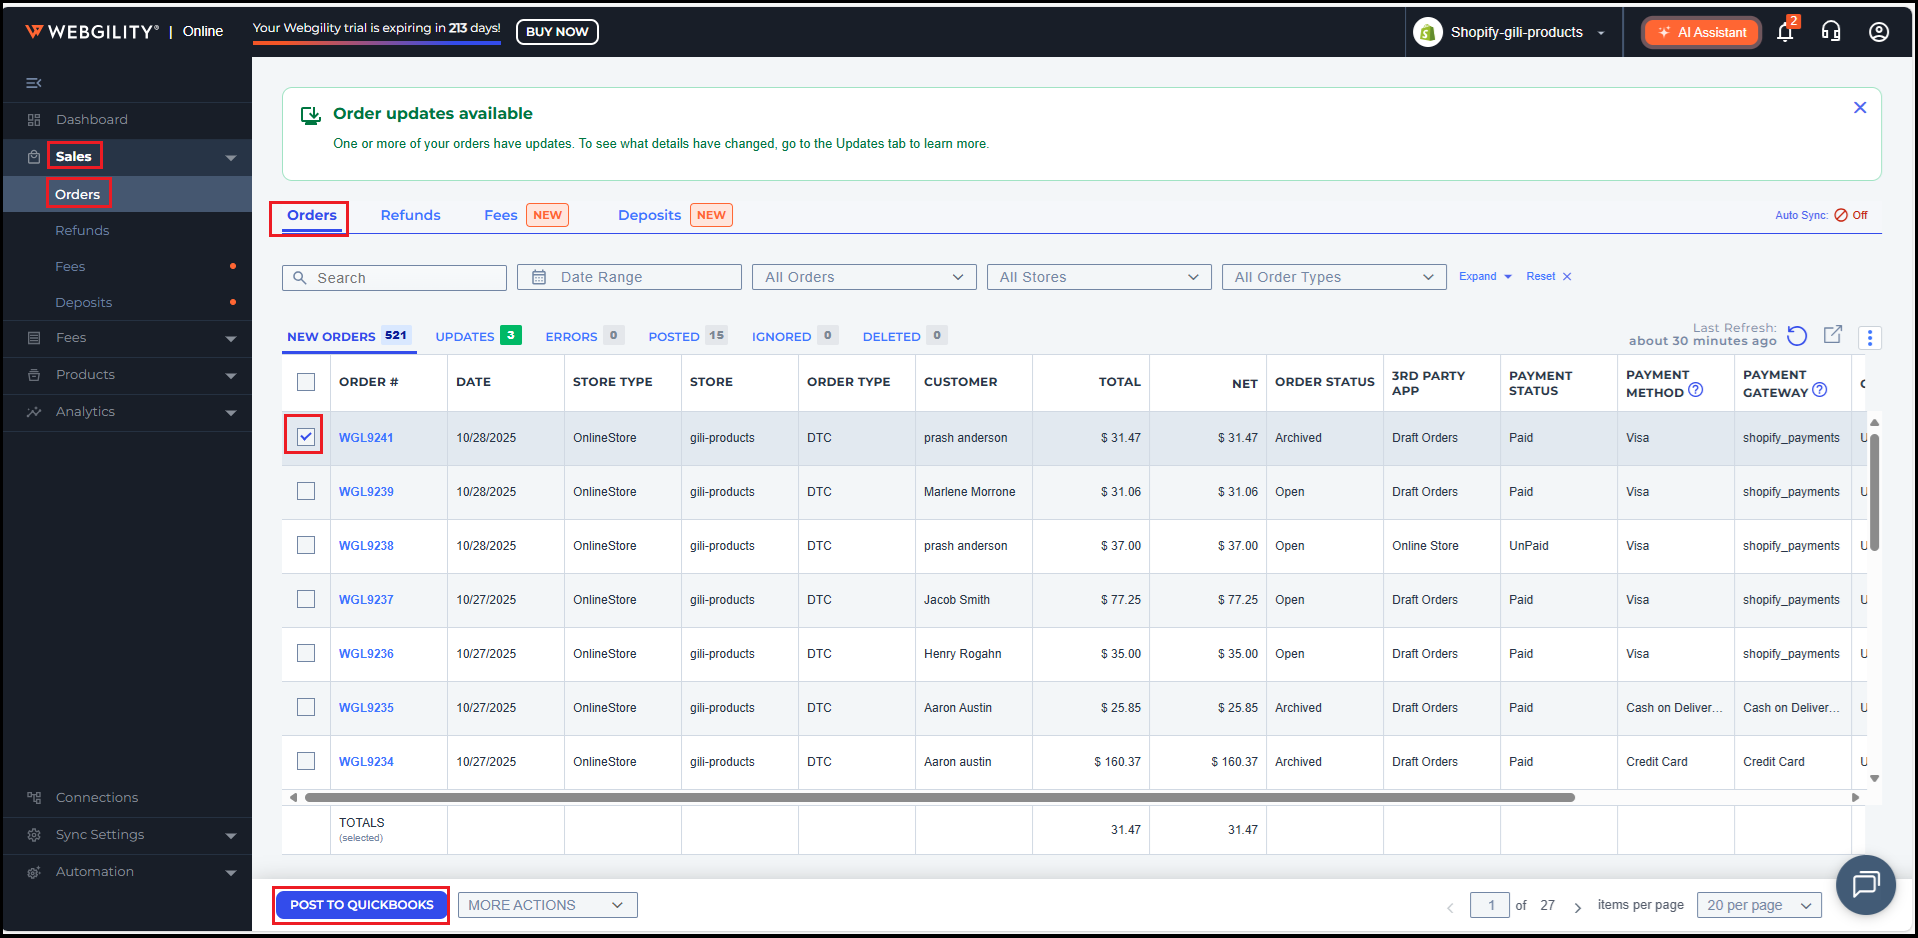
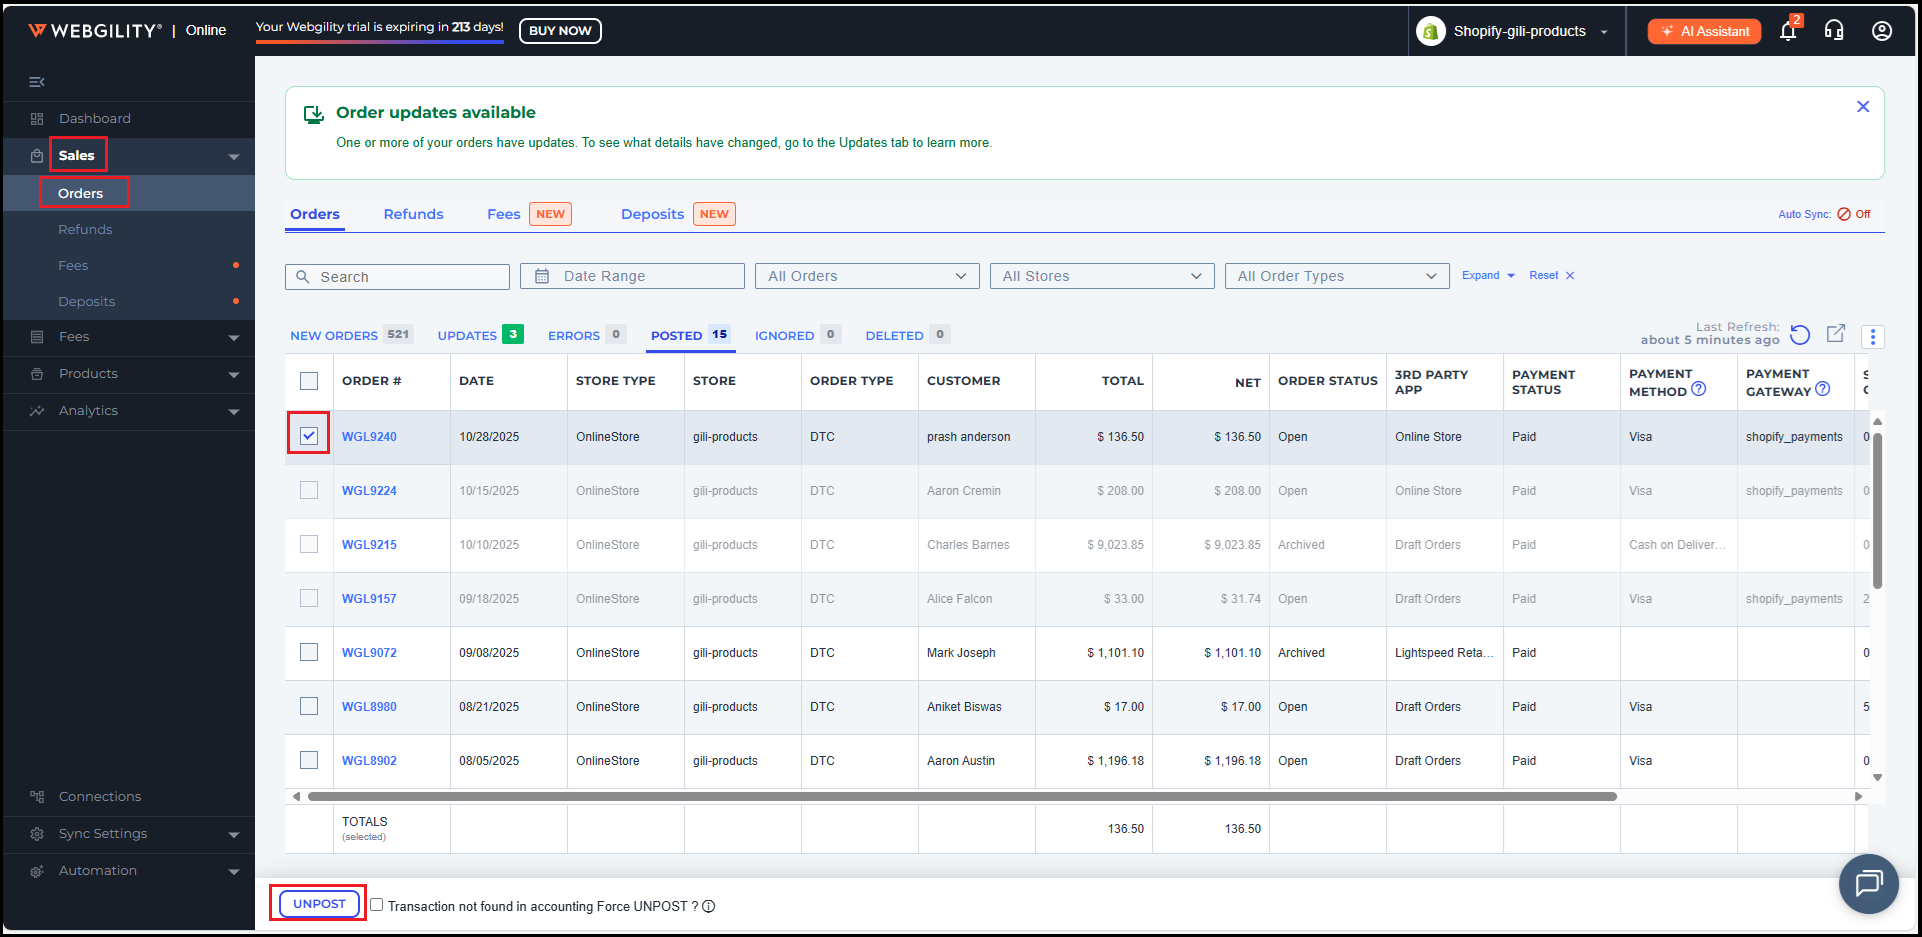
10). Once you are connected to QuickBooks successfully, you can continue to Post an order or click Start Exploring at the top right immediately.If you want to continue to post an order, select Step 3 - Post an order and review. Select one of your orders from the list and click Post Order.
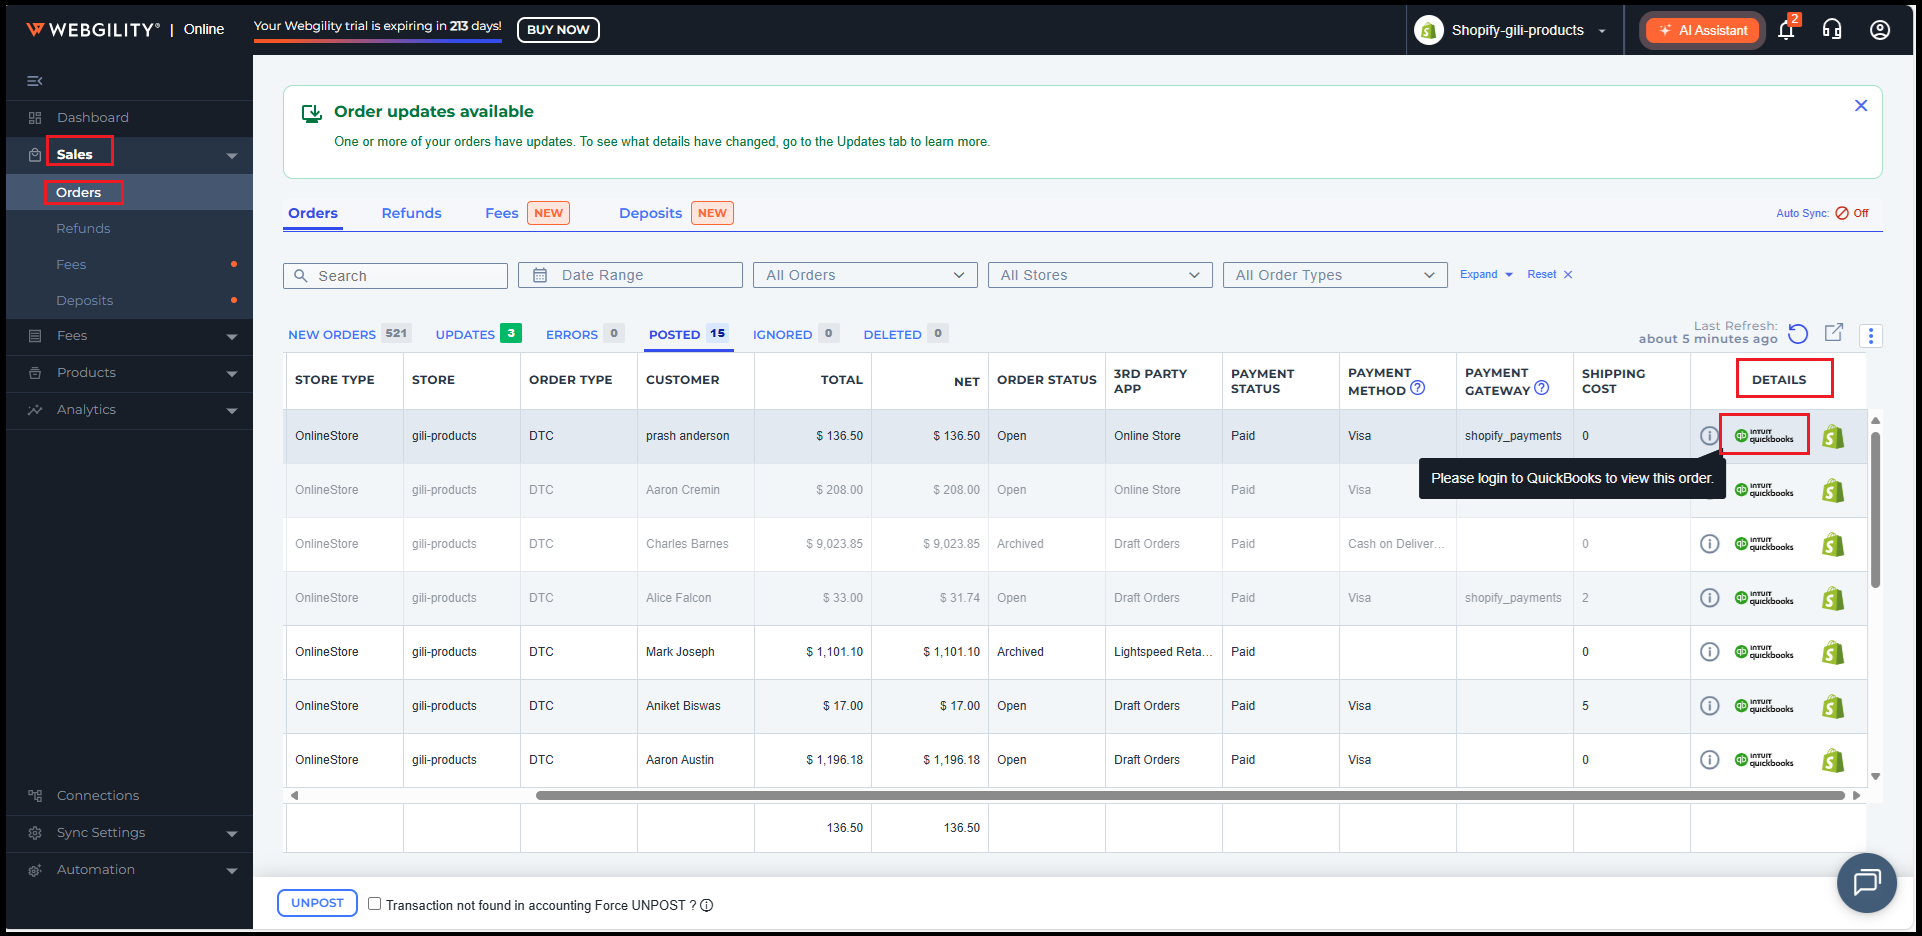
12). You can always click Unpost to undo the posting.
You’re all set up. Now what? Check out how to configure your Webgility Online Workspace, here.