How to Connect Webgility Online with Square
This article guides Webgility Online users on how to connect their Square account to Webgility Online as a sales channel to automatically import and manage order data. Each Square location is treated as a separate sales channel, enabling organized accounting, inventory, and operations workflows.
Note: if this is the first sales channel that you are setting up, read the getting started process, here.
Steps:
1. Navigate to Connections & click the plus sign next to Sales Channels.
2. Select Square and click on Next and Next again.

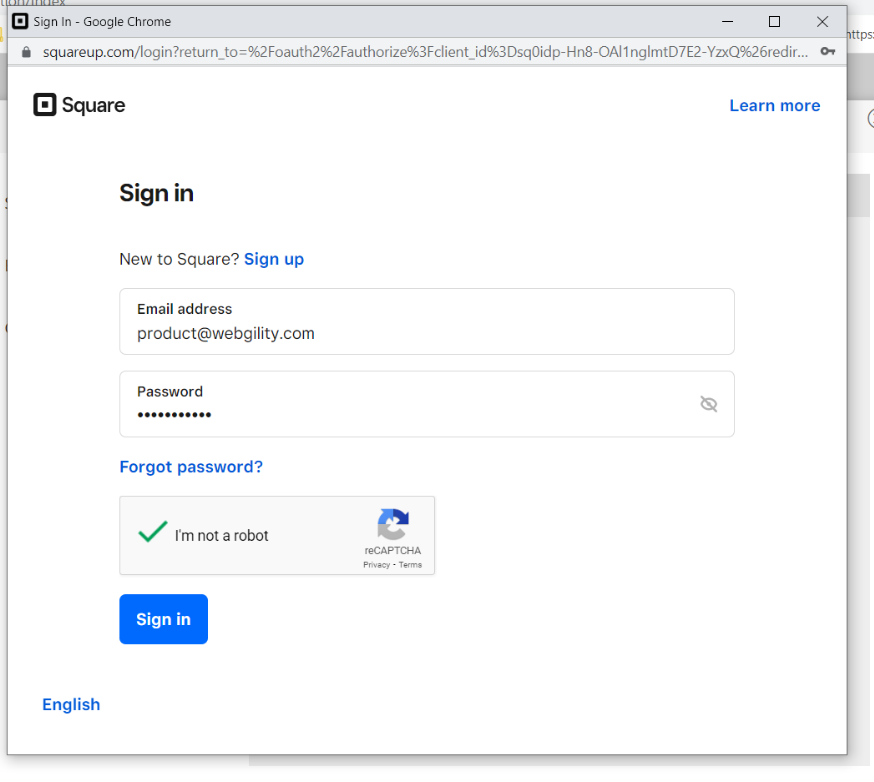
3. Then, Webgility Online will prompt you to enter your Square login credentials.

4. Once your login credentials are successfully verified, Webgility Online will be connected and ready to receive sales data from Square.
Note: Each Square location is considered a sales channel and will appear in the sales channel connection area as a new sales channel. If you have additional Square locations, they can be added the same way. Each sales channel can be renamed at any time and that new name will appear throughout Webgility.