Configure Your Workspace in Webgility Online
This article guides Webgility Online users on how to configure their Workspace in Webgility Online. It explains how to set up sync settings for entering transactions into an accounting system, choose between transactional or summary posting, map accounts, activate product cost of goods sold, test entries, and finally set up automation for daily data sync and email notifications.
Steps to set up your account:
Adjust Your Settings
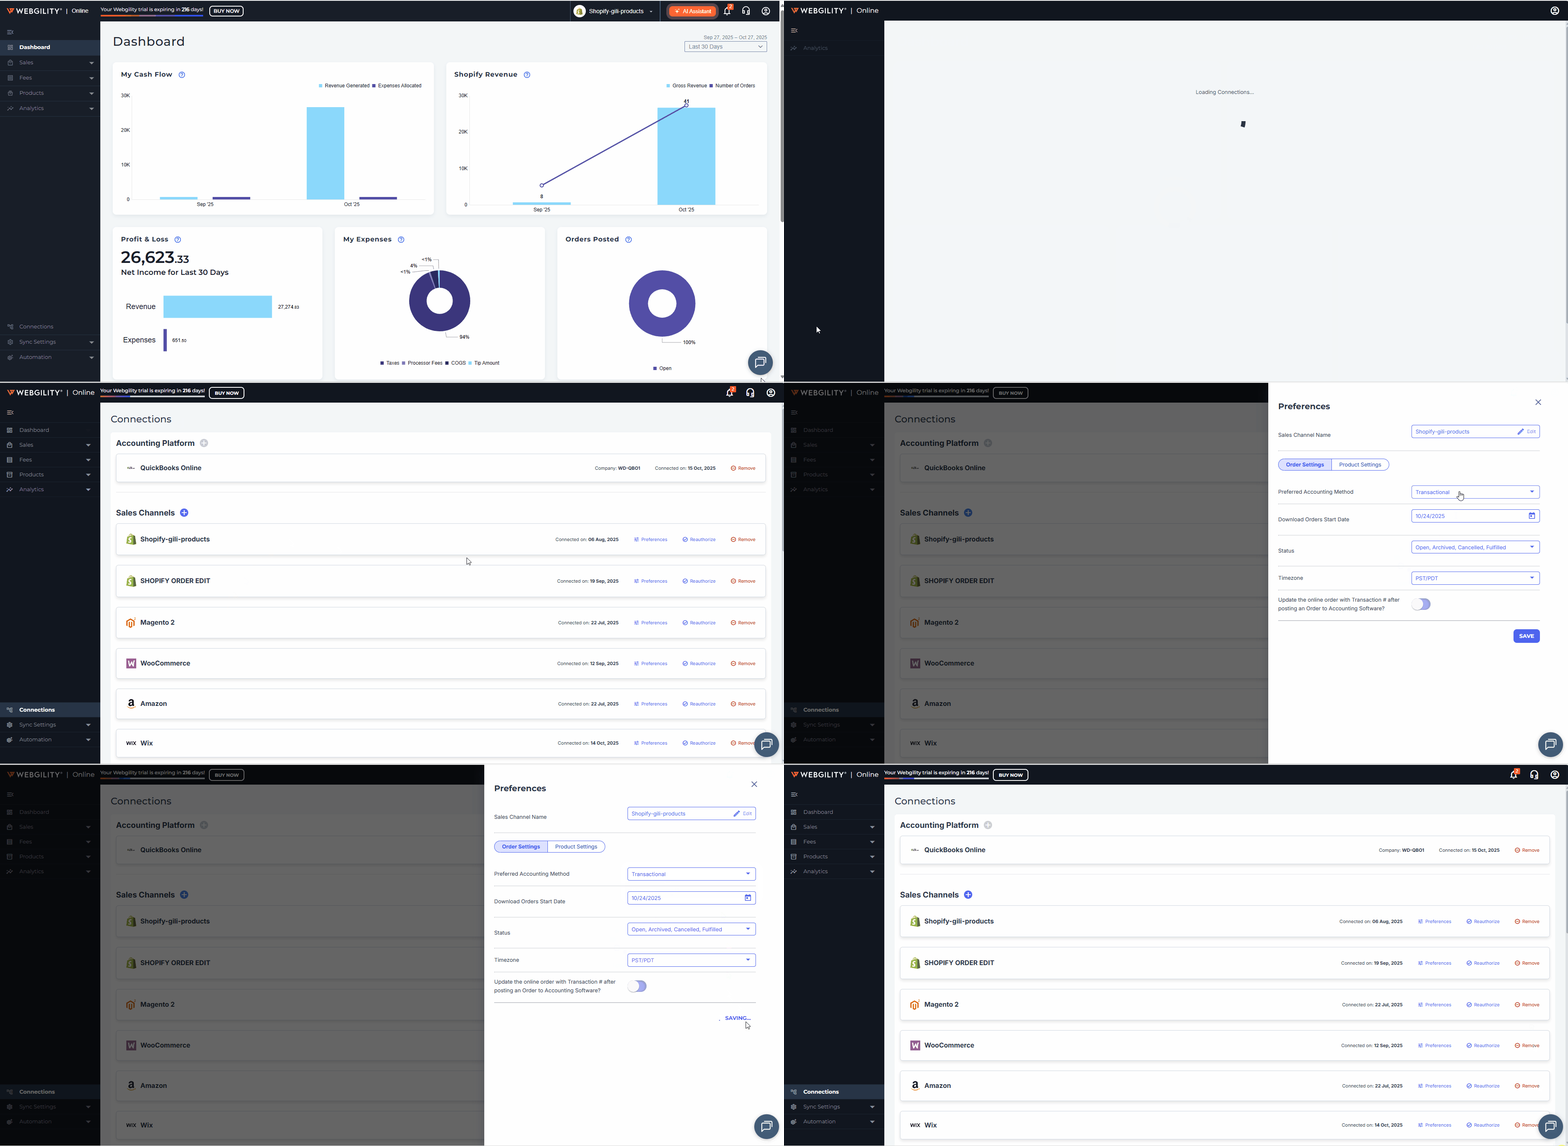
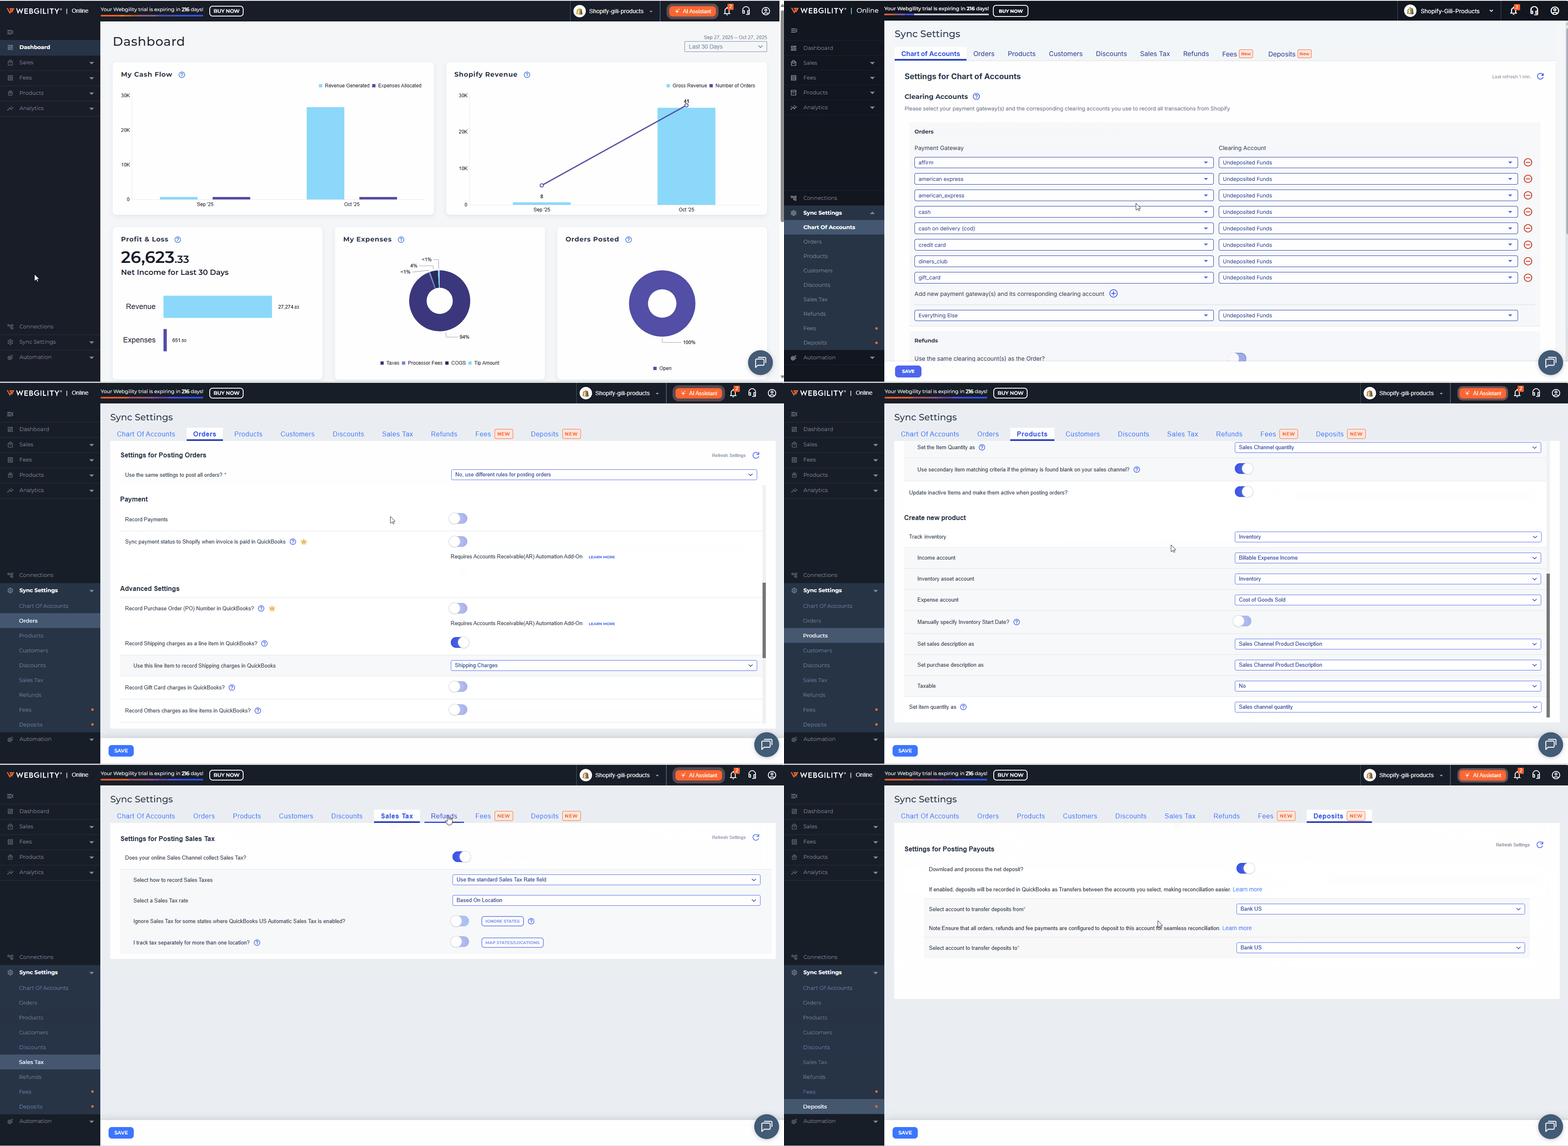
1). Outline the method for entering transactions from your sales channels into your accounting solution. To begin, go to Sync Settings then. After that, decide how you prefer to record your transactions in your accounting system.2). Transactional Posting: If you wish to capture detailed information for each customer and item, please choose the option to record Every Order Individually as a Sales Receipt. For assistance with the best settings to use, you can refer to this article: Recommended Transactional Settings for Webgility Online
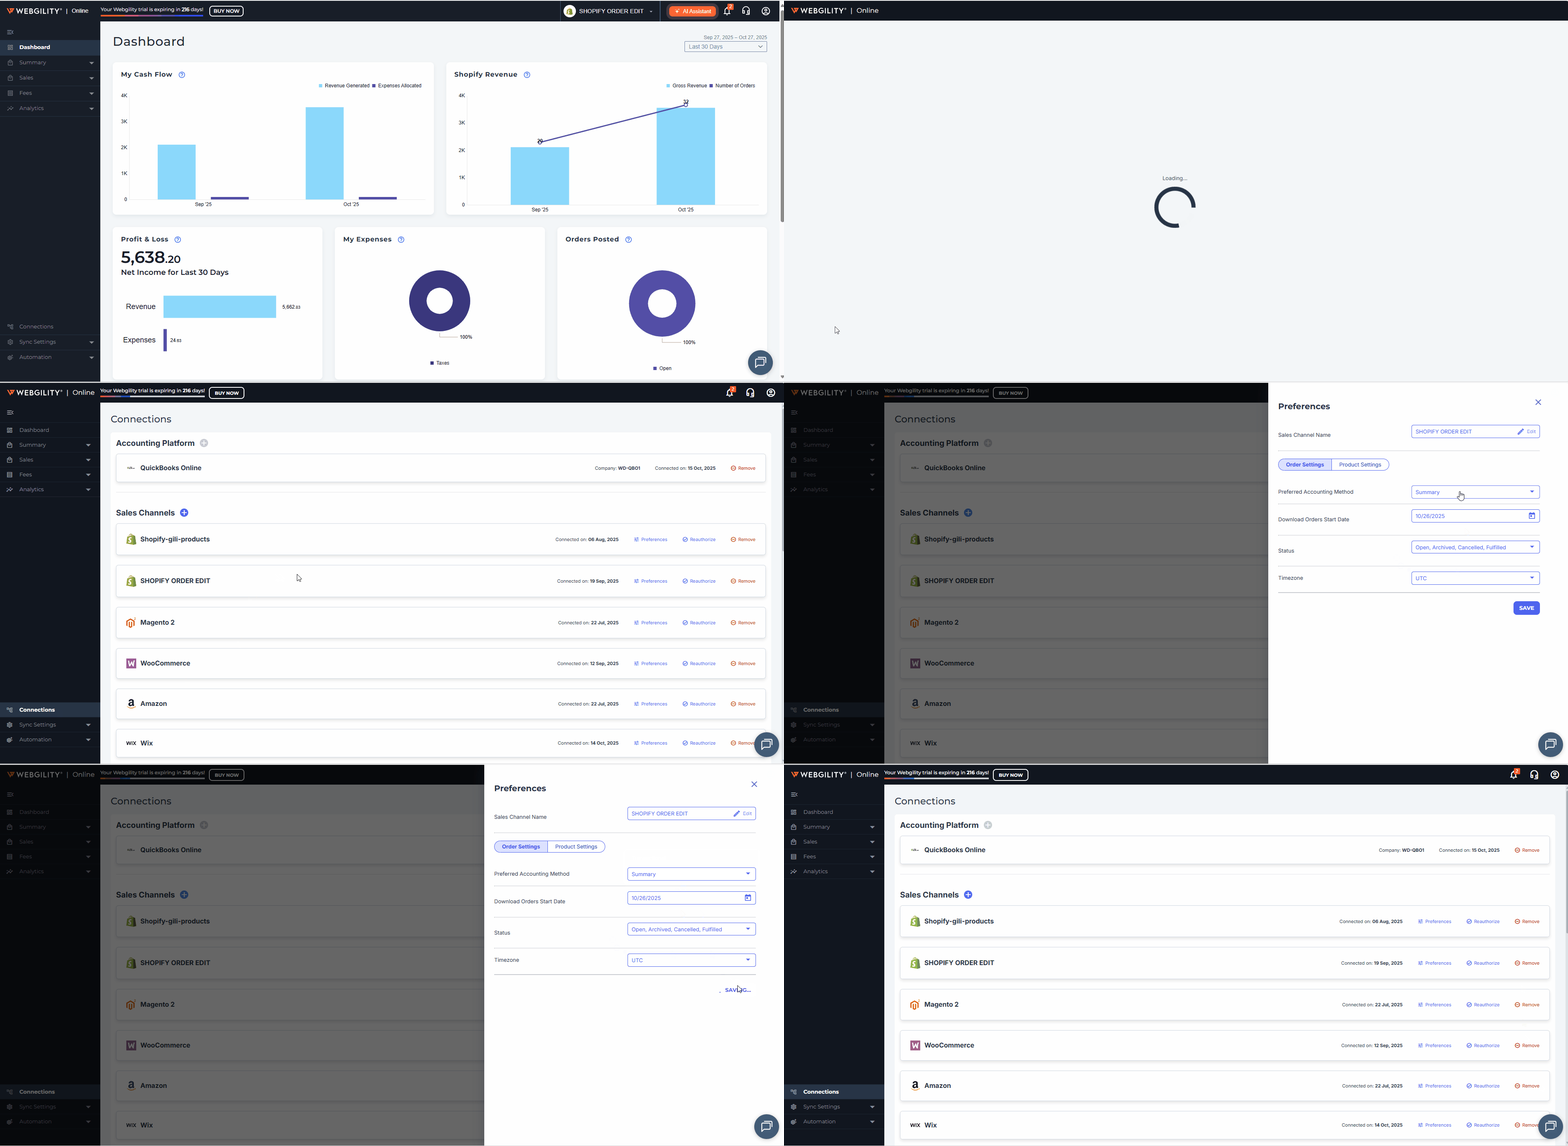
3). Summary/Journal Posting: If you prefer a streamlined approach and don’t want every order recorded in your accounting system individually, select the Summary option for Journal Entries. This feature allows Webgility to compile the revenue and expenses from each payout you receive, generating concise journal entries to ensure your financial records remain accurate and organized.
Please refer to the following help articles:
Recommended Journal Entry Settings for Webgility Online
Recommended Journal Entry Settings for Webgility Online
Summary Posting vs Transactional Posting in Webgility Online
4). After saving your settings, navigate to the Account Mapping tab. Here, you can assign different categories of income and fees to their corresponding accounts within your accounting system.
5). Here, you can activate the product cost of goods sold. We highly recommend doing this, as it will provide you with valuable insights into your profitability.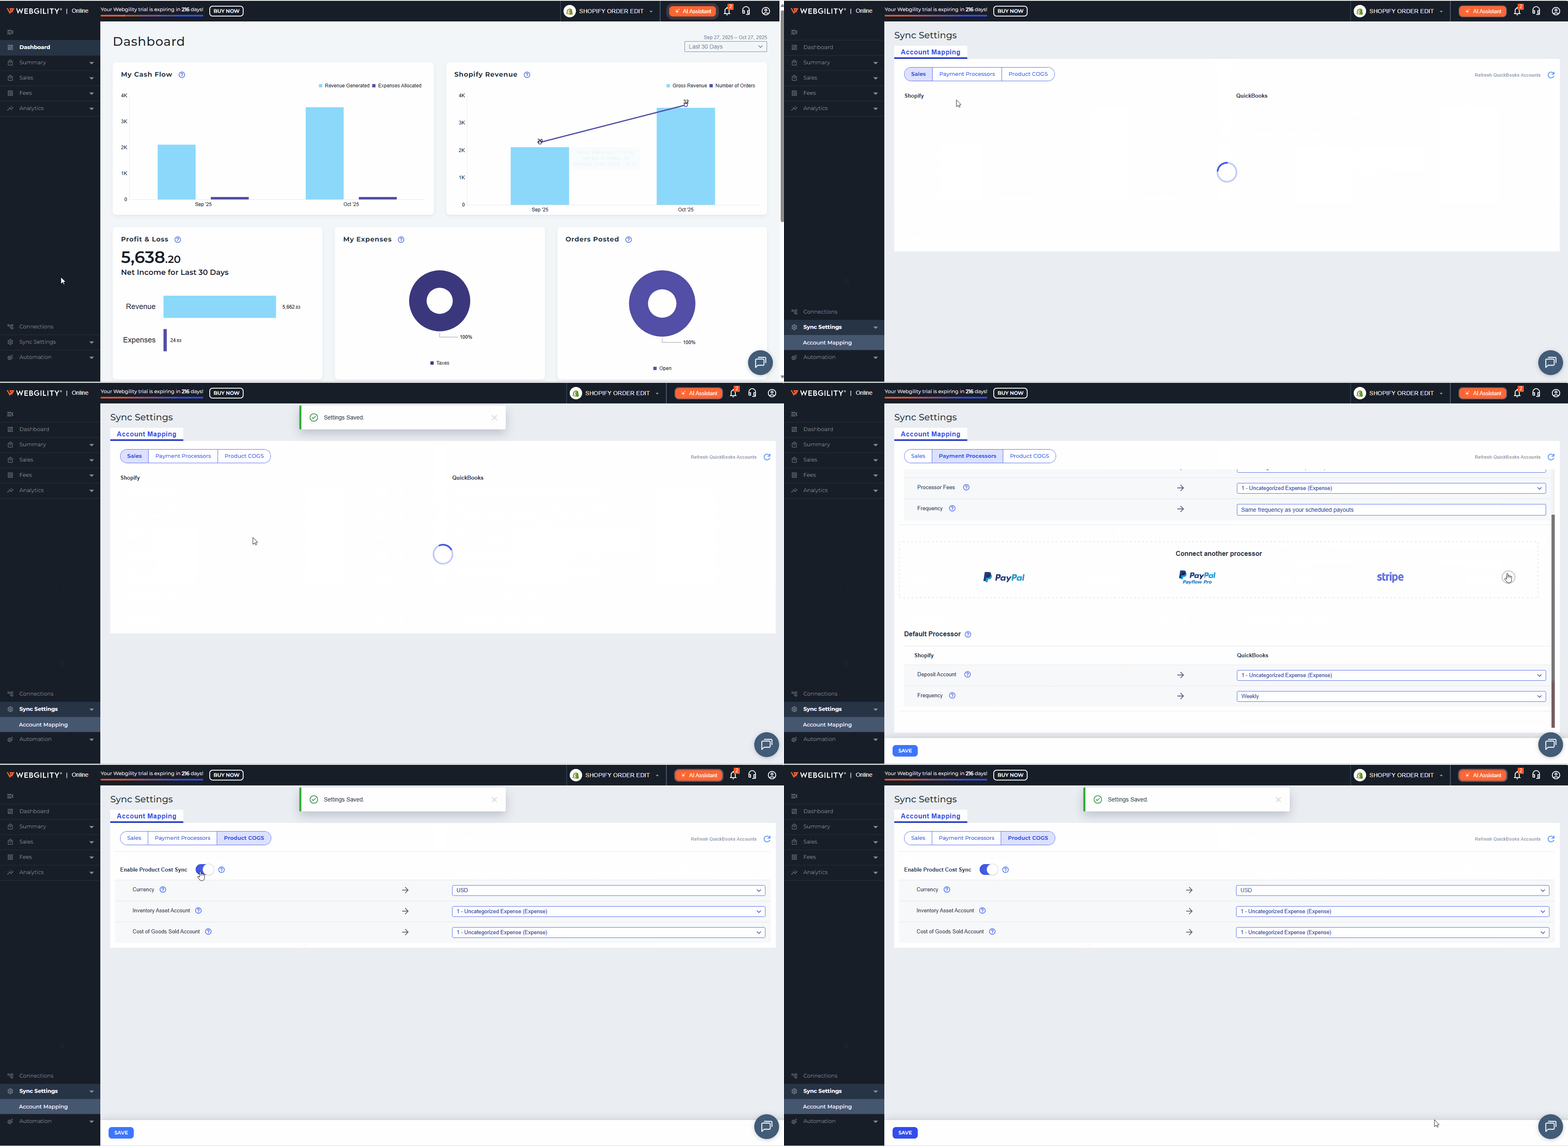
6). Once your settings are complete, you are ready to move on to the next step.
Test Your Entries
7). Begin by testing your initial entry to verify that your settings are configured correctly in your accounting solution. To accomplish this, navigate to the Accounting section located in the upper left corner of the menu. Here, you can review all your transactions prior to posting them to your accounting solution.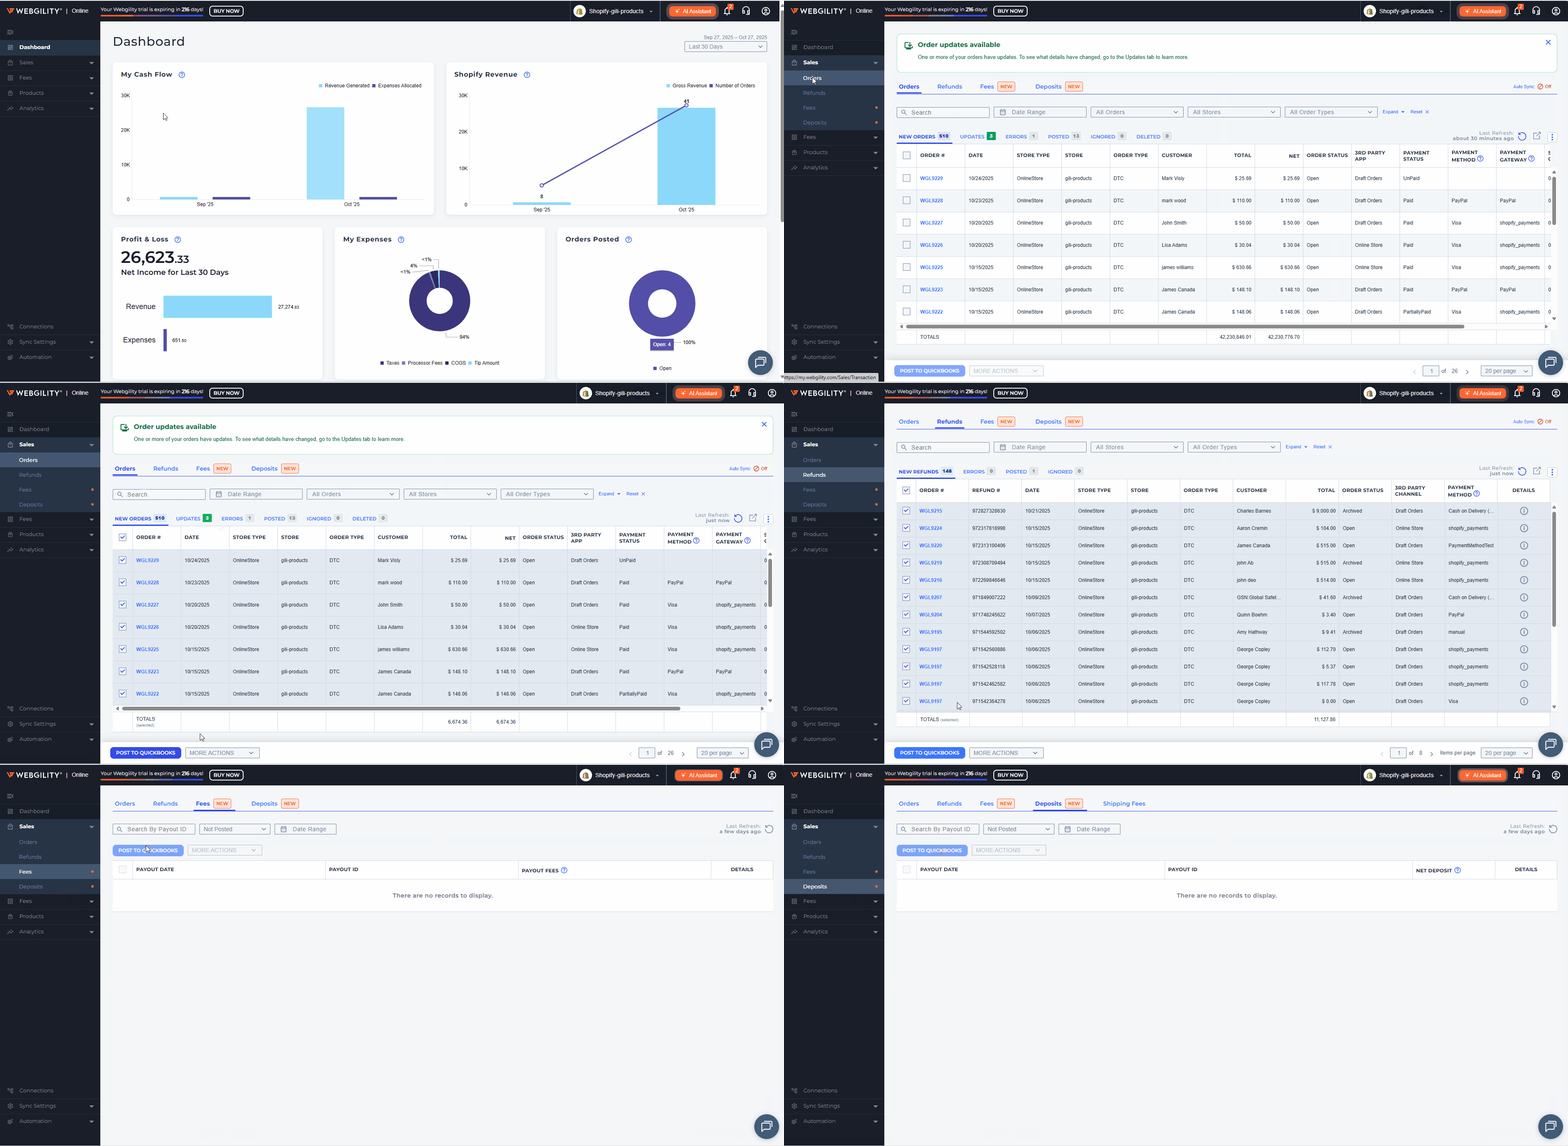
8). If you chose the Summary option as a Journal Entry in the first step, you'll find your settlements or payouts displayed here. Alternatively, if you opted for Every Order Individually as a Sales Receipt, each order will be listed separately. You can easily sort the information by any column, search within a specific date range, or apply filters based on posting status.
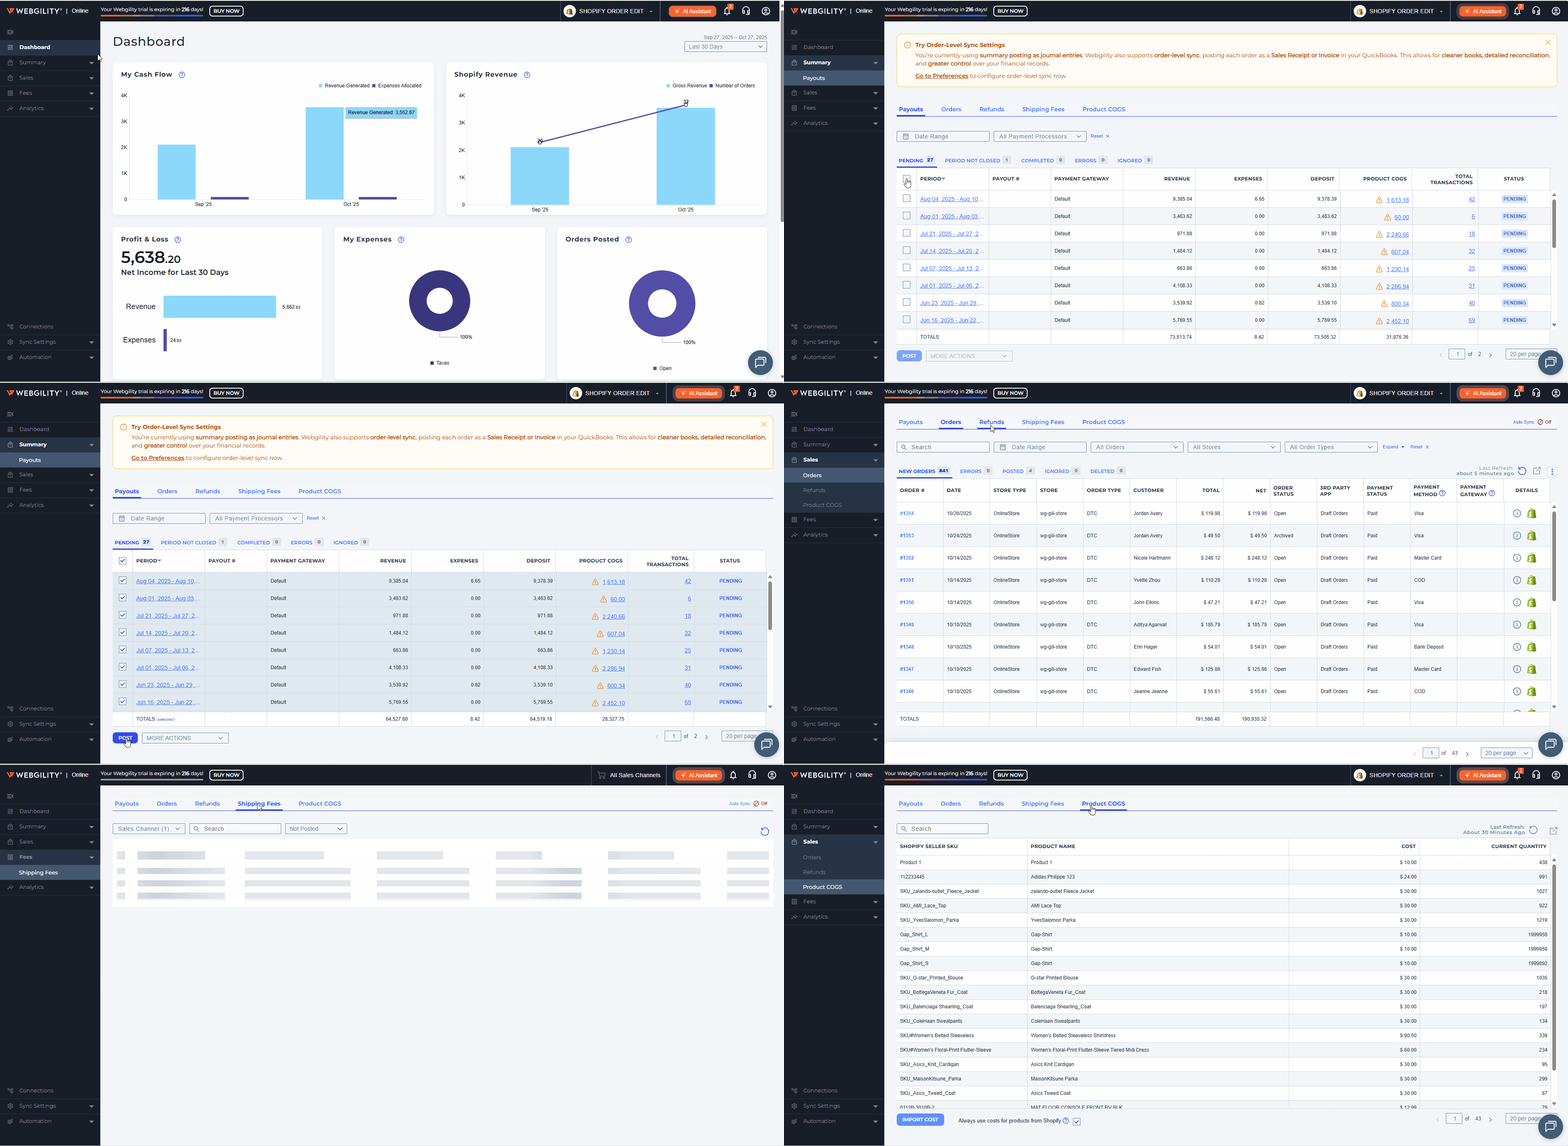
10). If you have the product cost of goods sold feature activated, please click on the Product COGS tab to configure your settings.
11). After finishing the setup, choose an order and click on Post to try out your initial entry. Once you’ve successfully tested a few postings, you can set up automated synchronization for smoother operations.
Set Up Automation
12). Once you have completed the configuration, you can set Webgility to sync your data automatically. To do this, go to Settings > Automation. In this section, you can configure Webgility to perform daily data syncs. Additionally, you have the option to activate email notifications, which will send you a summary of the posted data directly to your inbox.13). Don’t forget to save your choices! To learn more about the automation features available in Webgility, please read this article.