In the Webgility Online, on the left navigation panel, you'll find tabs for the Dashboard, Sales, Fees, Products, and Analytics pages.
Dashboard:
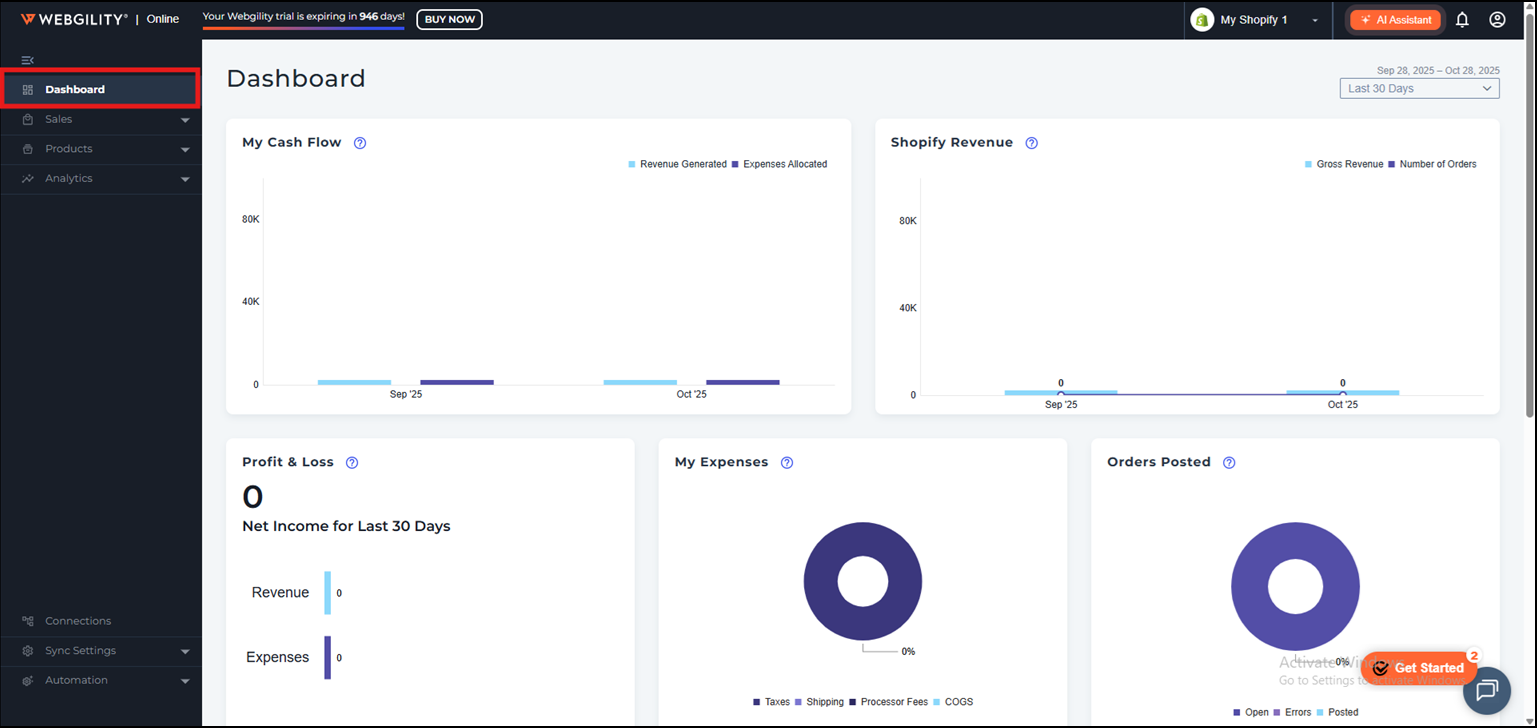
The Dashboard showcases key business metrics such as cash flow, revenue by channel, profit and loss, expenses, orders posted, and recent orders.
Discover more about the Dashboard here.
Sales:
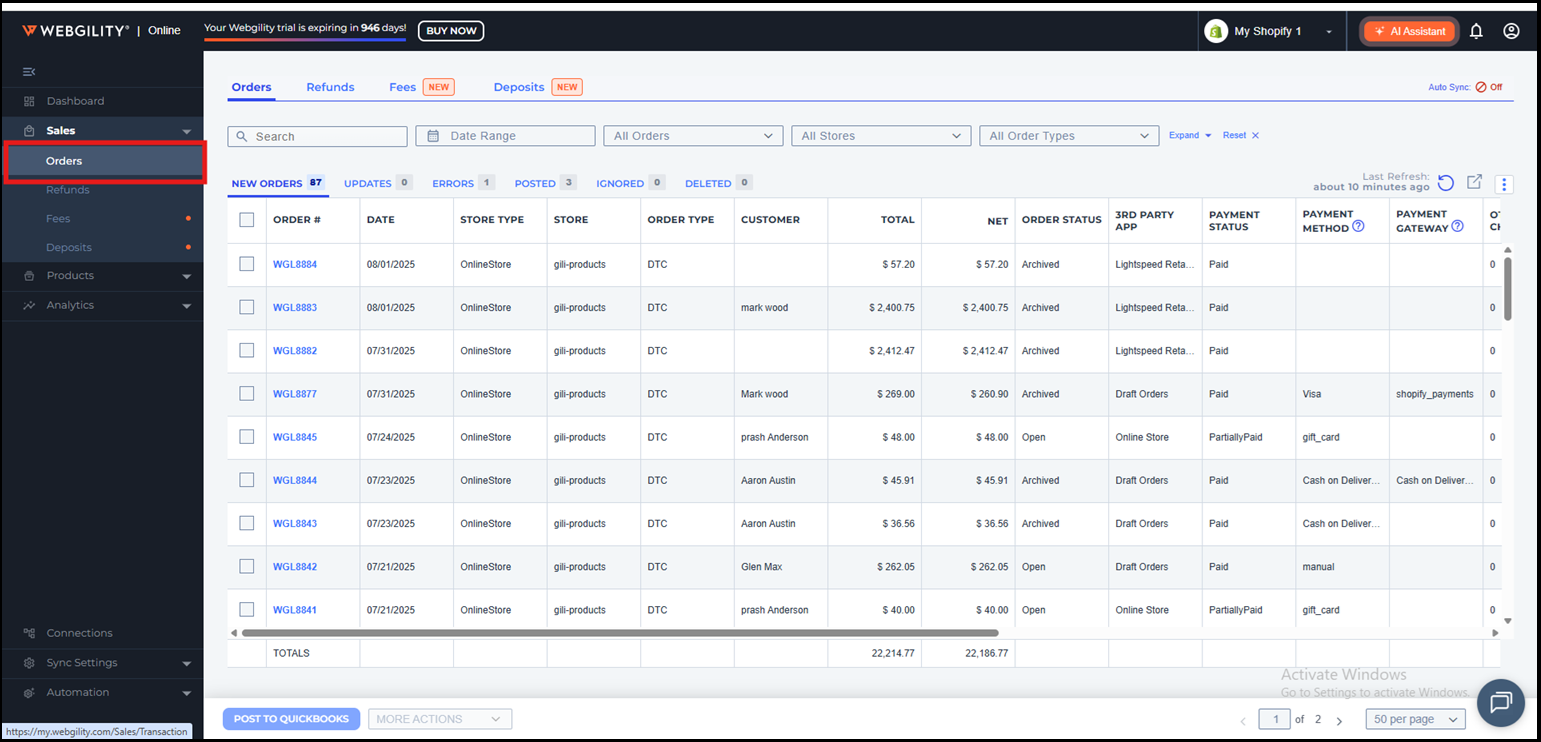
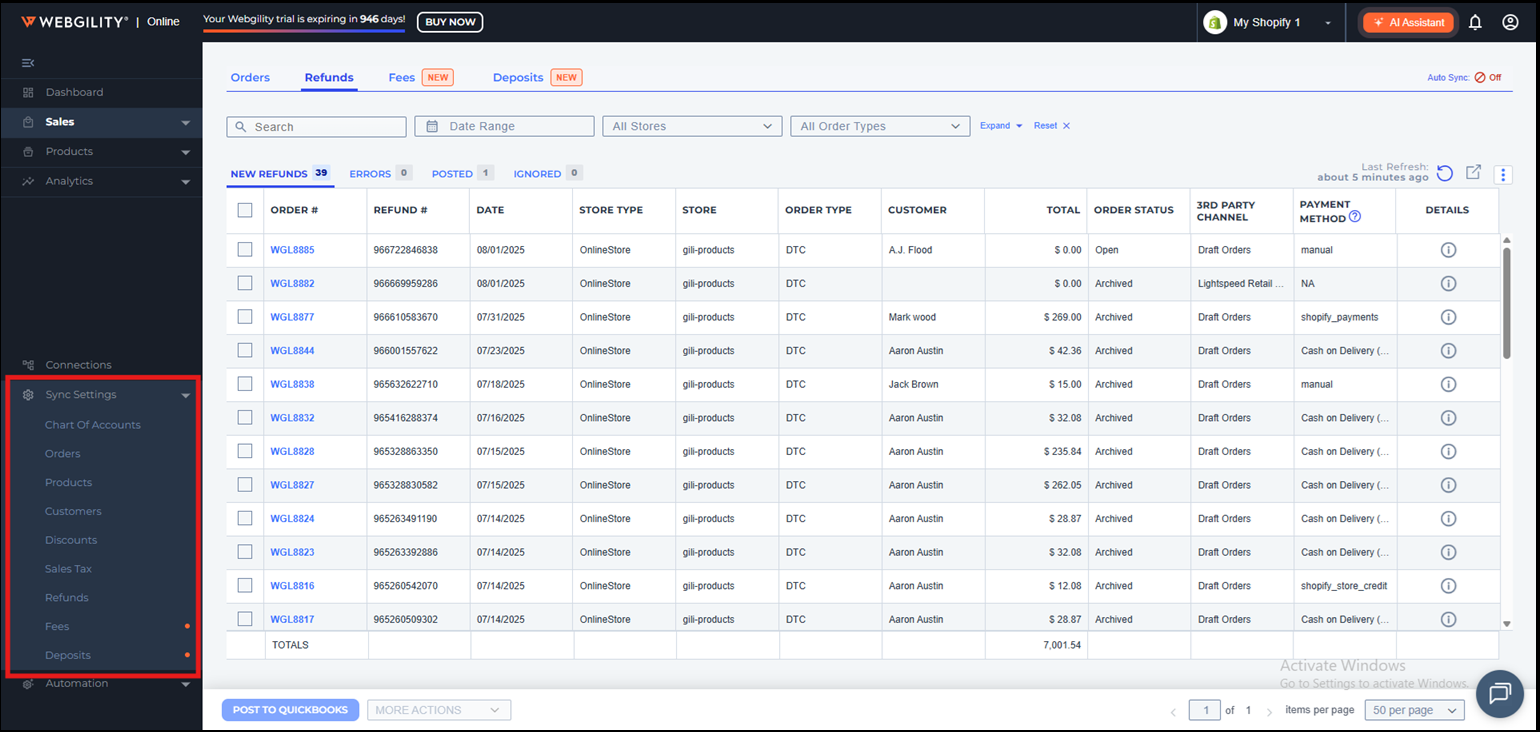
On the Sales > Orders page, you can review your transactions before posting them to your accounting solution.
Fees:
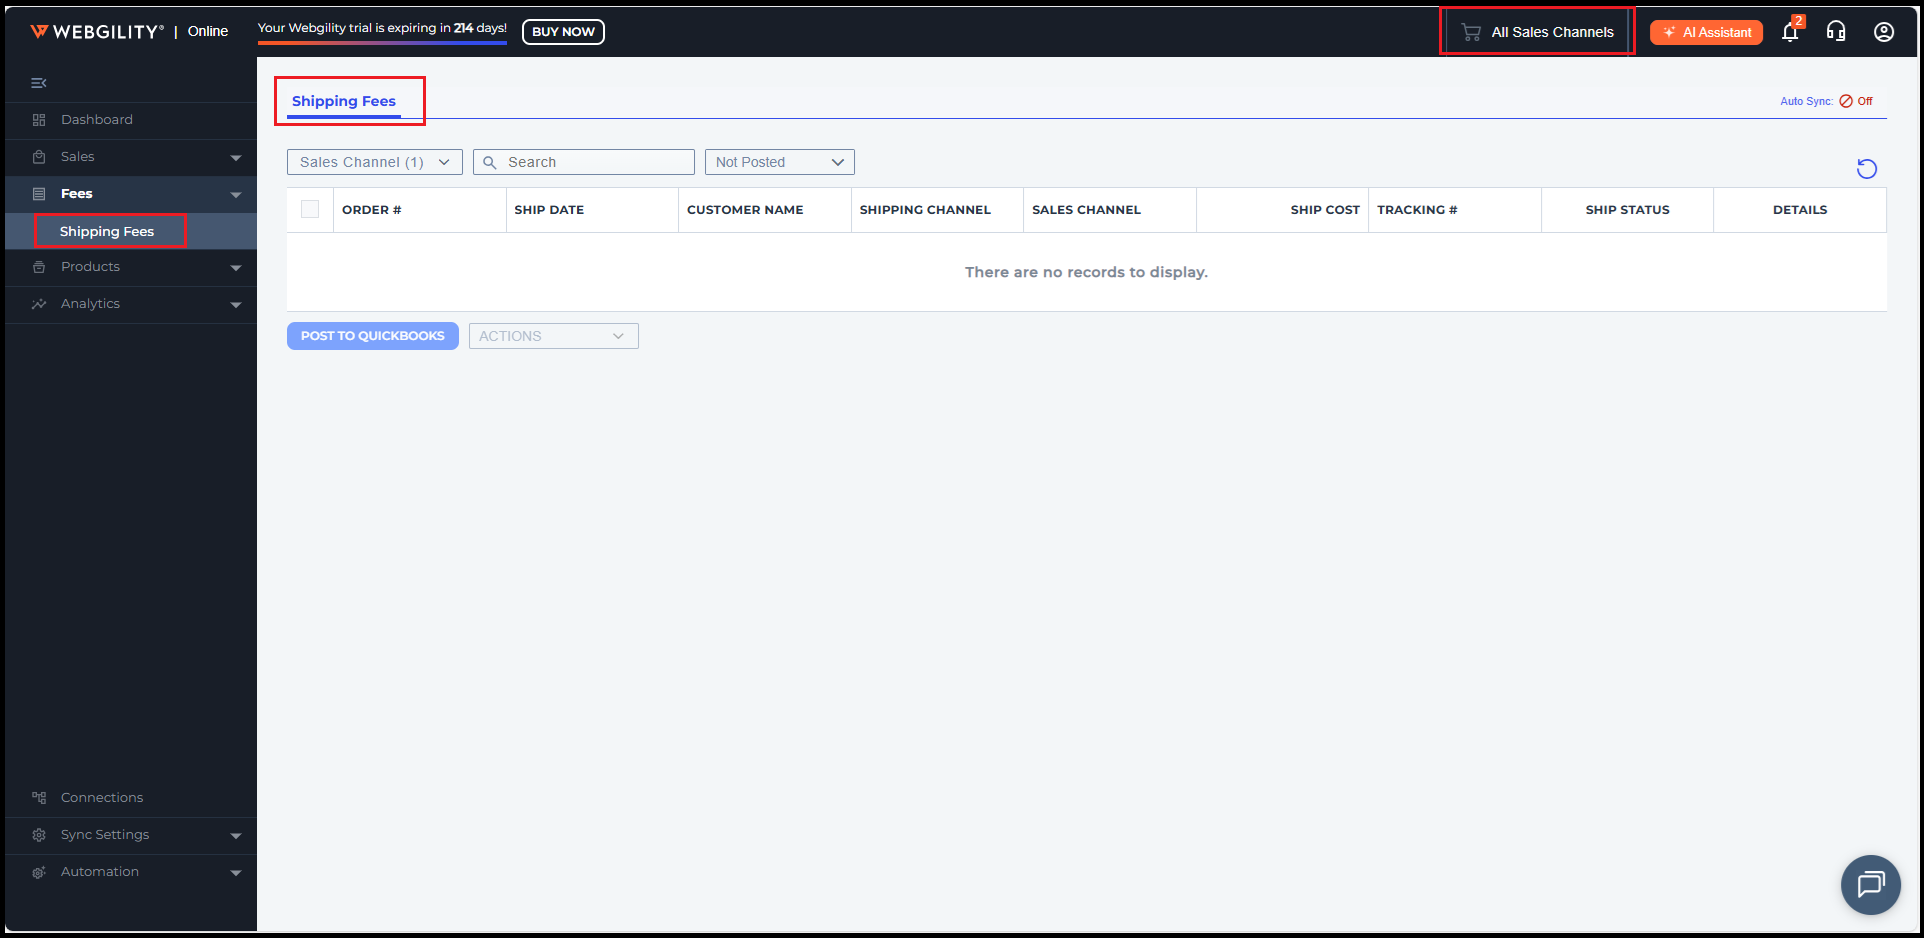
Under Fees tab you will be able to access and post mainly Shipping Fees.
Analytics:
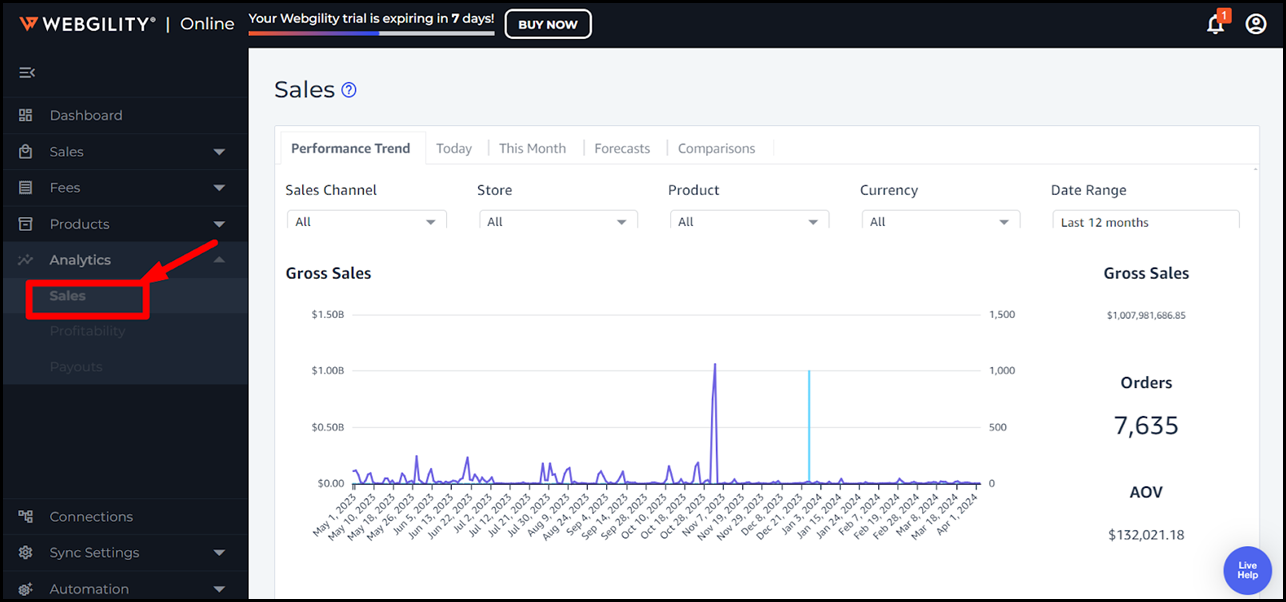
The Analytics page provides comprehensive statistics about your business, including total sales, total orders, sales tax, total shipments, trending products, product sales by region, top customers, returning versus new customers, and more.
Products Catalog:
If you have Webgility configured to post orders as individual sales receipts or invoices, you'll find a Products Catalog section where you can map, sync, and manage your product catalog.

Settings:
In the bottom left of the main navigation, you'll find the Settings tab. Here, you can add sales channel and QuickBooks connections, adjust accounting posting settings, and enable or disable automation.
Pro tip:
1). For connecting sales channels refer to the screenshot below.
2). Webgility Online offers two methods for posting orders: Summary Posting (Journal Entry) or Transactional Posting. Settings available under Connections > Sales Channel > Preferences.
For setting up and updating the automation settings, you can refer to the articles mentioned below:
Set Up Automation for Transactional Accounting in Webgility Online
How to change your automation frequency in Webgility Online
How to Sync Inventory with Webgility Online using Automation
In the top right corner, the drop-down menu allows you to select or switch between your sales channels, as shown below.
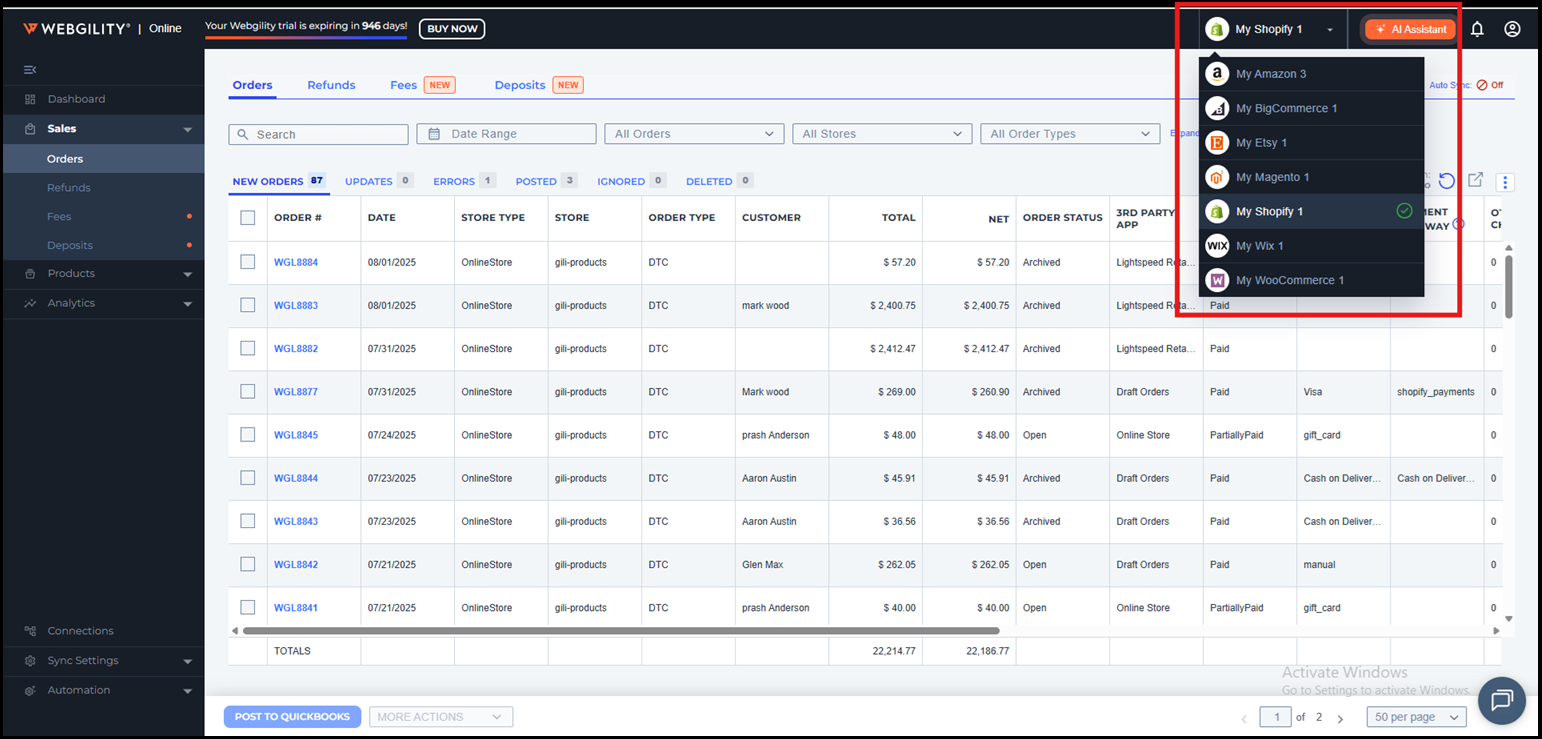
You can also manage your account by clicking the person icon in the top corner.