You will need to link Webgility Online to QuickBooks Online after setting up your first sales channel.
Note: Webgility Online supports integration with QuickBooks Online US, UK, CA, and AU.
Steps:
To integrate Webgility with your accounting software, follow the steps below:
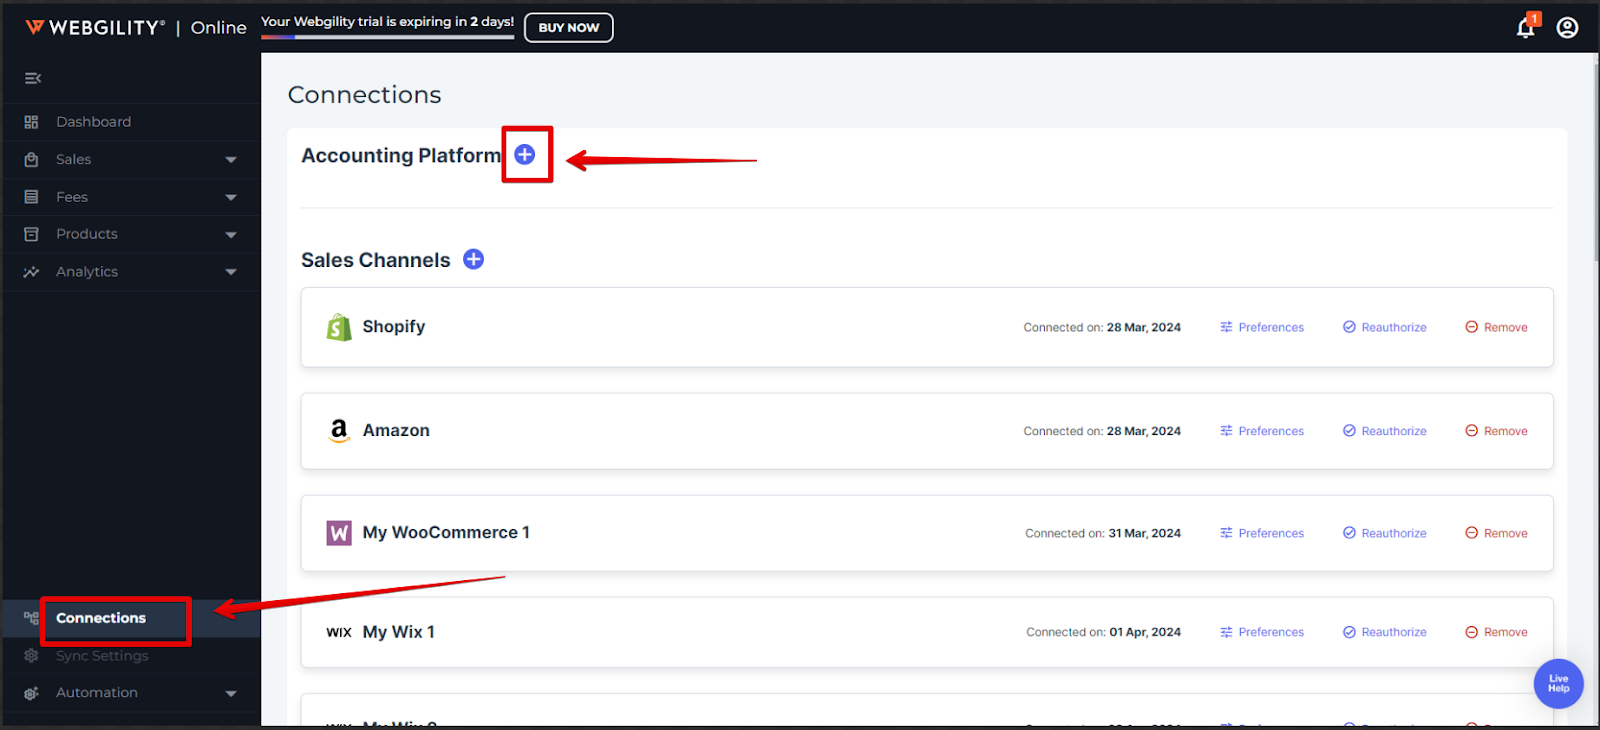
1). Go to Connections > Accounting Platform, Click the ➕ sign
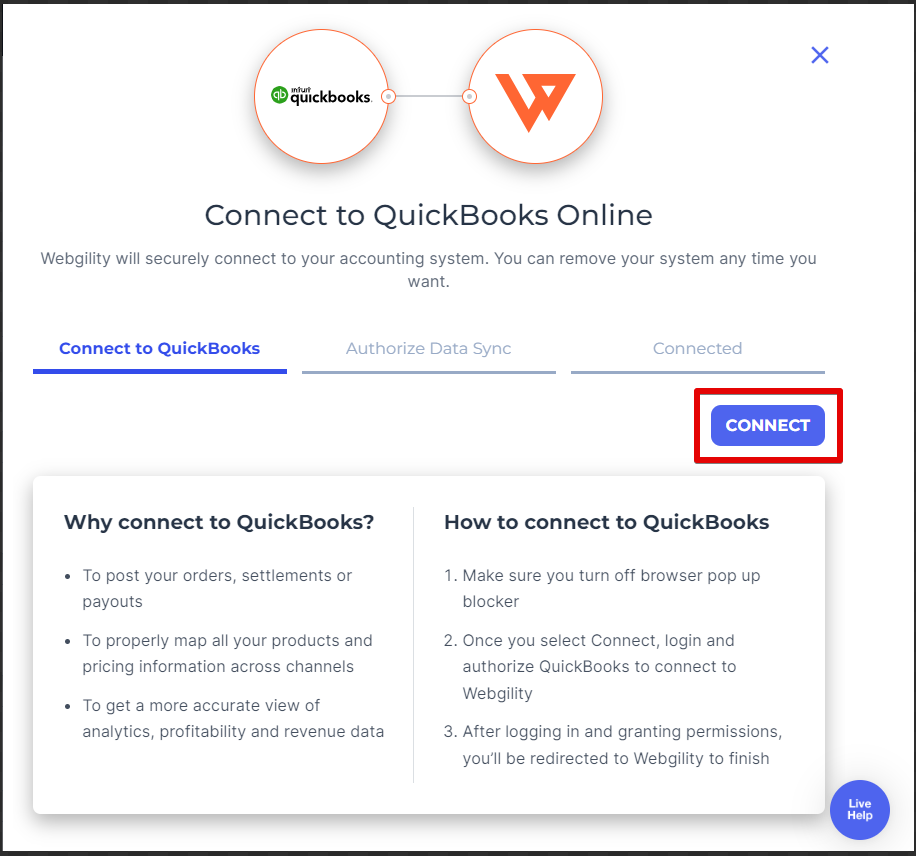
2). On the next pop-up window, click Connect
3). On the next pop-up window, it will ask you to Authorize Webgility, click Next, and log in to QuickBooks Online.
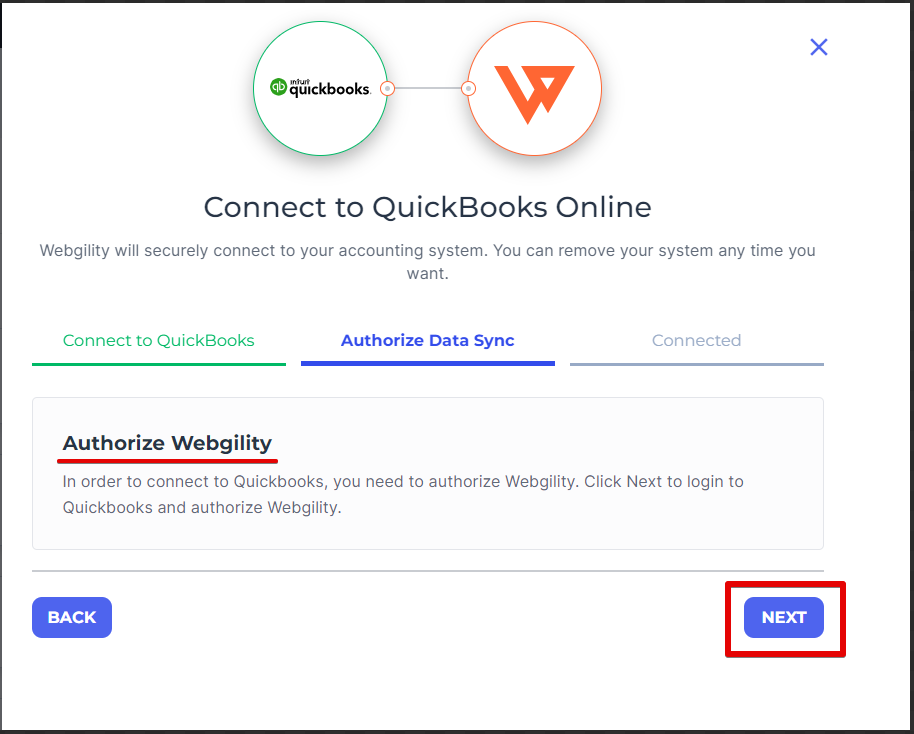
Once logged in, Webgility Online will download the items, customers, and other information. Once successfully connected, you will be directed to the connections screen.