
The test posts one order from your sales channel to QuickBooks Online so you can see it there, and then takes it back out. Nothing else is posted.
Note: Until setup is finished, Home opens the Welcome to Webgility page. Setup is finished when you revert the test order, click Finish, or click Skip this step. After that, Home shows your widgets. See How to Use and Customize Your Home Page Widgets.
Steps:
- Complete steps 1 and 2 first: connect your sales channel and your QuickBooks Online company. See How to Connect Your Sales Channel to Webgility i and How to Connect Your QuickBooks Online Account to Webgility i.
- On the Welcome to Webgility page, step 3, Post an order to test your sync, opens. It lists the three parts of the test, Select an order to test, Post to accounting and Undo post, and ticks each one as it is done.
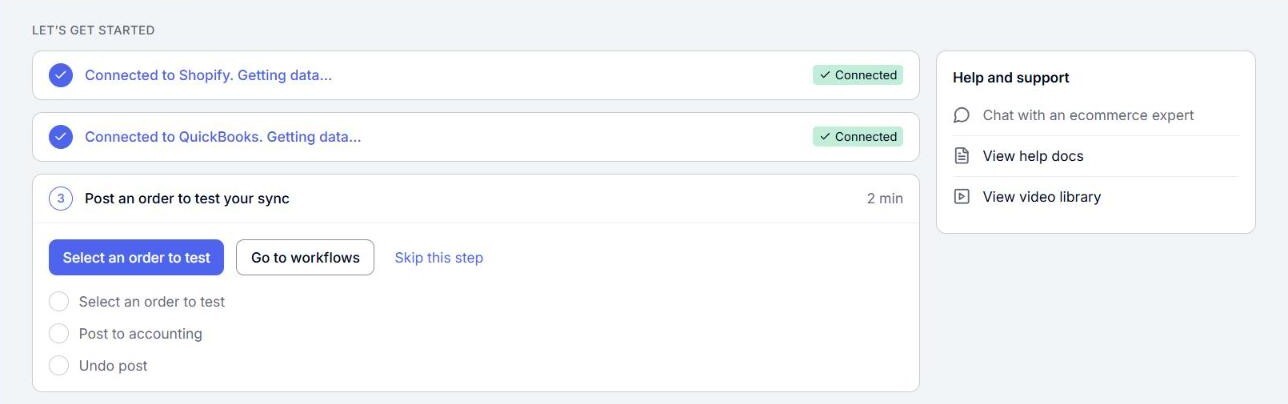
Note: To check how orders will post before the test, click Go to workflows. See How to Configure Workflows in Webgility i.
- Click Select an order to test. A panel opens with the newest orders of your store that are not posted yet, up to 15. For an Amazon store, only Shipped orders are offered.
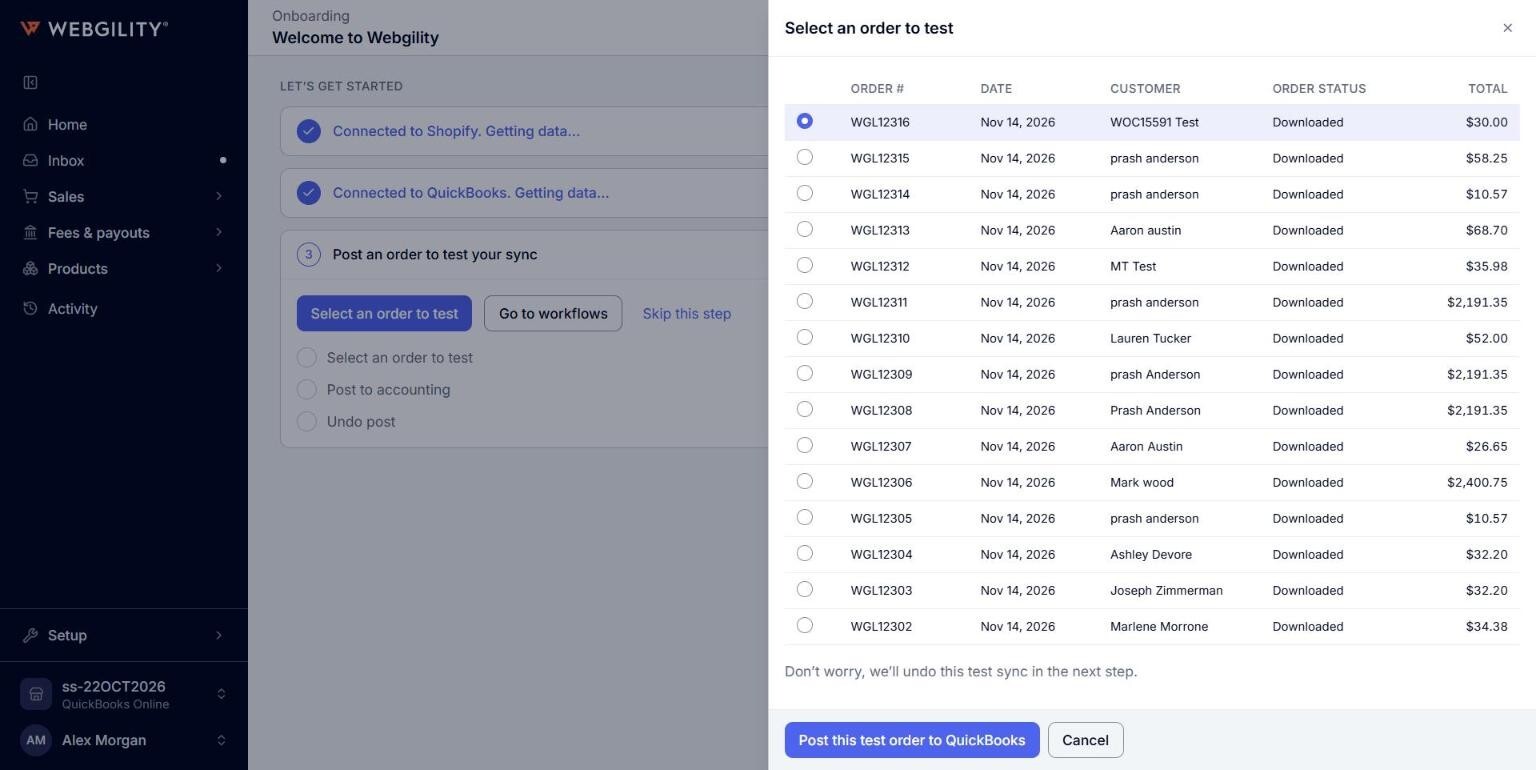
Note: Right after you connect a store, its orders can take a few minutes to arrive. The panel shows "Getting your orders from …" until they do. If the store has no orders, the panel says No orders available. You can then skip the test.
- Select an order and click Post this test order to QuickBooks. The panel reminds you: "Don't worry, we'll undo this test sync in the next step." Step 3 shows "Posting order … to QuickBooks…" while it posts.
- When the order is in QuickBooks Online, Test order posted opens. It shows the customer, the date and the order status, and that the order was downloaded from your sales channel and posted to QuickBooks.
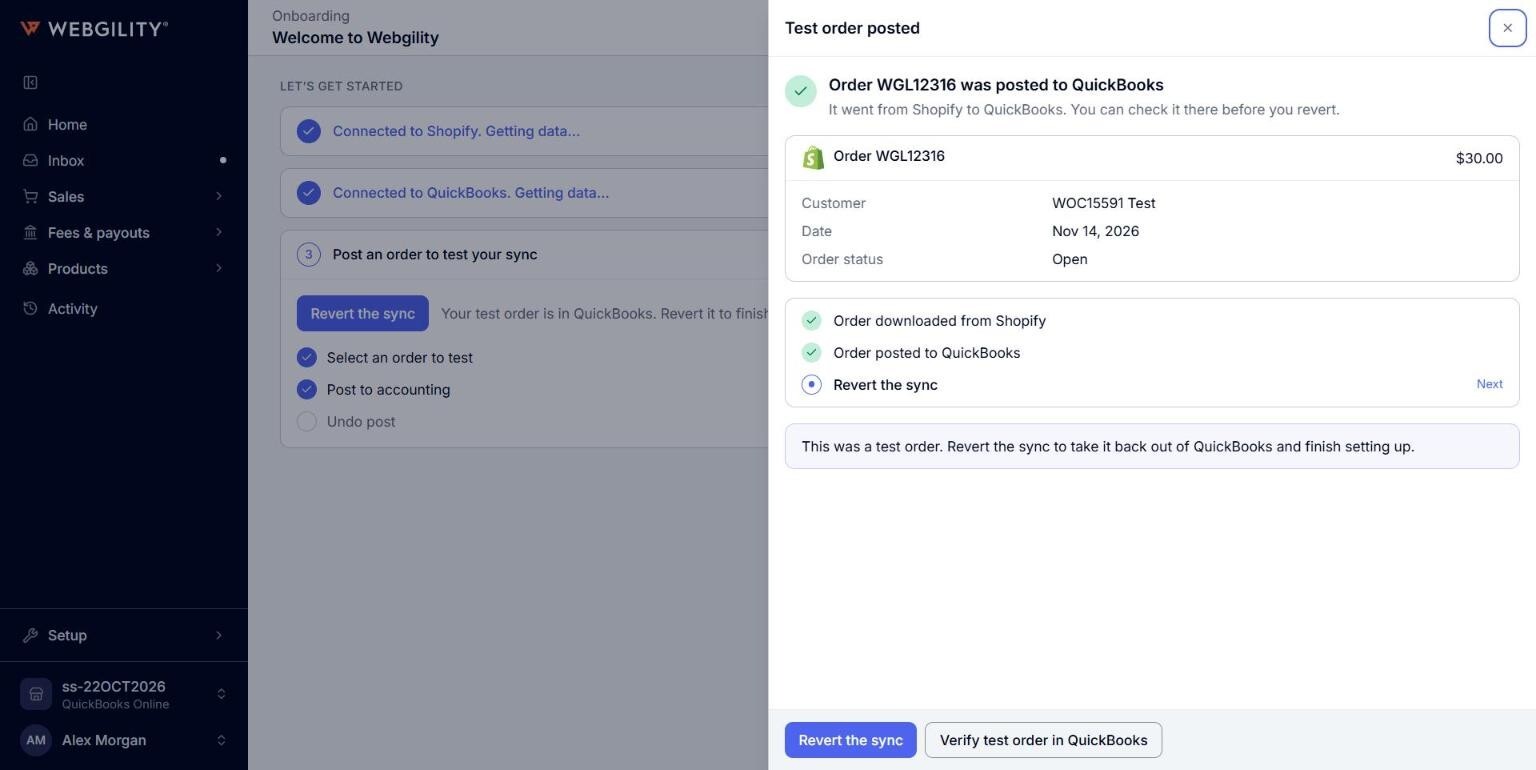
- Optional: click Verify test order in QuickBooks to open the transaction in QuickBooks Online.
- Click Revert the sync. Webgility i takes the test order back out of QuickBooks Online. Step 3 shows "Taking order … back out of QuickBooks…" while it works.
Note: If you close the panel before you revert, step 3 says "Your test order is in QuickBooks. Revert it to finish." and keeps the Revert the sync button.
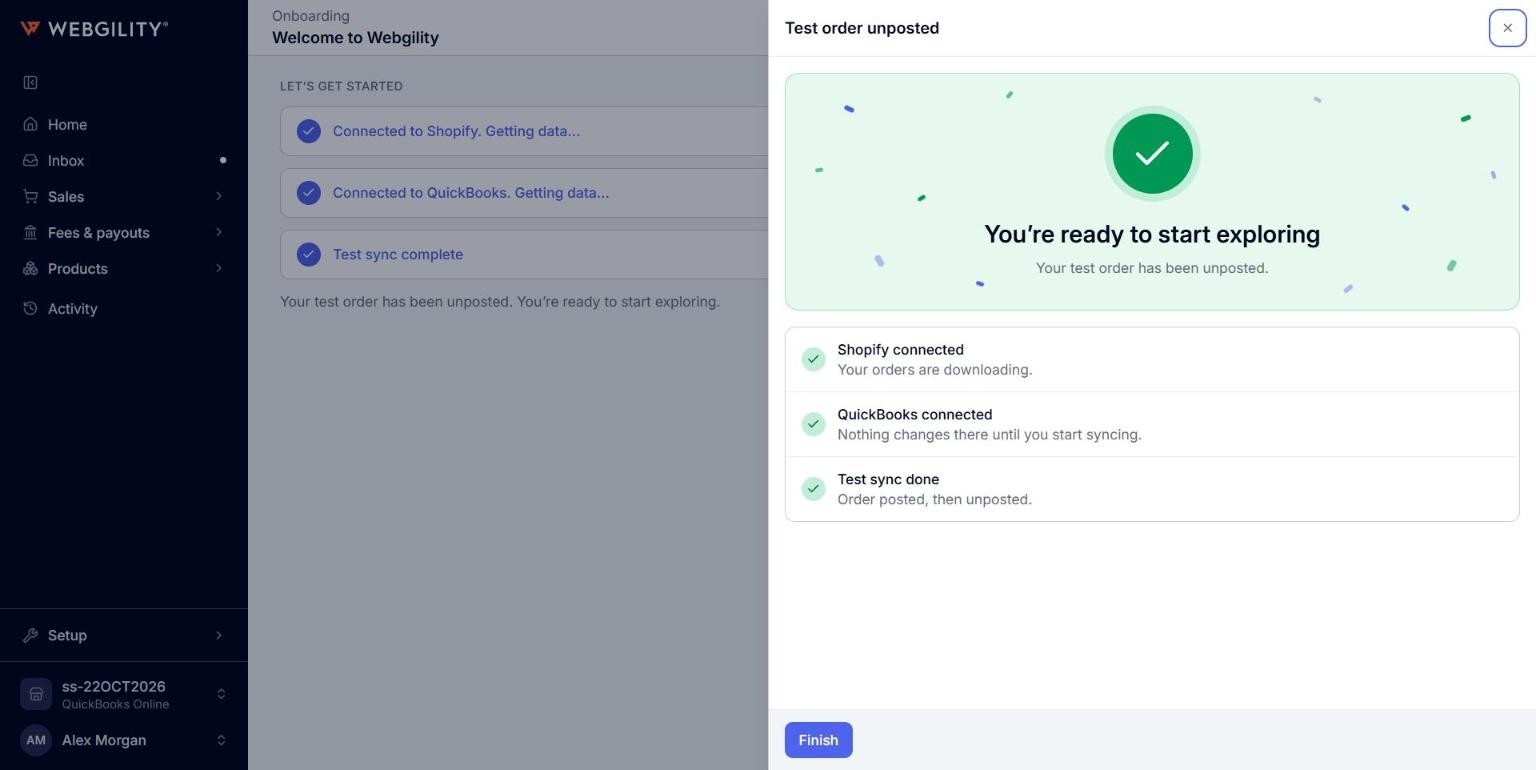
- Test order unposted opens with You're ready to start exploring and what is set up: your sales channel connected, QuickBooks connected, and Test sync done (order posted, then unposted). Click Finish. The Connections page opens, and step 3 of the Welcome to Webgility page shows Test sync complete.
Skip the test
Click Skip this step in step 3. Setup is finished without a test post, and the Connections page opens. The step then says "You skipped the test sync. You're ready to start exploring."
If the test order does not post
If QuickBooks Online does not take the order, the panel says Almost there! and that the default settings did not work on that order, with the reason. Click Try again to post the same order again, or Explore the app to go on. To find what to change, see How to Find and Fix Errored Orders.
Other messages:
- "Another run is posting this store's orders now. Try again in a minute.": wait a minute and try again.
- "That order is posted already, or has a change waiting, so it cannot be the test order. Pick another.": select a different order.
- "The test post could not be asked for, so nothing was sent. Try again in a moment.": try again.
Note: You can post only one test order. Once setup is finished, step 3 offers no new test.