
A business is one set of books: each business connects to one QuickBooks Online company, and can hold many stores. To post orders to another QuickBooks Online company, add it as a new business. This needs an IES plan, the Webgility plan for Intuit Enterprise Suite, which connects more than one QuickBooks Online company. To compare plans and buy one, go to https://www.webgility.com/pricing.
Note: Each business keeps its own stores, payment gateways, shipping apps, workflows and product sync direction. Data protection and email notifications apply to your whole account. The pages of Webgility i show the business you are viewing, whose name is at the bottom of the left menu. The Activity page is the exception: it lists the activity of every business on your account.
Steps: Add a business
- Go to Setup > Business settings.
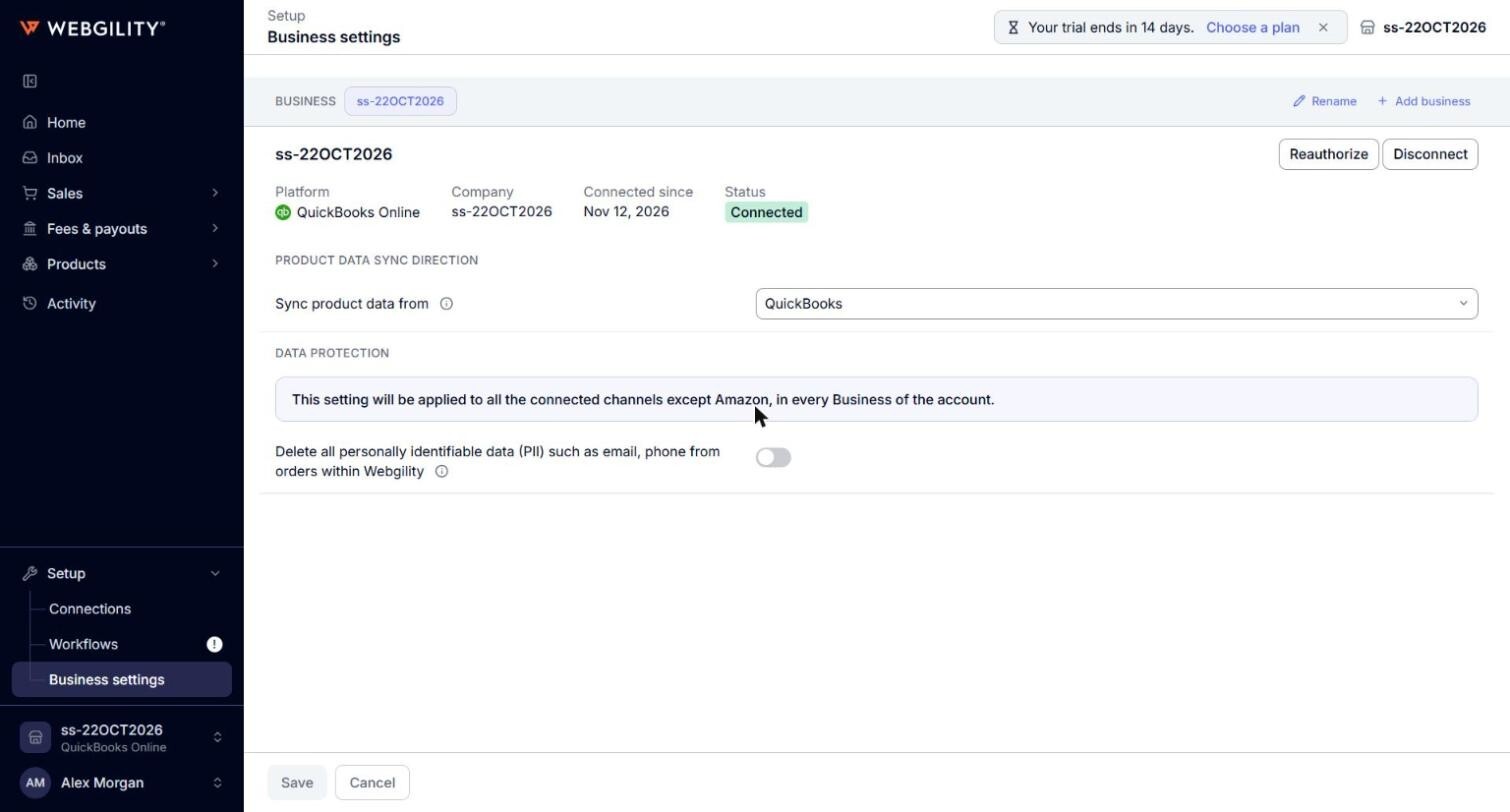
- At the top of the page, next to the business names, click Add business. The Add a business panel opens on the right.
Note: If your plan is not an IES plan, the panel shows "Your current plan does not support connecting multiple QuickBooks companies. Please upgrade to an IES plan to add additional entities." If you have reached the number of companies your plan allows, the panel says so. In both cases it shows ADD A PLAN instead of Connect to QuickBooks. Click ADD A PLAN to upgrade, or buy an IES plan at https://www.webgility.com/pricing. See How to Manage Your Account and Subscription.
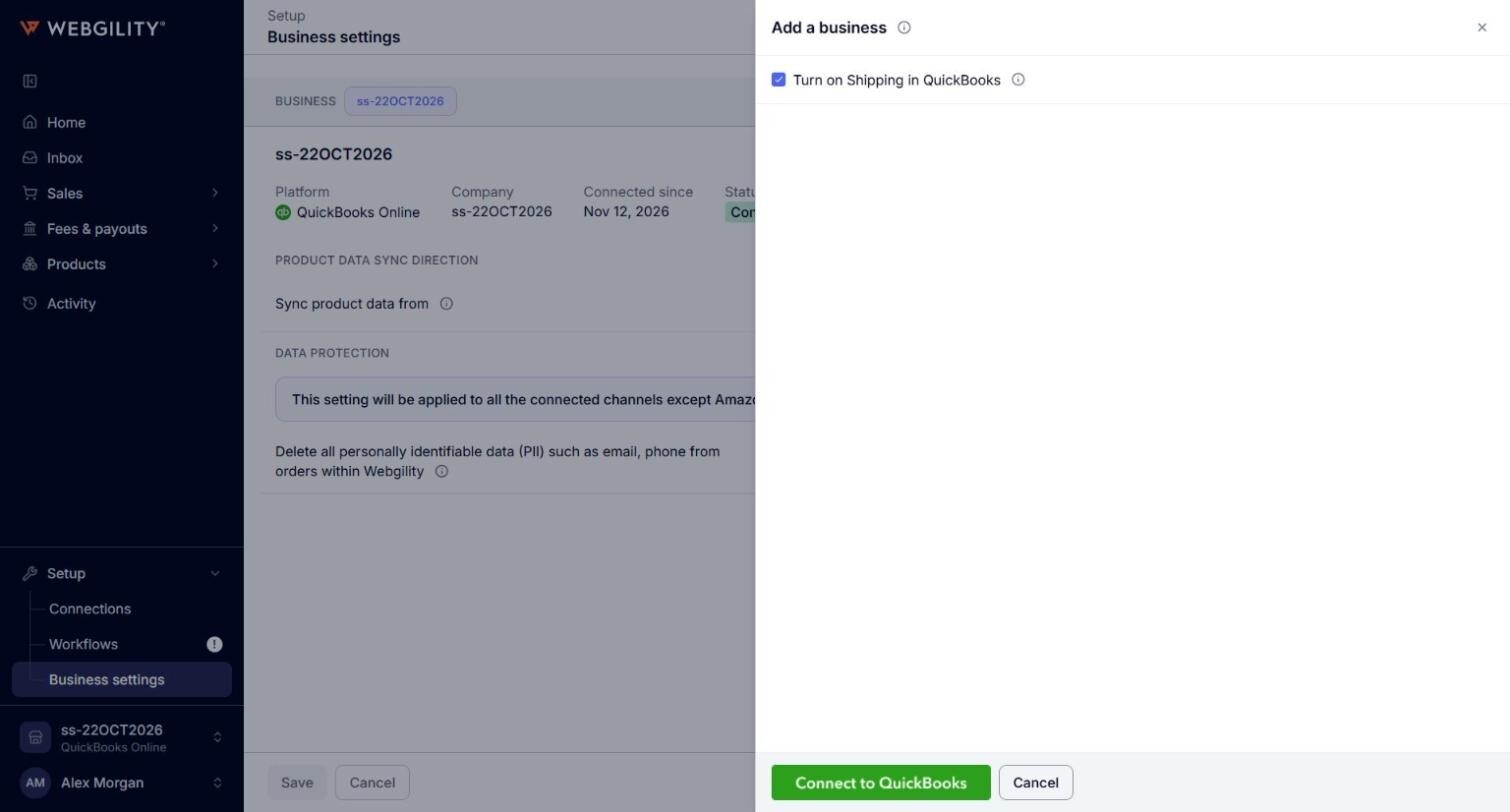
- Leave Turn on Shipping in QuickBooks selected, so the shipping charge of an order posts on the shipping line in QuickBooks Online. Clear the box only if you want to leave the settings of that QuickBooks Online company as they are. See How to Turn On Shipping in QuickBooks Online.
- Click Connect to QuickBooks in the panel. A sign-in window from Intuit opens.
- Sign in to your Intuit account, select the QuickBooks Online company of the new business, and approve access for Webgility. Pick a company that no other business uses.
- Wait while the panel shows Connecting QuickBooks Online…. This can take up to half a minute. Do not click the button again.
- When the connection is complete, Webgility i creates the business, names it after the QuickBooks Online company and shows it. Business settings opens on the new business with the message "QuickBooks Online is connected to this business."

- Connect the stores of the new business. Go to Setup > Connections and click Add connection. See How to Connect Your Sales Channel to Webgility i.
Note: If you close the Intuit window or the connection does not complete, no business is created.
Steps: Switch to another business
- At the bottom of the left menu, click the business name. Under the name, the menu shows QuickBooks Online when the business has a connected company, or a Connect accounting link when it has none. The link opens Business settings.
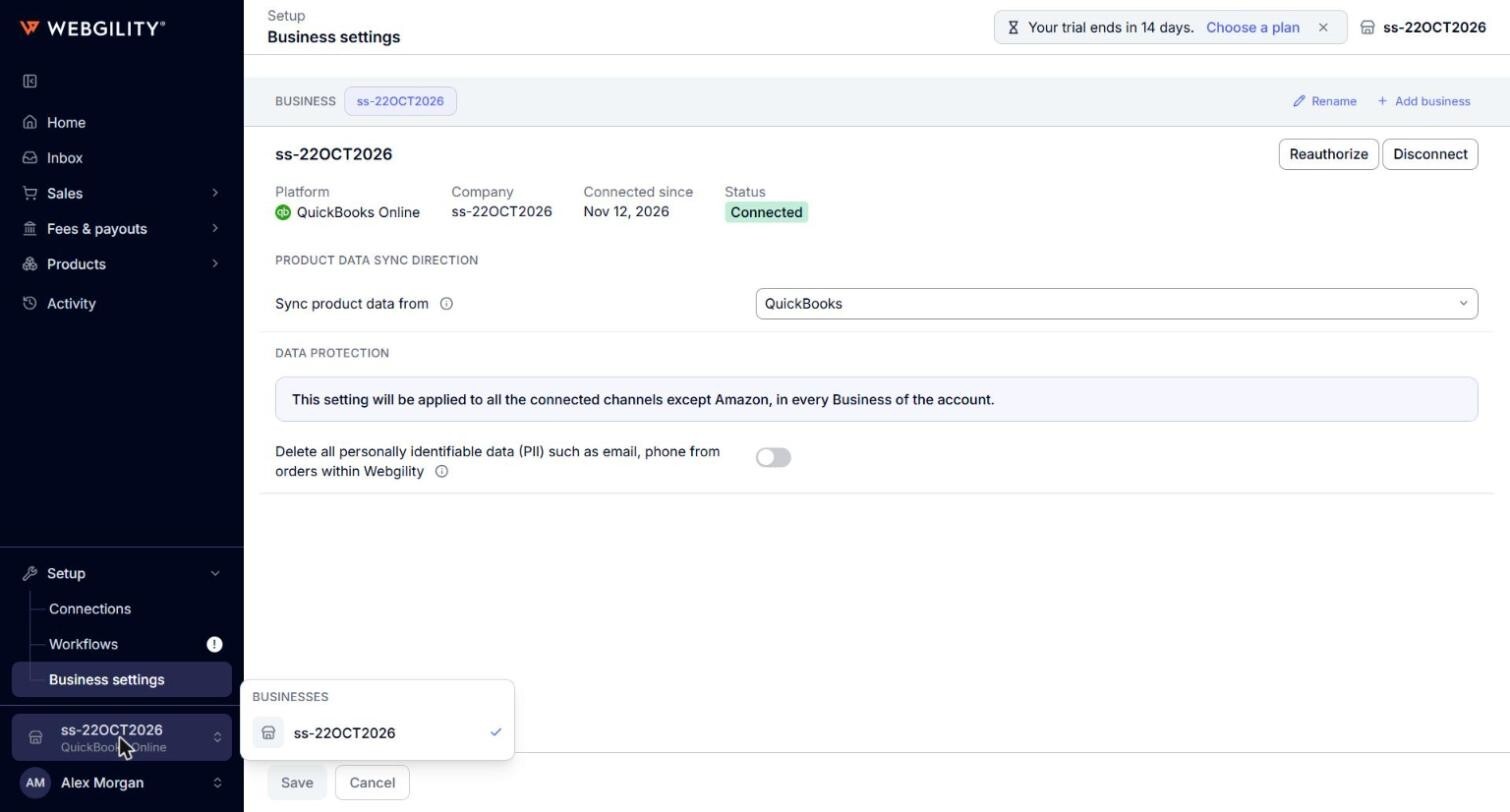
- Under Businesses, click the business you want to view. The page you were on opens again with the data of that business, and its name shows at the bottom of the left menu and at the top right of the page.
Note: You can also switch on Setup > Business settings: click the name of a business in the row at the top of the page.
Rename a business
- Go to Setup > Business settings and select the business.
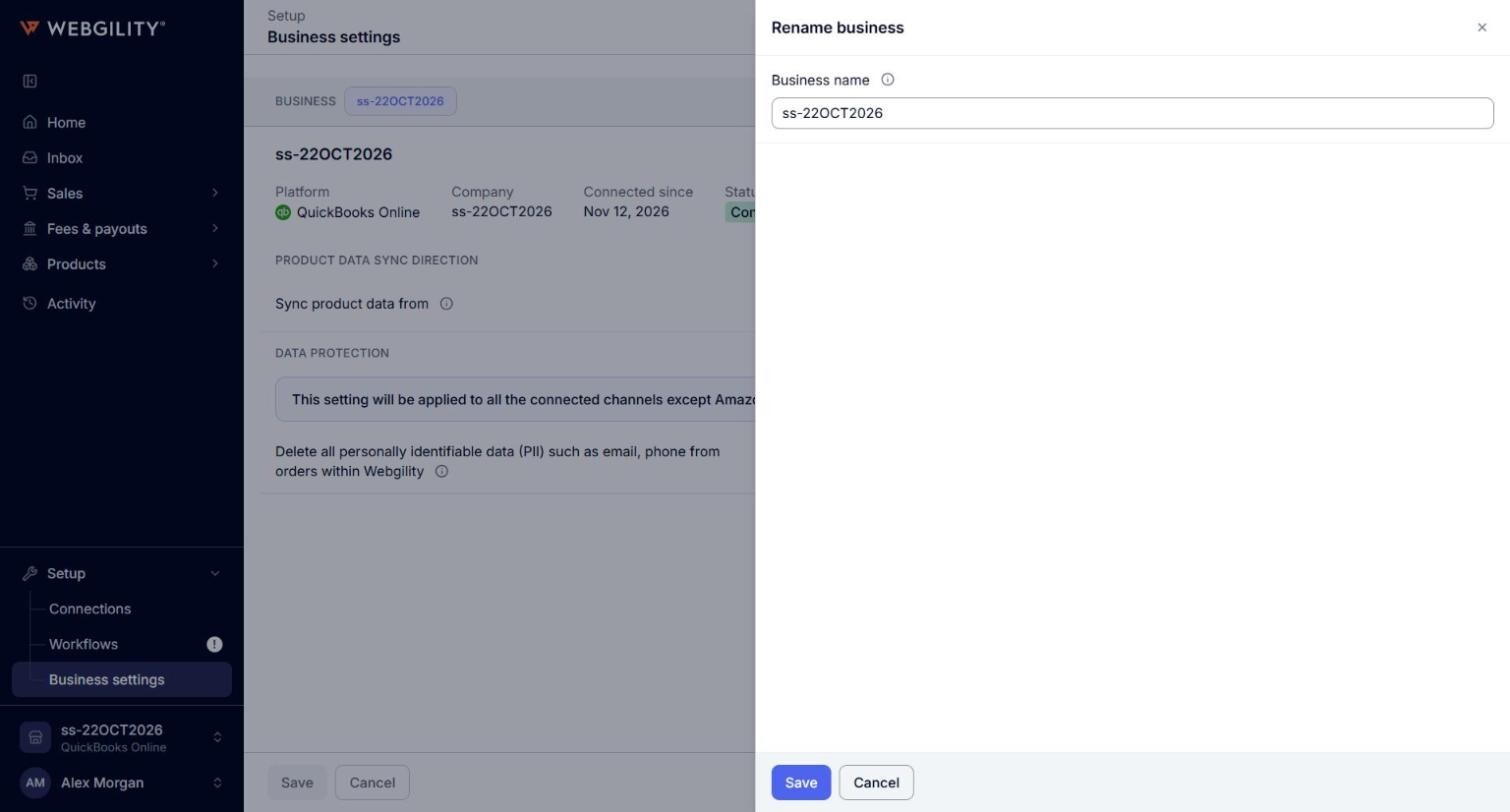
- Click Rename. In Business name, type the name every page should show for this business. Leave the box empty to use the name of its QuickBooks Online company.
- Click Save. The page shows "The business is renamed."
If adding a business does not complete
- "Your current plan does not support connecting multiple QuickBooks companies", or a message that your plan allows a set number of QuickBooks companies: upgrade to an IES plan with ADD A PLAN, or at https://www.webgility.com/pricing, then try again. See How to Manage Your Account and Subscription.
- "Another business already uses this QuickBooks company": select a different company at Intuit.
- "Stores outside this business also use this QuickBooks company": select a different company at Intuit, or contact Webgility support.
- A message that Webgility connects companies in the United States, Canada, the United Kingdom and Australia: the company you selected is in another country. Select a different company at Intuit.
- "Still connecting QuickBooks Online": the connection is taking longer than usual. Click Check again after a minute.
- A message with a reference number that asks you not to try again: contact Webgility support and share the reference.
If your plan covers fewer companies than you have connected
On Home and Business settings, Webgility i shows the message "Your plan does not cover all your connected QuickBooks companies". Click ADD A PLAN to upgrade to a plan that includes IES (you can also buy one at https://www.webgility.com/pricing), or click Disconnect next to a company you no longer need. Not now closes the message.