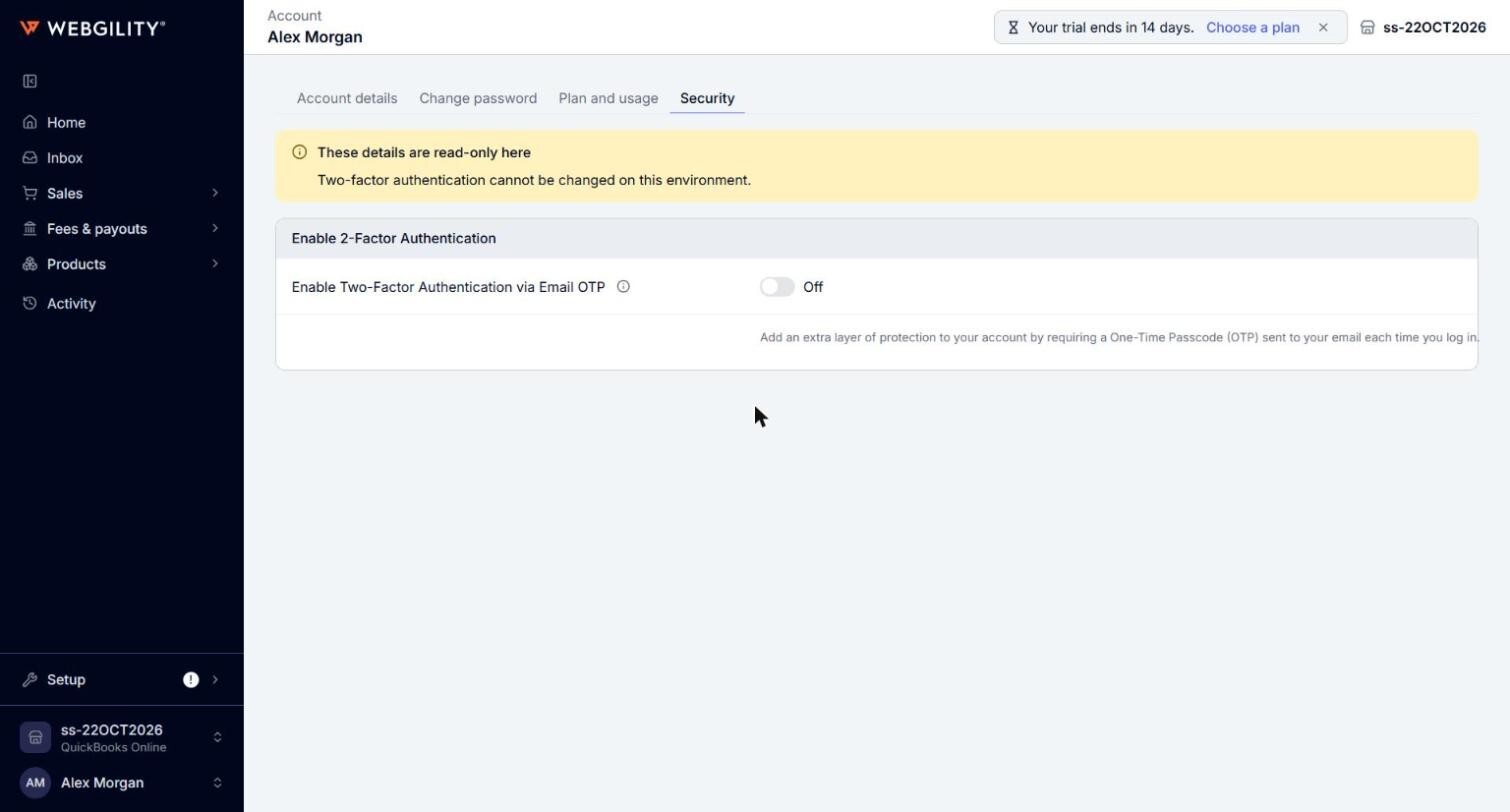
Everything starts from the menu under your name at the bottom of the left menu.
The account menu
At the bottom of the left menu, click your name. The menu shows your name and email, then these items:
- My account: your account details, password, plan and usage, and sign-in security.
- Users: the people who can sign in to this account. Only the primary user of the account can see them.
- Subscriptions: opens your billing portal from the Plan and usage tab. It shows once your account has a paid plan, not during a trial.
- Help & support: opens Webgility support in a new tab.
- Be an advisor: opens the Webgility customer advisory panel page in a new tab.
- Log out: signs you out of Webgility i.
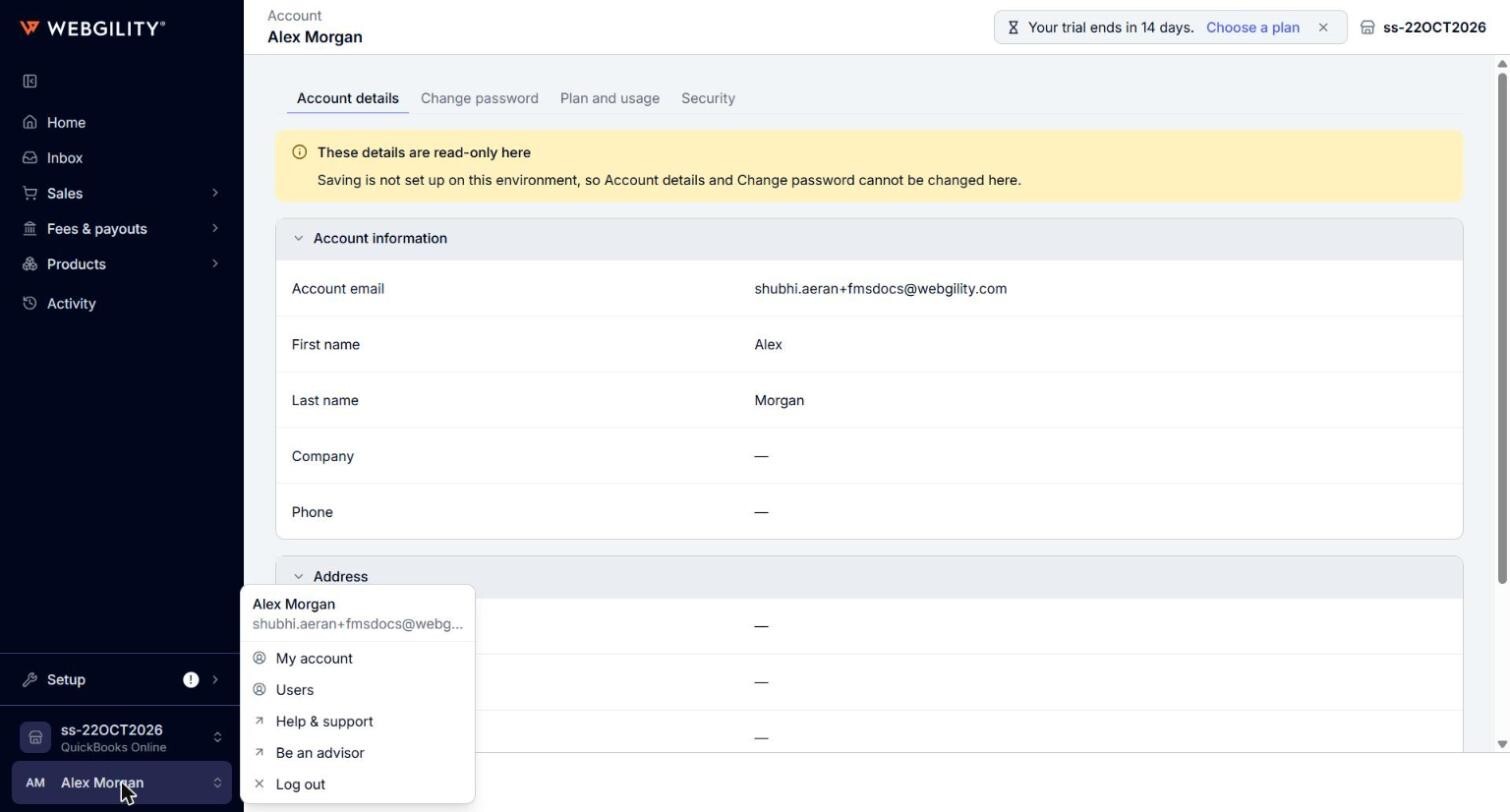
Steps: Update your account details
- Click your name at the bottom of the left menu, then click My account. The page opens on the Account details tab.
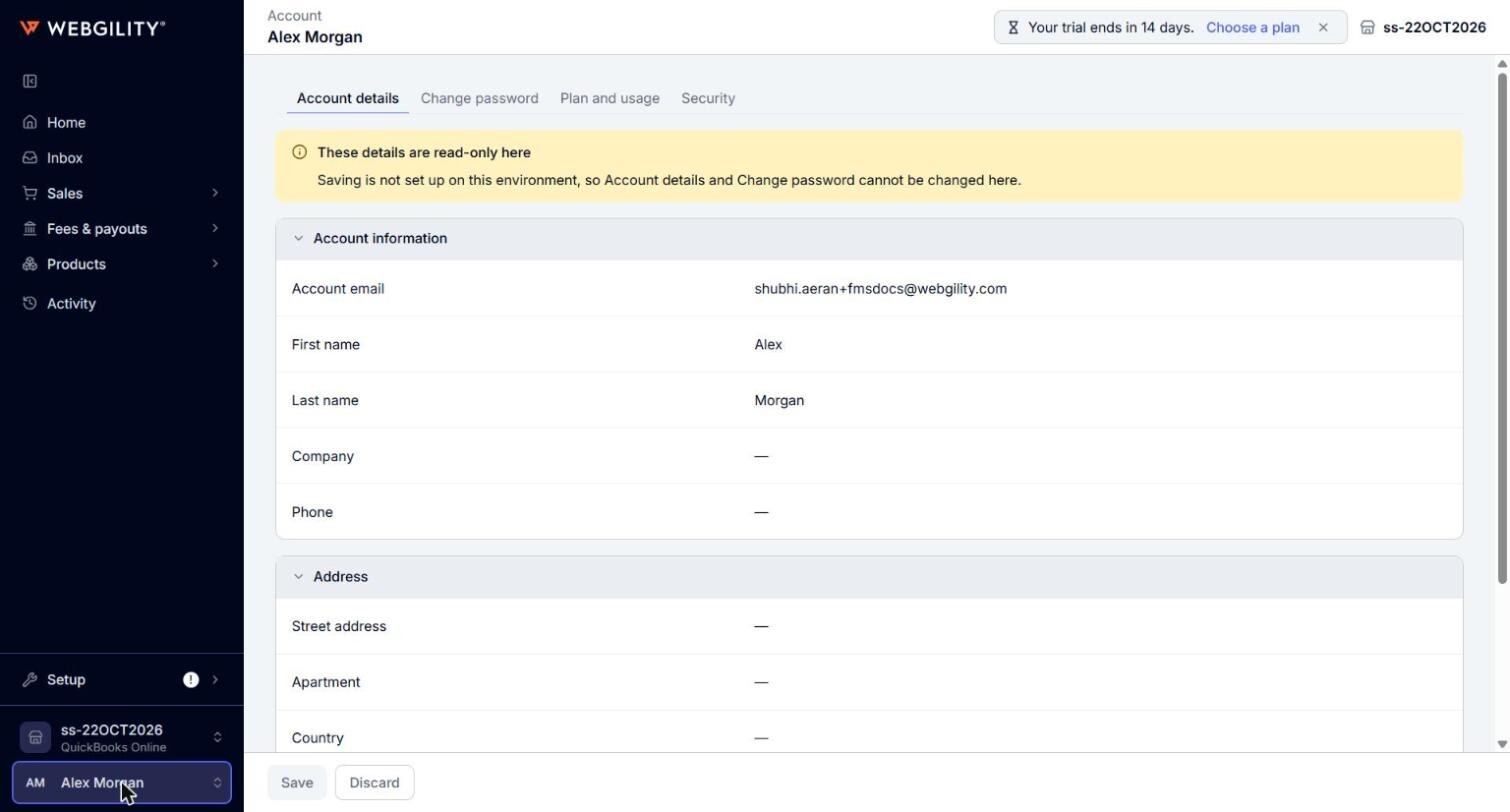
- In Account information or Address, click Edit.
- Change the details you need: First name, Last name, Company, Phone, and the address fields from Street address to Zip code.
- Click Save. The page shows "Account details saved." To leave without saving, click Discard.
Note: Only the primary user of the account can change the account email. When you change your email, Webgility i asks you to confirm: click Save again. You are then signed out and sign in again with the new email.
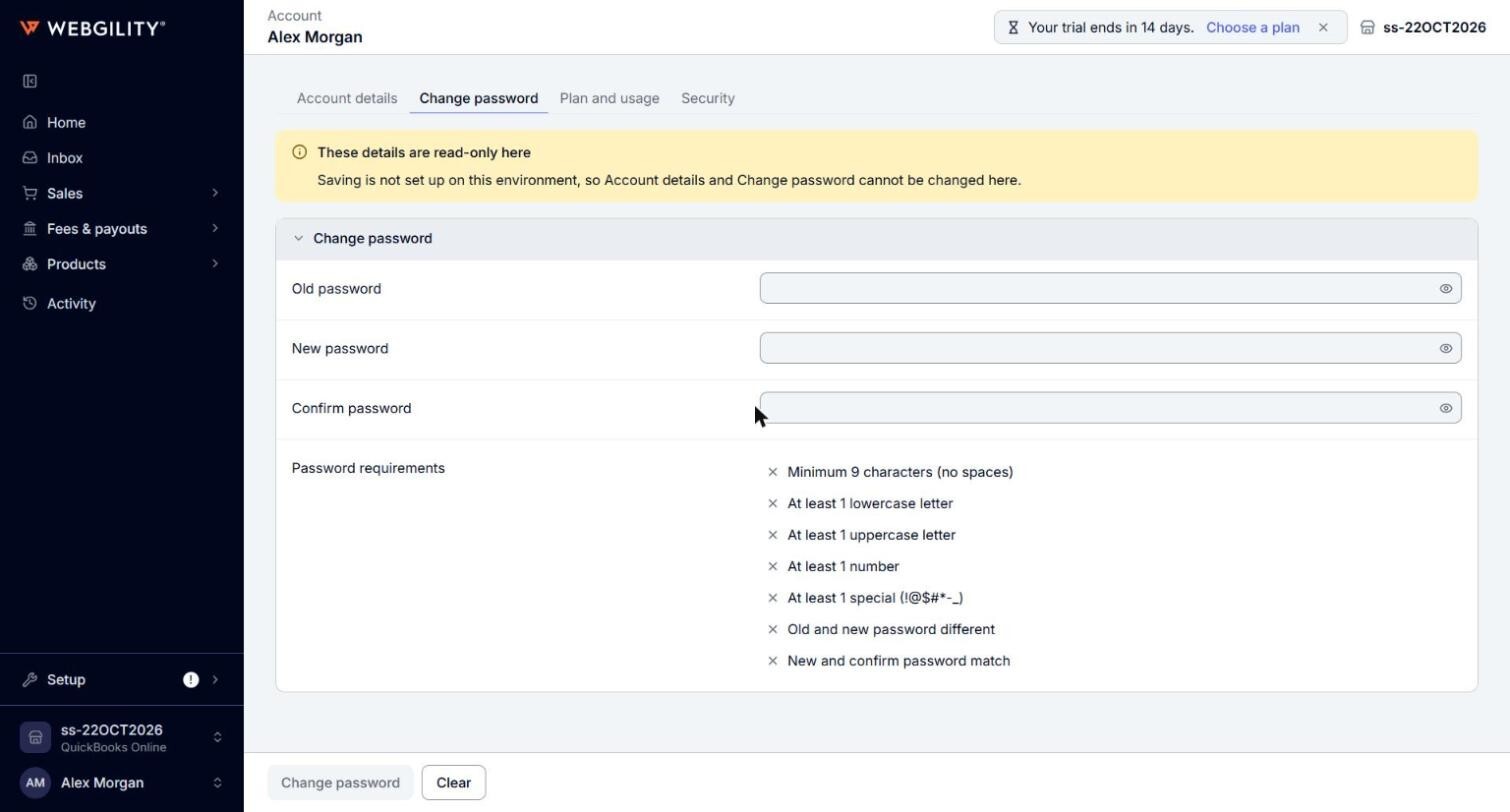
Steps: Change your password
- On My account, click the Change password tab.
- Enter your Old password, then your New password in New password and Confirm password. The new password must meet the Password requirements listed on the tab.
- Click Change password, and confirm. Changing your password signs you out. Sign in again with the new password.
Steps: View your plan and usage
- On My account, click the Plan and usage tab.
- Under Plan details, check your Plan. During a trial, the card shows the Trial expiration date. On a paid plan, it shows the Billing cycle, Next billing date and Next invoice.
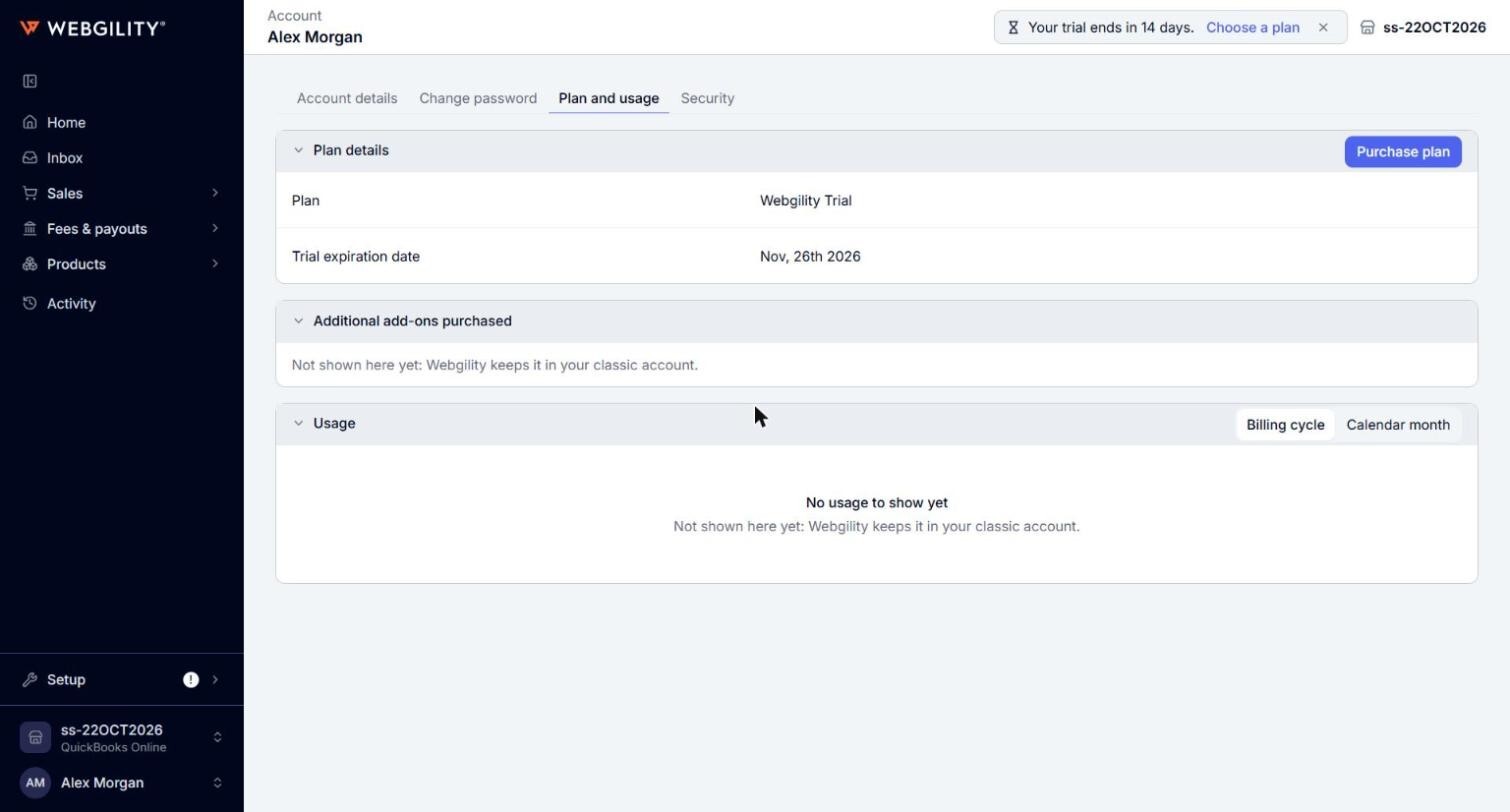
- Under Plan benefits, check what your plan allows, such as Orders, Users and Sales channels. Additional add-ons purchased lists the add-ons you bought, if any.
- Under Usage, check the orders downloaded and synced each month. Pick Billing cycle or Calendar month to change how the months are counted.

Steps: Buy or change your plan
- On My account, click the Plan and usage tab.
- During a trial, click Purchase plan to choose and buy a plan.
- On a paid plan, click Modify plan to open your billing portal, where you change your plan and billing details.
Note: During a trial, the top of every page shows how many days your trial has left. Click Choose a plan there to open the Plan and usage tab.

Steps: Turn on two-factor authentication
- On My account, click the Security tab.
- Under Enable 2-Factor Authentication, turn on Enable Two-Factor Authentication via Email OTP. You then receive a 6-digit one-time passcode at your registered email each time you sign in.
- Click Save. The page shows "Account settings updated".
Note: Only the primary user of the account can change two-factor authentication.