
A rule picks out some of the orders or refunds of one sales channel, for example orders over 500 or orders from wholesale customers, and posts them to QuickBooks Online with settings that differ from the Default. Orders that no rule matches keep posting with the Default.
Note: You can add rules to Orders to accounting, Consolidated orders to accounting, Refunds to accounting and Consolidated refunds to accounting. Payouts to accounting has a Default only and takes no rules.
Steps:
- Go to Setup > Workflows.
- Click Add rule. A menu lists each workflow that takes rules, with the sales channels under it. Select the sales channel the rule is for, under the workflow you want. For a store with sub stores, select the marketplace under the store's name.
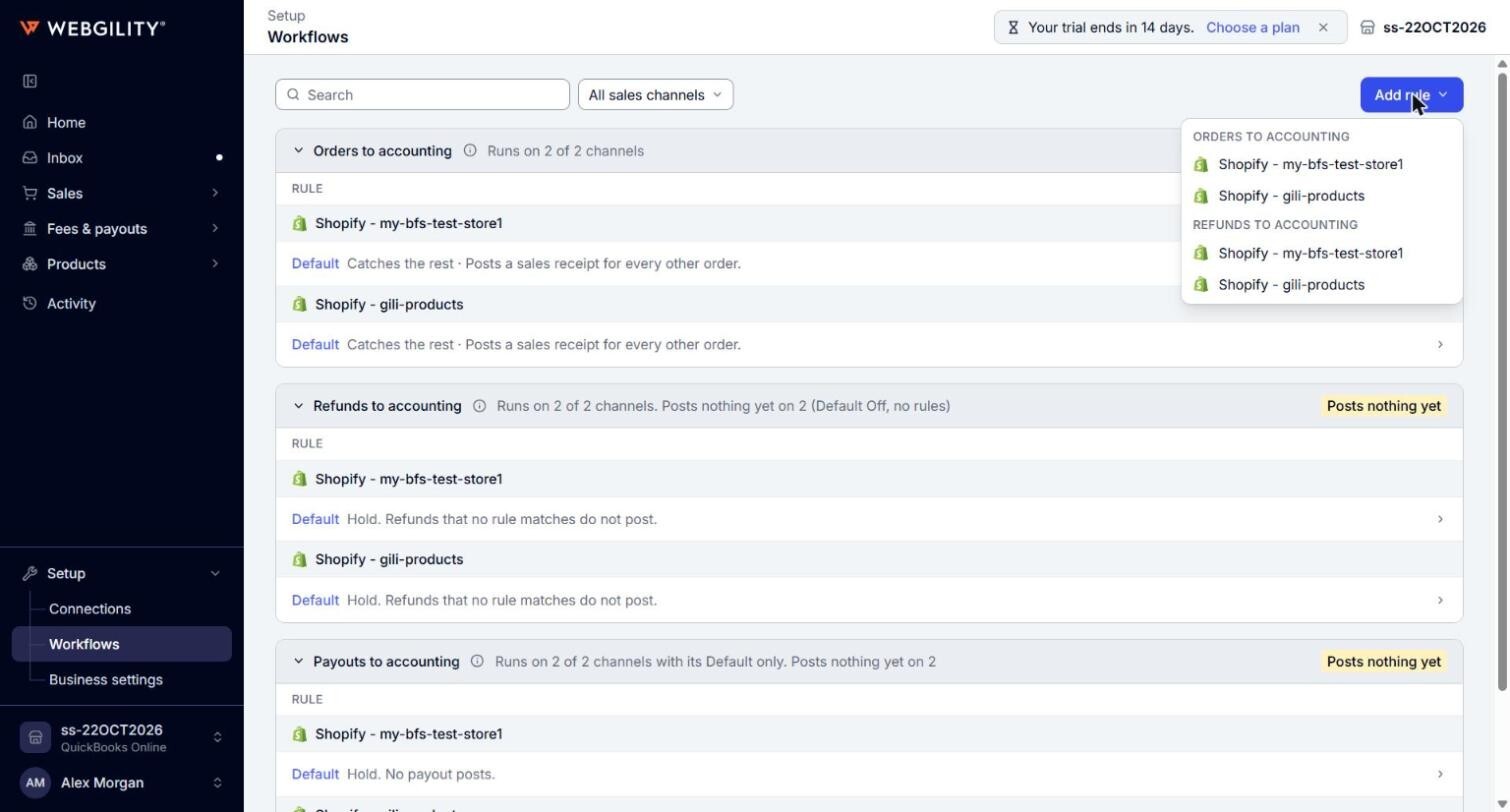
Note: To get a shorter menu, select a sales channel with the All sales channels filter first. The menu then lists the workflows of that sales channel only. If only one choice is possible, Add rule opens the new rule directly. If Add rule is greyed out, no workflow in view takes rules.
- The New rule screen opens. Check the sales channel next to Applies to. To add the rule to a different sales channel, click it and select another one.
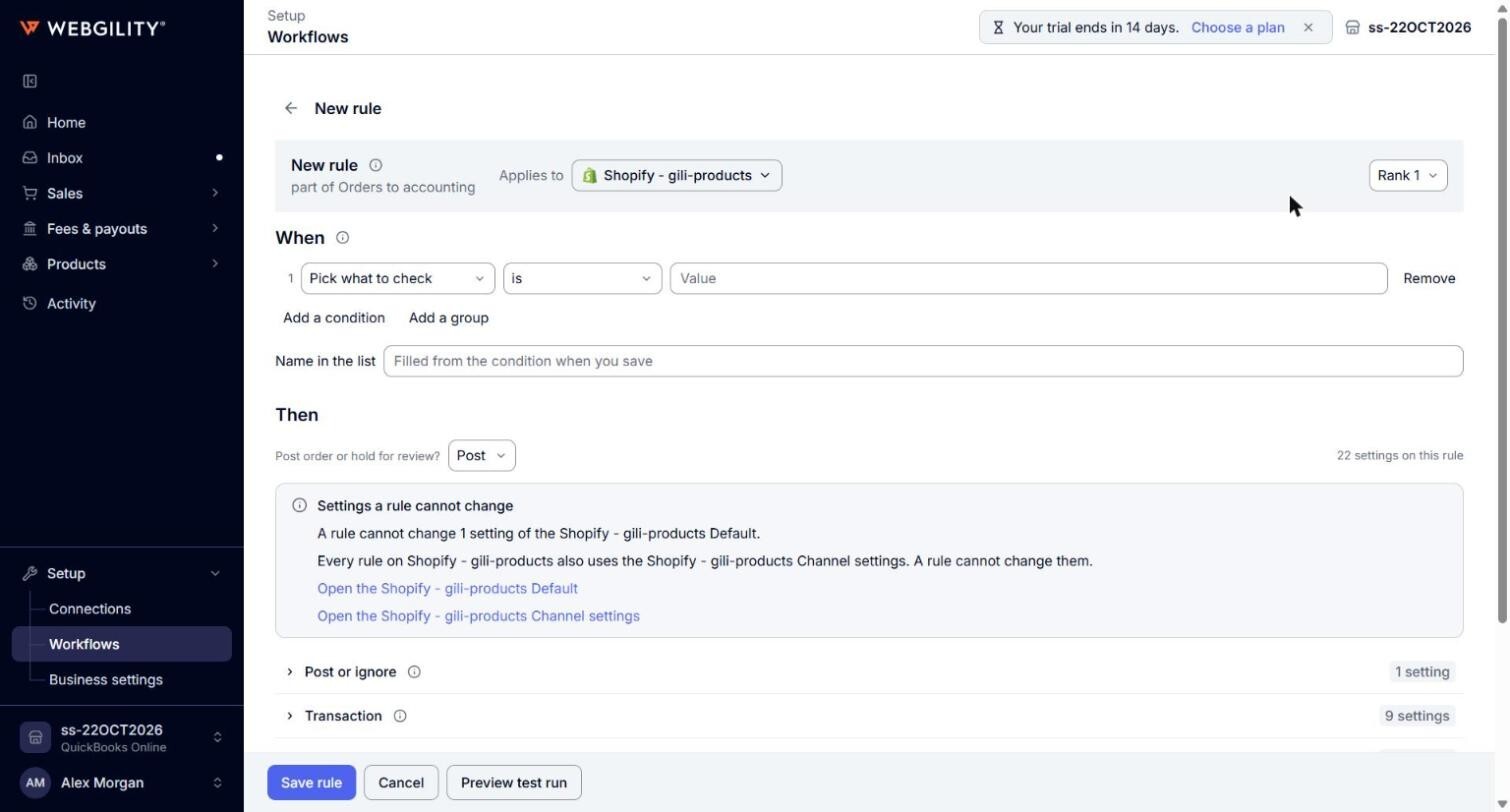
Note: A rule applies to one sales channel, or to one marketplace of a store with sub stores. To use the same rule on another sales channel, add it there as well.
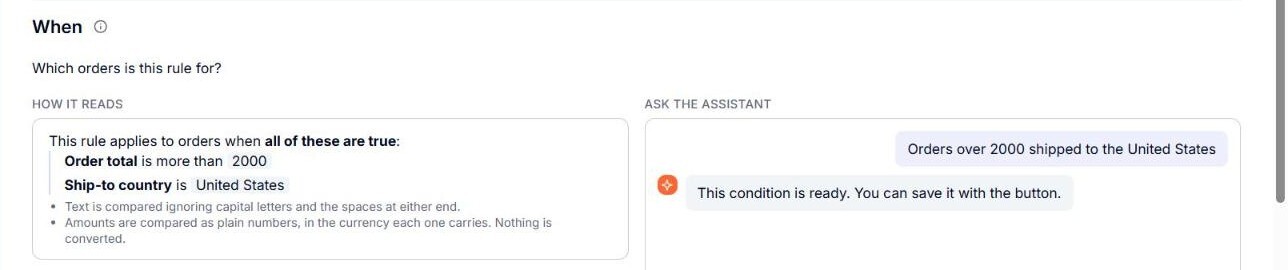
- Under When, tell the assistant which orders the rule is for. In the Ask the assistant box, describe them in your own words, for example "Orders over 2000 shipped to the United States", and click Send. You can also click one of the ideas offered, such as Orders over 500, and then Send.
- Read How it reads. It shows the condition the assistant set, for example "This rule applies to orders when all of these are true: Order total is more than 2000, Ship-to country is United States". It is the condition exactly as Webgility i will check it. To change it, send another message. See How to Use AI Assistance to Set Up Rule Conditions.
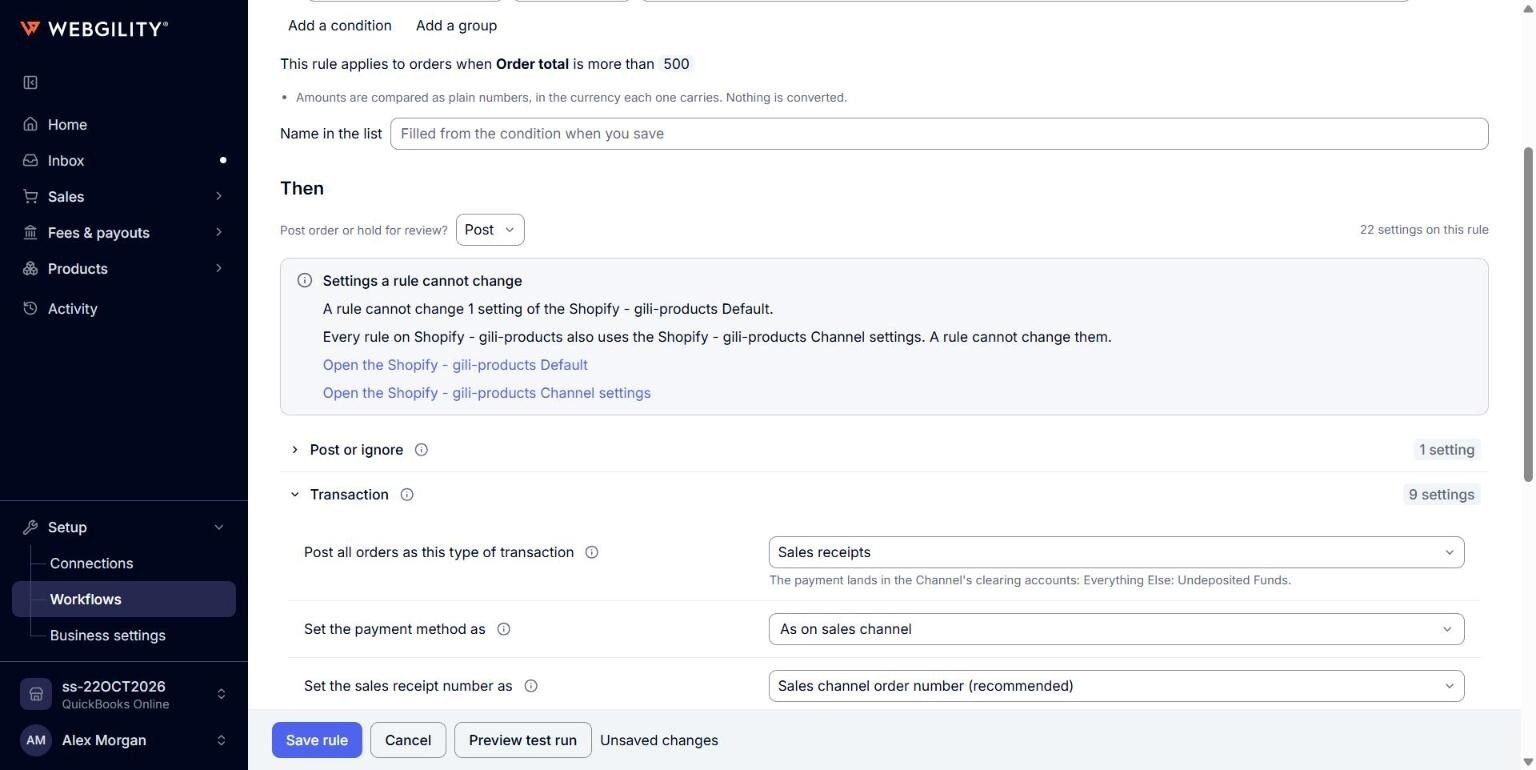
- In Name in the list, enter a name for the rule, or leave it empty. An empty name is filled from the condition when you save.
- Under Then, choose what the rule does in Post order or hold for review?. Select Post to post the matching orders with this rule's settings, or Hold to keep them from posting. Held orders wait on the Orders page until you change or delete the rule.
- If the rule posts, change the settings that should be different for the orders it matches. A new rule starts with a copy of the settings of the Default of its sales channel, so change only what needs to differ. Click a section, such as Transaction or Payments, to open it.
- Optional: check the rule's position in the Rank dropdown at the top right. A new rule is added after the existing rules of its sales channel. See How to Change the Priority (Rank) of Your Rules.
- Optional: click Preview test run to compare what this rule posts with what the Default posts. The preview saves nothing.
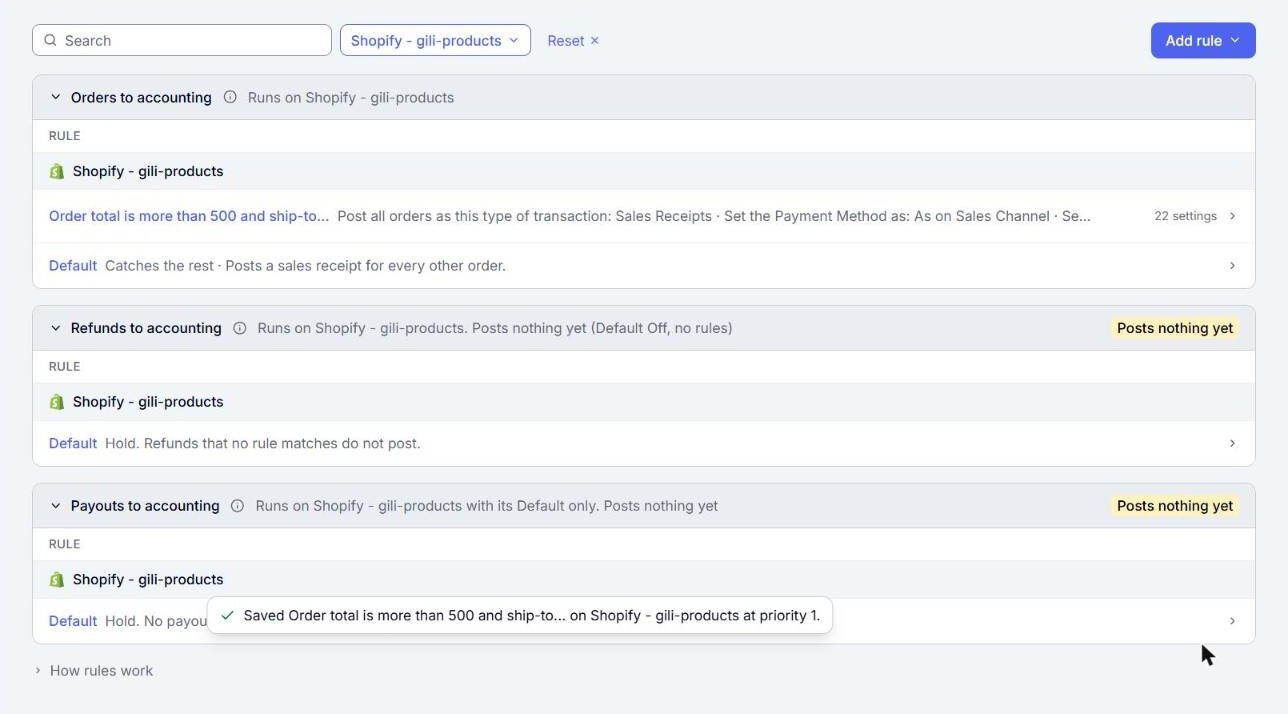
- Click Save rule. The Workflows page shows the new rule, and a message confirms it, for example "Saved Orders over 500 on Shopify US at priority 2." The priority is the rule's rank.
If Save is blocked
When something is missing, the screen shows Save is blocked. with a list of what to fix. Click an item in the list to go to it.
- "Add a condition. Say when this rule should apply.": the rule has no condition yet. Complete steps 4 and 5.
- A message on a setting: a setting the rule needs has no value. Fill it in.