
Part of How to Configure Your Business Settings in Webgility i.
What each section shows
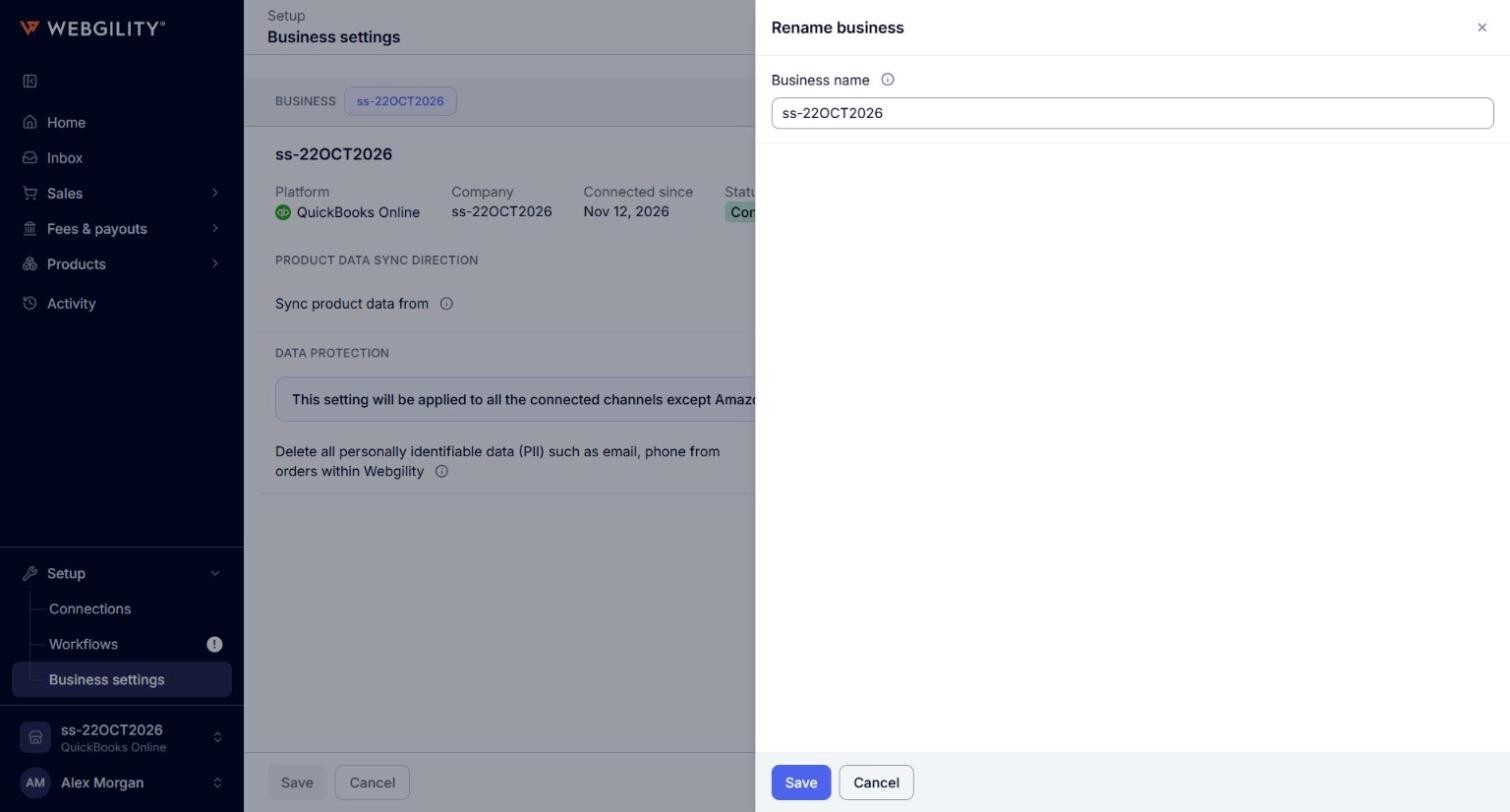
The Business row
- Business: one name for each business on your account. The selected name is the business the page shows.
- Rename: opens the Rename business panel. Type a new name in Business name and click Save. The name can have up to 100 characters and must not match another business. Leave the box empty to use the name of the QuickBooks Online company again. Renaming changes the name in Webgility i only, not the name of the QuickBooks Online company.
- Add business: connects another QuickBooks Online company as a new business. This needs an IES plan; see https://www.webgility.com/pricing. See How to Add and Switch Between Multiple Businesses.
The QuickBooks Online company
- Platform: QuickBooks Online, or "—" when the business has no company connected.
- Company: the name of the QuickBooks Online company.
- Connected since: the date the company was connected.
- Status: Connected, Disconnected or Not connected. A connected company can also show Stopped in red, when QuickBooks Online no longer accepts the sign-in, or Paused in amber. A line under the details says what to do, for example "Choose Reauthorize to resume." for a stopped company, or "Contact Webgility support." for a paused one.
- Reauthorize: signs in to the same QuickBooks Online company again, so Webgility i can keep posting to it. Nothing already posted changes. Use it when the status is Stopped, or when the page warns that Webgility i could not refresh the QuickBooks Online sign-in.
- Disconnect: stops this business from posting to its QuickBooks Online company. Posting stops for every store of the business, and orders wait with their status. Connecting the same company again later keeps the settings of the business, and the orders that waited then post.
- Connect to QuickBooks: shows for a business with no company connected. See How to Connect Your QuickBooks Online Account to Webgility i.

Note: After a disconnect, the company block shows "Disconnected on" and the date. To connect the same company again, click Connect to QuickBooks and pick that company when Intuit asks. To use a different QuickBooks Online company for the business, click Connect a different company.
Product data sync direction
- Sync product data from: the system whose inventory, cost and price values product syncs copy to the other system, overwriting the values there. Options: QuickBooks, or one of the sales channels of this business. Default: QuickBooks. Choosing a system only sets the direction. It does not sync any data. See How to Set the Product Sync Direction.
Note: If the business has no sales channel yet, the section shows "This Business has no sales channel yet." instead of the setting.
Data protection
- Delete all personally identifiable data (PII) such as email, phone from orders within Webgility: deletes personal data, such as email and phone, from the orders Webgility i holds. Options: on or off. Default: off. It applies to all connected sales channels except Amazon, in every business of your account.
- Delete: when the personal data is deleted. Shows while the switch above is on. Options: In 7 days, In 15 days, After 30 days of posting to accounting. Default: After 30 days of posting to accounting.
- Do not delete any PII data if orders are: keeps the personal data on orders that are not posted yet. Shows while the deletion switch is on. Options: on or off. Default: on.
- Orders are: the orders whose personal data is kept. Shows while the switch above is on. Options: not posted to accounting.
See How to Manage Personally Identifiable Information (PII) in Webgility i.
Email notifications
- Enable email notifications for automation?: sends a summary email after each nightly automation run. It is one email a day for every store of your account, sent to the sign-in email of your account. Options: on or off. Default: on once your account connects its first sales channel.
Note: The Email notifications section shows only after your account has a sales channel connected, and only if your plan includes automation emails. If your plan does not include them and the email is on, you can still turn it off. After that the switch shows "Your plan does not include automation emails." and cannot be turned on again.
