
The Orders page lists the orders of every sales channel in the business you are viewing, in one list.
Steps:
- Go to Sales > Orders in the left menu. The page opens on the All orders tab, newest orders first, 20 to a page.
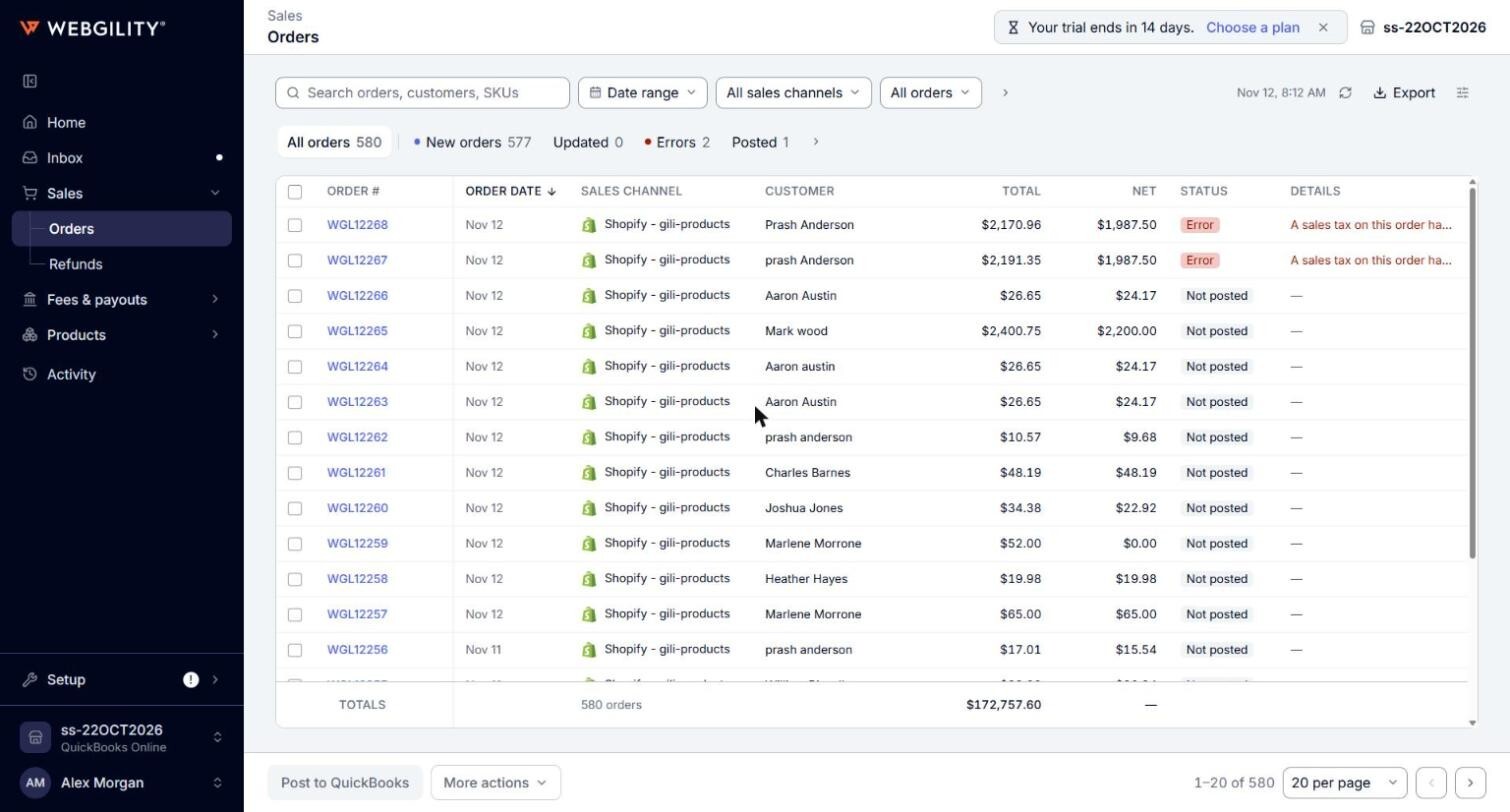
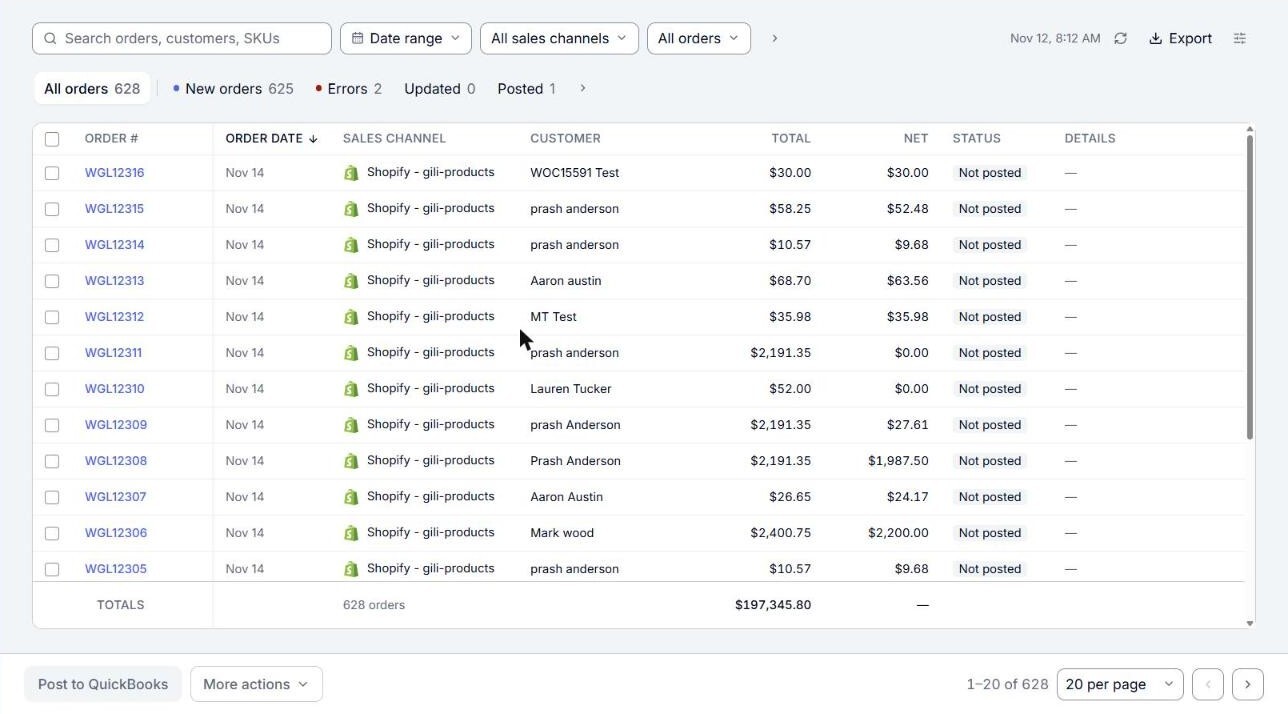
- Click a status tab to see only the orders in that state. Each tab shows how many orders it holds. See the status tabs below.
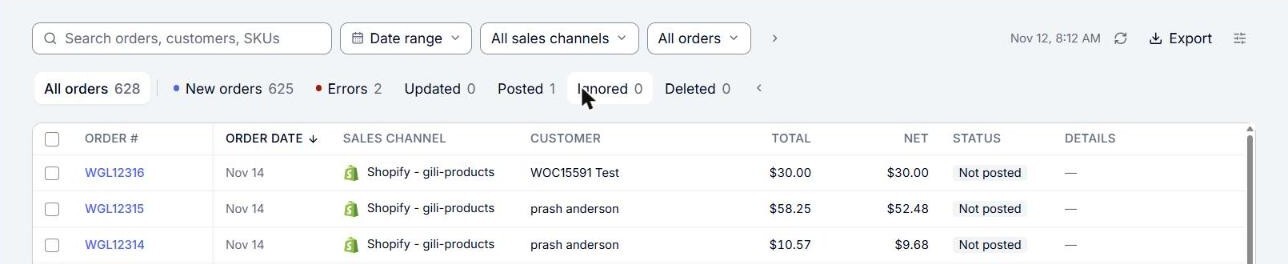
- To see the Ignored and Deleted tabs, click the arrow at the end of the tabs (Show ignored and deleted orders). Click it again to hide them.
- To find an order, type in the box that reads Search orders, customers, SKUs. The list updates as you type. You can search by order number, customer name, SKU of an item on the order, or sales channel name.
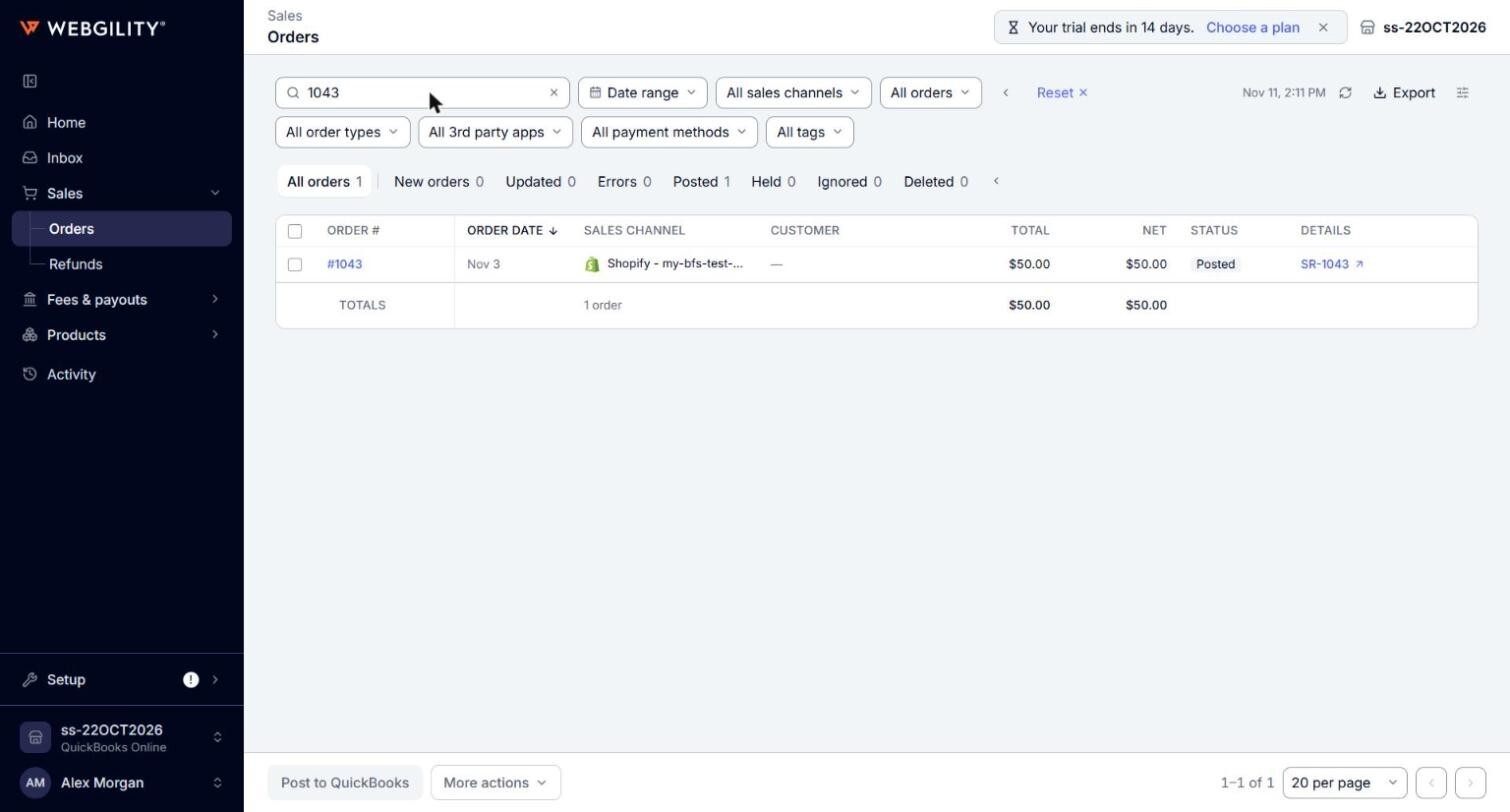
- To narrow the list, use the filters next to the search box. See the filters below. Click Reset to clear every filter and the search at once.

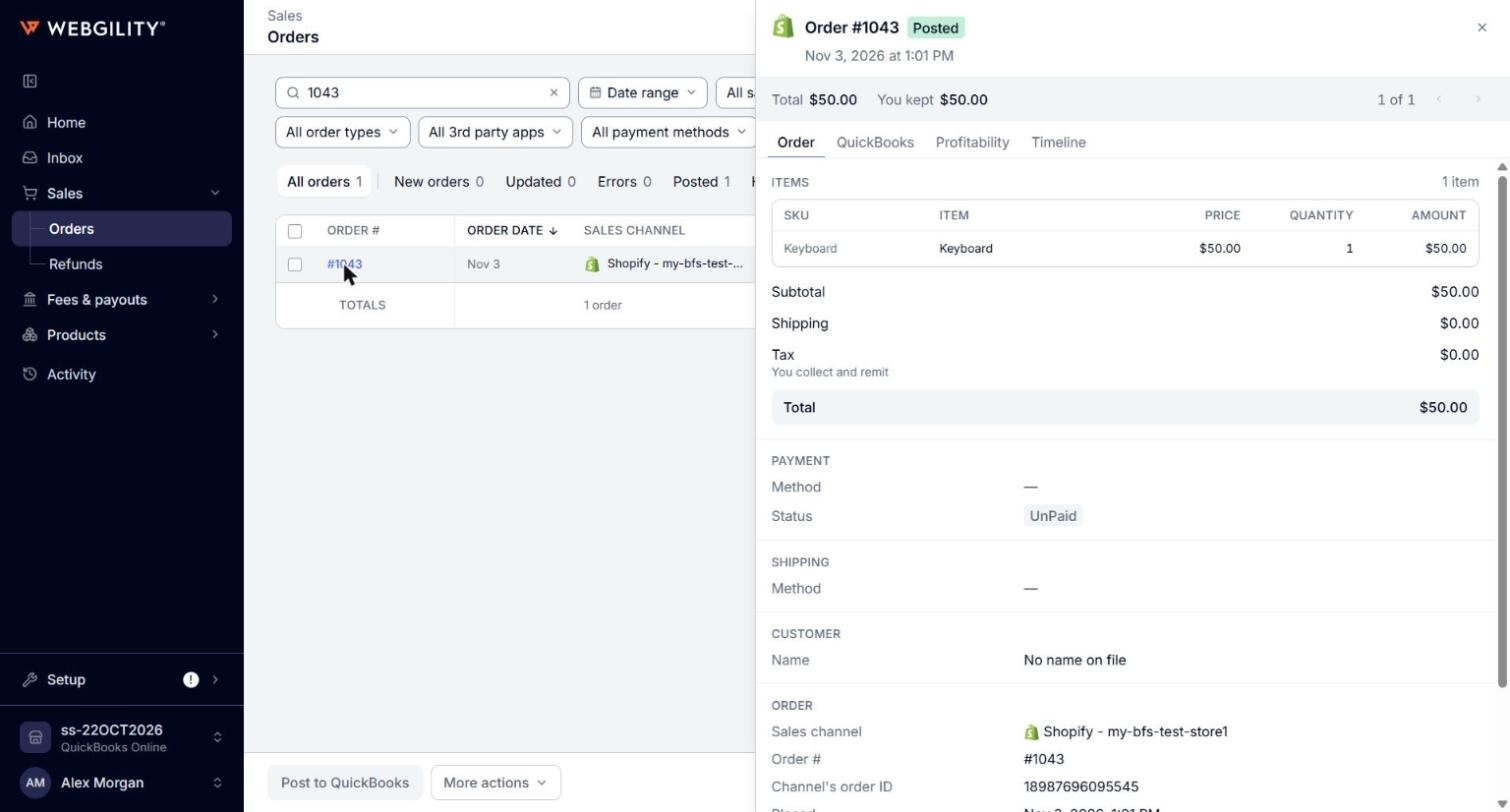
- Click any order in the list to open it in a panel on the right. Use the arrows at the top of the panel to step to the previous or next order in the list. To open the order on a page of its own, click its order number.
The status tabs
- All orders: every order in the list.
- New orders: orders that have not been posted yet and are waiting for their first post.
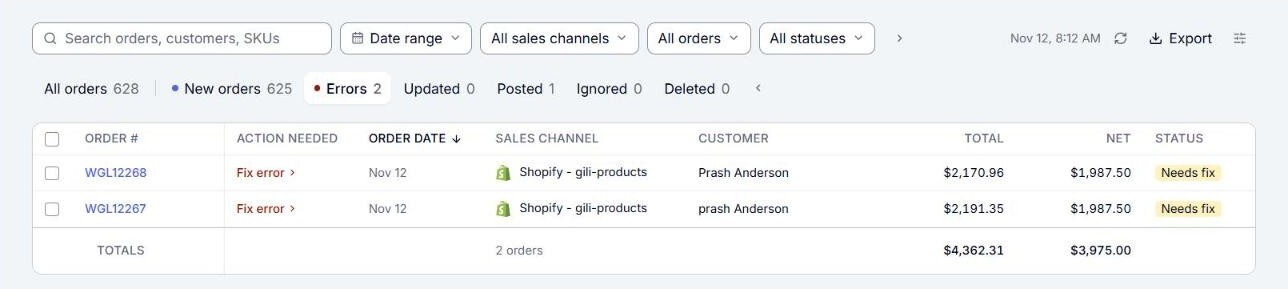
- Errors: every order that is not in QuickBooks Online and will not get there on its own. Its Status says why: Needs fix (something in your setup, such as a product that is not mapped to a QuickBooks item, stopped it before it was sent), Error (QuickBooks Online refused it) or Held by rule (a workflow rule says not to post it). Orders that need a fix are also in the Inbox, many of them as flags. See How to Find and Fix Errored Orders and Understanding Inbox Flags in Webgility i.
- Updated: orders the sales channel changed after they posted. You can accept the change and post it, or reject it. This tab does not show when none of your sales channels in view posts orders one at a time.
- Posted: orders that are in QuickBooks Online.
- Ignored: orders you ignored. They are not posted until you restore them. See How to Ignore and Restore Orders.
- Deleted: orders you deleted from Webgility i. They can be restored.
Note: The New orders, Errors and Updated tabs show a colored dot when they hold orders. The count and dot of Errors count only orders that need a fix or have an error, not orders a rule holds.
The filters
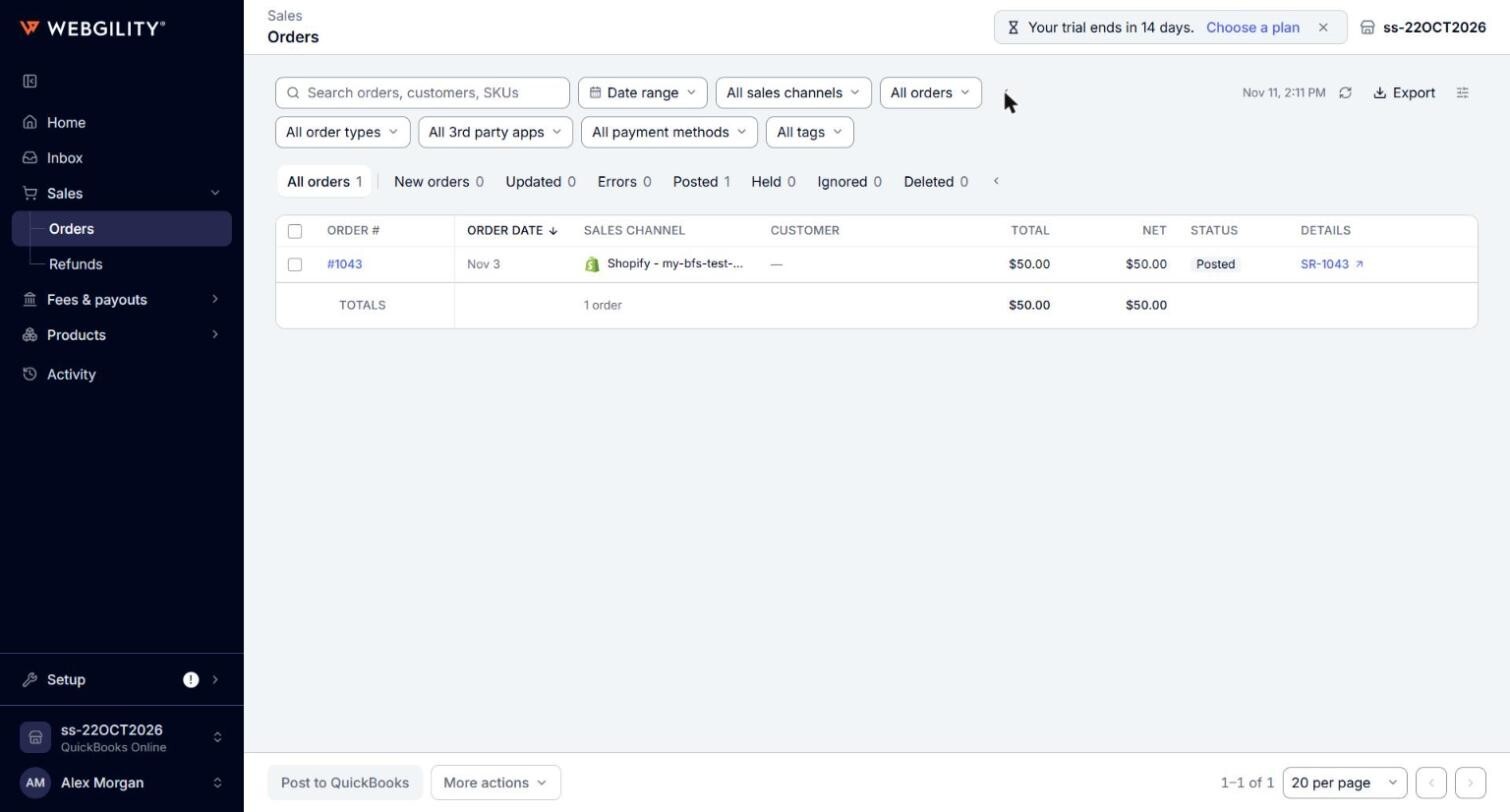
- Date range: choose Last week, Last month, Month to date, Last year or Year to date, or choose Custom range, enter the From and To dates and click Apply.
- All sales channels: choose one sales channel to see only its orders. This filter shows when the business has more than one sales channel.
- All orders: choose the order's status at the sales channel: Open, Fulfilled or Cancelled.
- All statuses (on the Errors tab only): choose Needs fix, Error or Held by rule to see one kind.
- Show filters: opens a second row of filters for All order types, All 3rd party apps, All payment methods and All tags, and All sales channel types when you have more than one store of the same type. A filter you choose moves up to the first row.
Each filter you choose shows an x that clears it. The status tabs count the orders that match your search and filters.
What each order shows
- Order #: the order number at the sales channel.
- Order date: the date the order was placed.
- Sales channel: the store the order came from.
- Customer: the buyer's name.
- Total: what the customer paid, including shipping and tax, less discounts.
- Net: what the order earned after discounts, fees, postage, cost of goods and refunds.
- Status: where the order stands in posting: Not posted, Posting, Posted, Needs fix, Error, Held by rule, Updated, Ignored or Deleted.
- Details: for a posted order, the QuickBooks Online document it became, such as Sales receipt or Invoice. Click it to open the document in QuickBooks Online. For an order that could not post, the reason. This column shows on the All orders and Posted tabs.
- Action needed: on the Errors tab, what to do next: Map product, Fix error, or View rules for an order a rule holds. Point to it to read the reason.
Under the last order, the totals row shows how many orders match and what their customers paid. When you tick orders, it adds up the ticked orders instead.
More on the Orders page
- Rows per page: at the bottom of the page, choose 20, 50, 100, 150 or 300 orders per page, and use the arrows to go to the next or previous page.
- Refresh orders: asks your sales channels to download their newest orders now. Next to it, the page shows when the orders were last downloaded.
- Export: downloads the orders in view as a file.
- Choose columns: adds or removes columns, such as Payment method, Tax or Shipping cost.
- Order panel tabs: the panel shows Order (items, payment, shipping and customer), QuickBooks (what was posted and when), Profitability (what the order earned) and Timeline (the order's history). An order with a refund also shows Refunds.
If the list cannot load, the page shows "Could not load these orders." Click Try again.