
Overview
Assign a QuickBooks class to each sales channel in Webgility. Then filter the Sales by Item Summary report by class to see SKU sales for a specific channel.
Steps- Enable class tracking and create channel classes in QuickBooks Desktop. Go to Edit > Preferences > Accounting > Company Preferences and select Use class tracking for transactions. Then go to Lists > Class List and create a class for each channel, such as Amazon or Shopify.
For detailed instructions, see How to Configure Transaction Classes in Webgility Desktop.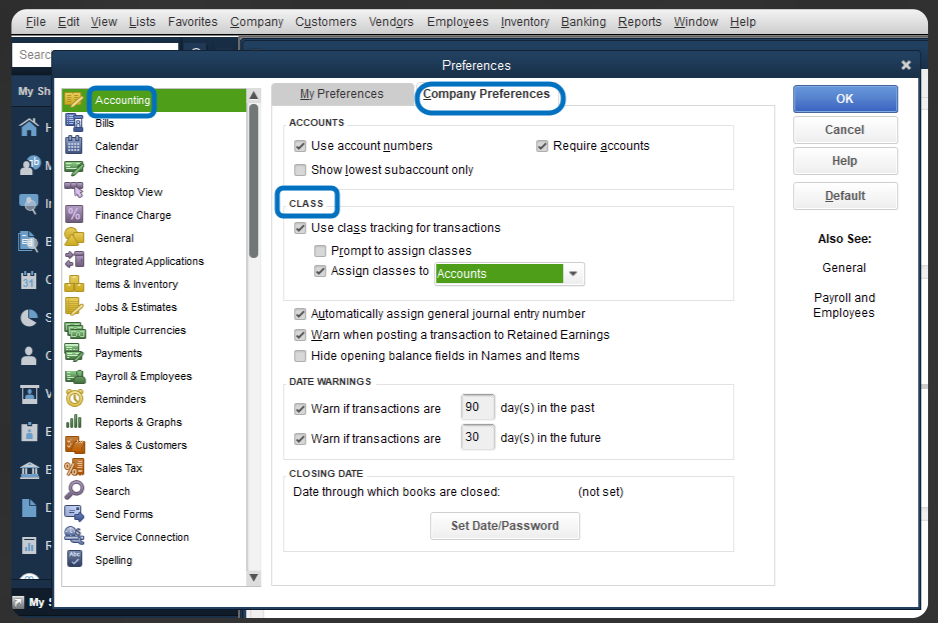
- Assign classes to channels in Webgility Desktop. Go to Connections > Accounting/POS/ERP > Sync Settings > Orders > Posting Rules. Click Setup next to the transaction type you use, select the appropriate class for each channel, and save your changes.
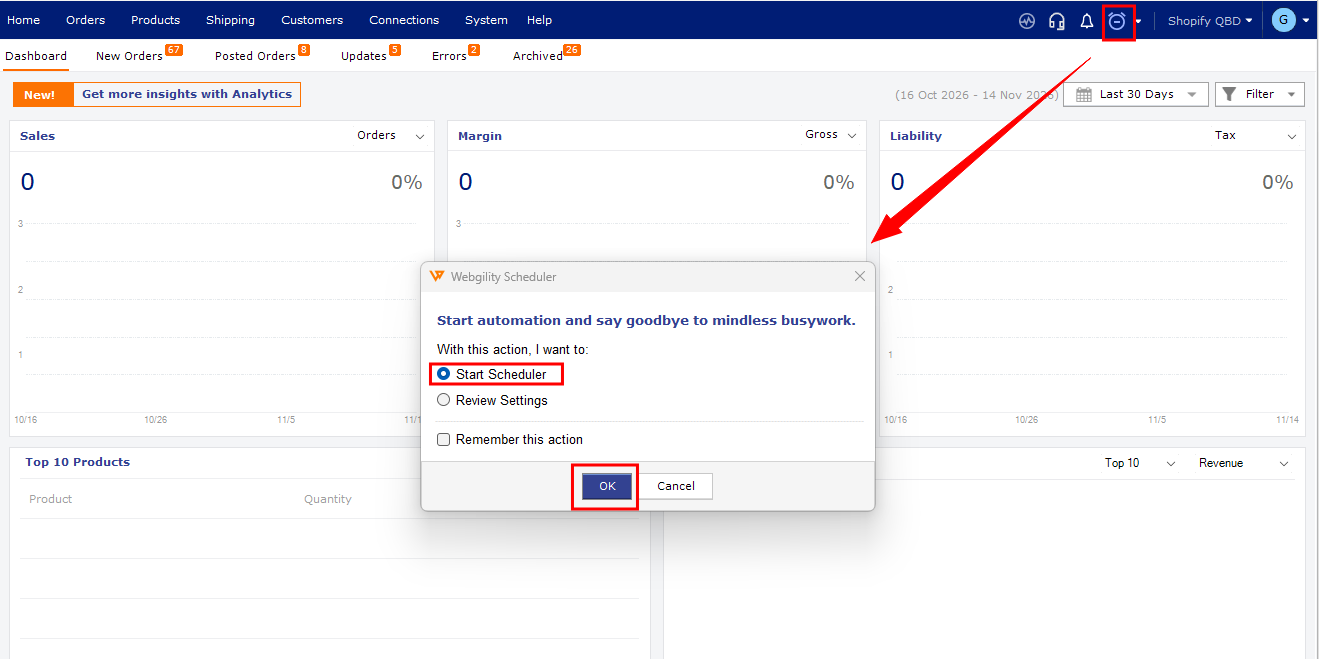
See How to Configure Order Download and Posting Settings for a Sales Channel for more about posting rules. - Start or restart the Scheduler if you use it to post orders automatically. See How to Start or Stop the Scheduler.
- View sales by channel. In QuickBooks Desktop, open Reports > Sales > Sales by Item Summary. Select Customize Report > Filters > Class, choose a channel class, and click OK.
Class assignments apply to orders posted after you save the settings. Previously posted orders keep their existing class.
If you have any questions or need more help, please contact our support team.