Overview
In certain circumstances, it may be necessary to pause or stop the automation (Scheduler), for example, when updating the Webgility application or while modifying the configuration/settings.
Before we begin let's understand the meanings of the Scheduler Icons in Webgility Desktop.

Gray (no color): Automation is off (the Scheduler icon will not be visible in the system tray)

Amber: Automation is ready (the Scheduler icon will be visible in the system tray but the Start button will be clickable)

Green: Automation Running (the Scheduler icon will be visible in the system tray but the Start button will be non-clickable as it is already started and running)

“To keep it simple, the automation is only working when it is green”
These color codes help users quickly identify the status of the Webgility scheduler. They provide visual cues to easily determine whether the scheduler is running or not.
How to start the Automation if it is in OFF State:
A: Launch the Webgility application
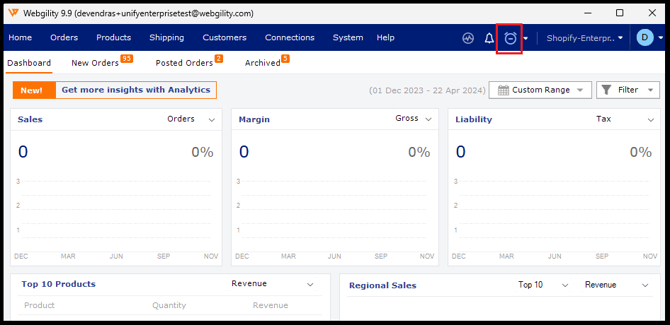
B: Click on the Scheduler icon located in the upper right corner which is currently OFF.
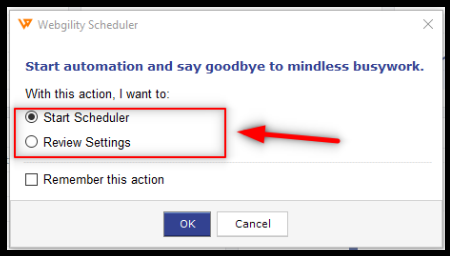
C: Clicking on this icon will open a new window and provide two options to choose from: Start Scheduler, and Review Settings
D: If you have already configured the Scheduler before, then you can directly click on the Start Scheduler option.
How to start automation if it is in a Ready State:
If the automation is “Ready” which is indicated by an amber color icon but not currently running, you may wish to start it. Here is a step-by-step guide on how you can achieve this.
1). Click on the Windows System Tray Icon as shown below.
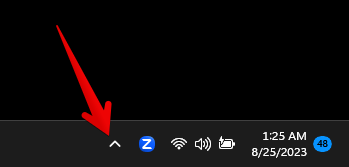
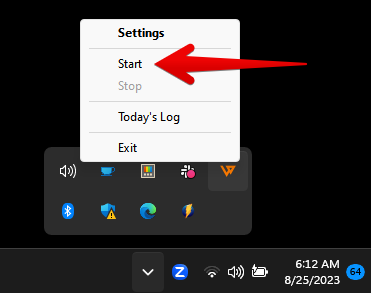
2). You will find the Scheduler Icon which is an orange W icon. Right-click on the scheduler icon.
3). To enable automation click on Start on the pop-up menu.
How to Stop and Exit Automation
1). Click on the Windows System Tray Icon as shown below.

2). Right-click on the scheduler icon which is an orange W icon.
3). Click on Stop.
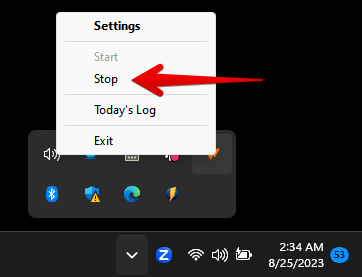
5). Once the automation is stopped, you may quit it by clicking on the Exit.
Troubleshooting: What if the automation does not exit:
If the automation is stuck and you wish to exit it. You may exit it from the Task Manager.
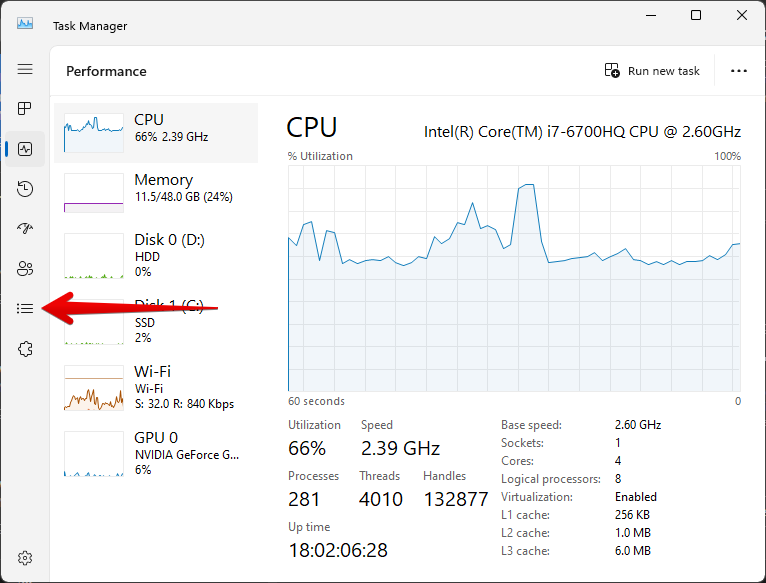
1). Start the task manager by pressing Ctrl+Shift+Esc key on your keyboard.
2). Click on Details tab
3). Scroll down and you will see two UnifyScheduler.exe running. Right-click on them and select “End Task”.
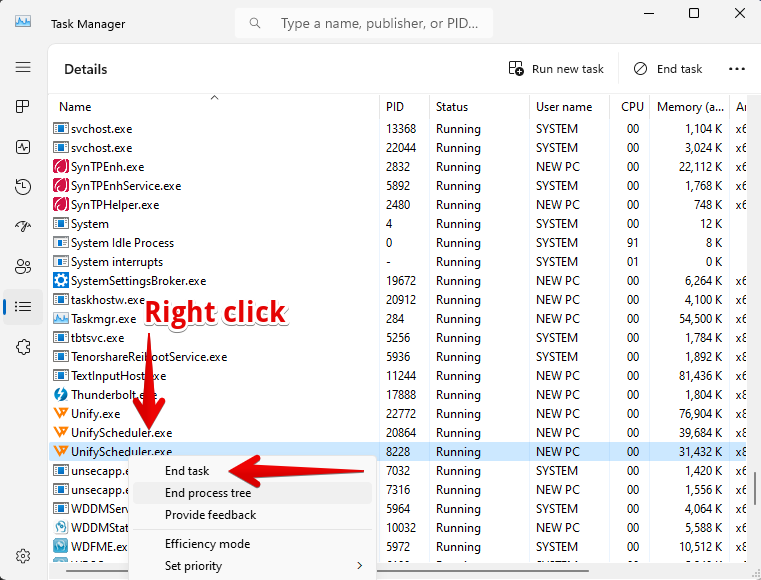
4). This action will exit the automation. You may restart the automation by clicking on the “Scheduler” icon on Webgility desktop application.