
Overview
Webgility Desktop stores one Company file location that every computer in your Webgility installation uses to open the connected QuickBooks file. If that location is a local C:\ path, only the host computer can reach it, and add-on computers either cannot open the connection or open the wrong file. Saving the network path in that same field fixes it. The multi-computer setup this applies to is described in Install Webgility Desktop on Additional Computers.
When This AppliesUse this article when QuickBooks Desktop lives on one computer and you also have one or more add-on computers running Webgility Desktop, and the add-on users cannot connect to the company file, open the wrong file, or see QuickBooks-related errors that the host computer never shows.
Why This HappensWebgility Desktop saves one Company file location in its connection settings. That same path is handed to QuickBooks on every computer that runs Webgility. A path like C:\Users\admin\Documents\CompanyName.QBW only means something on the host computer; every add-on computer has its own C:\, so the add-on either finds no file at that path or finds a different file with the same name. The path saved in Webgility must be reachable from every computer, which means a network path to the shared folder on the host (for example \\ServerName\QuickBooksShare\CompanyName.QBW).
Steps to Save the Network Path
Step 1: On the host computer, open the QuickBooks company file and press F2 (or Ctrl + 1) to open the Product Information window. Copy the full file location shown there.
Step 2: If the Product Information window shows a local C:\ path, share the folder that holds the .QBW file on the host and switch to the network path to that share (for example \\ServerName\QuickBooksShare\CompanyName.QBW). The complete walk-through for selecting the company file is in How to Connect Webgility Desktop with QuickBooks Enterprise, Pro, or Premier.
Step 3: In Webgility Desktop, go to Connections > Accounting/POS/ERP > Edit Connection, paste the network path into the Company file location field, and click Connect to QuickBooks.
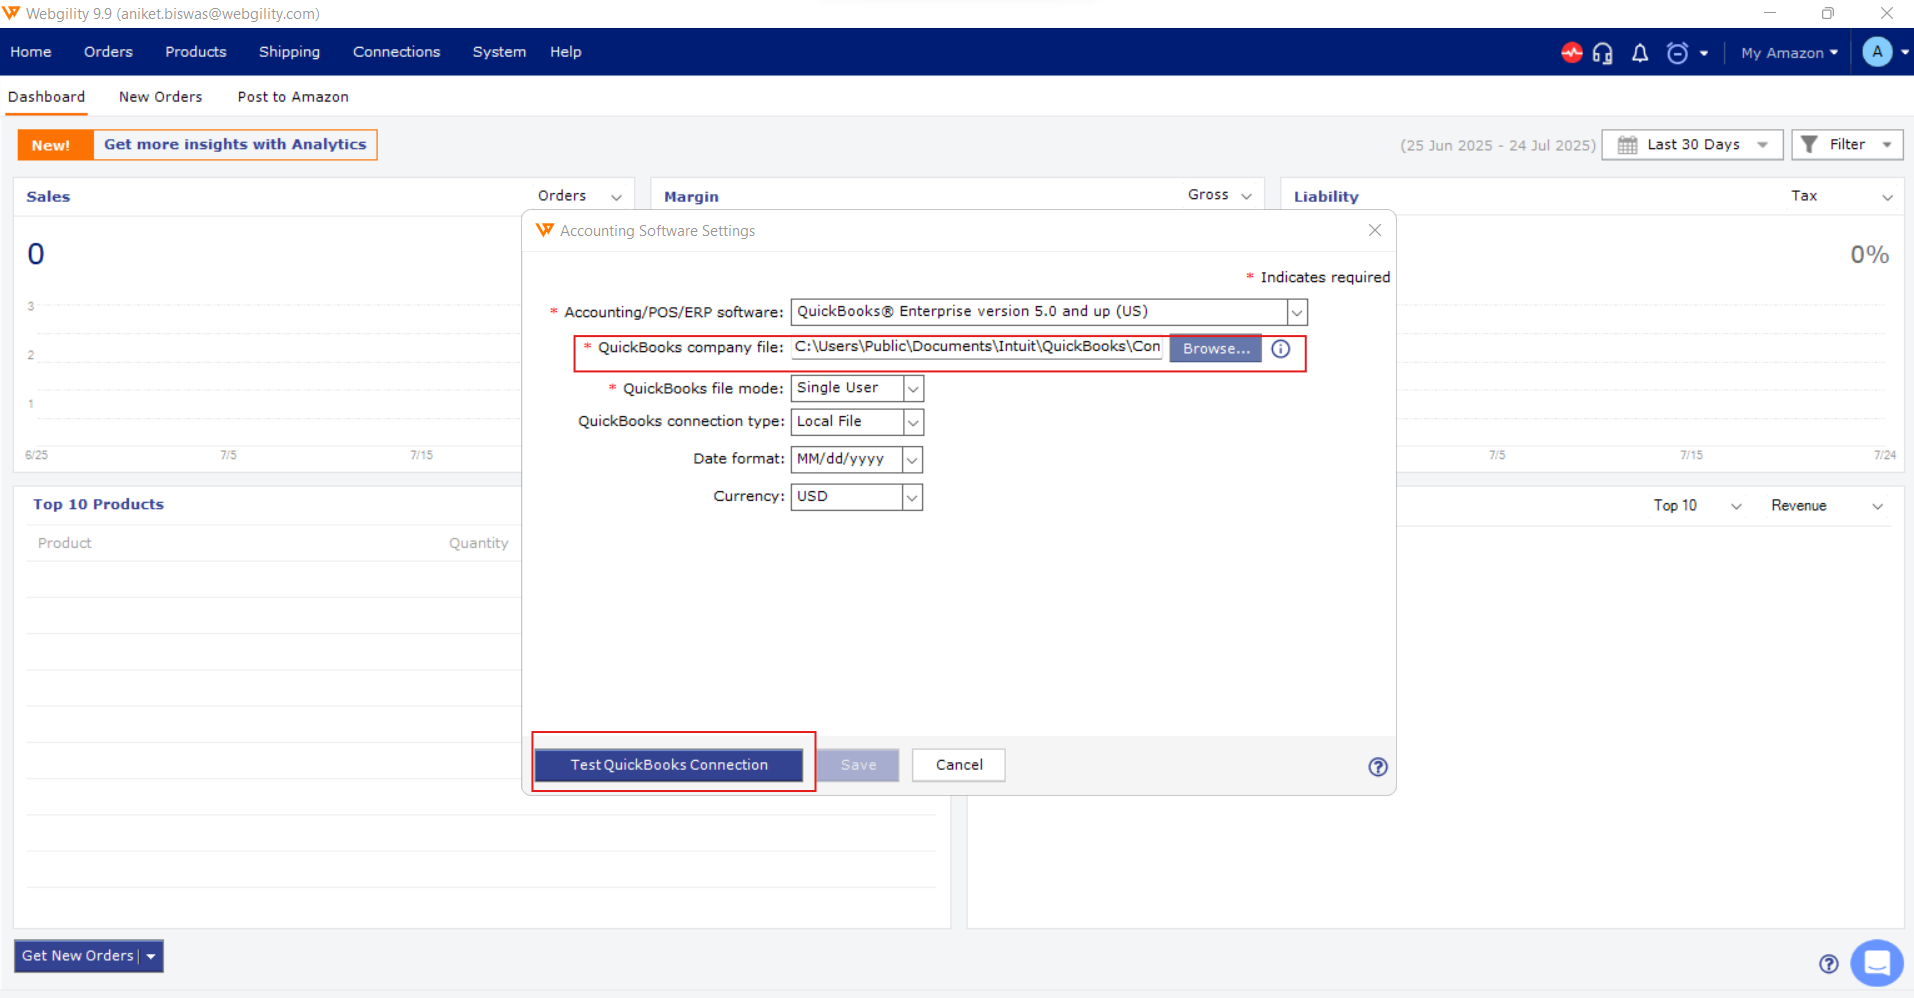
Step 4: If you are updating the path on an already-connected install, follow How to Change QuickBooks Desktop File to a Different File for the full in-place change.
Step 5: On each add-on computer, open Webgility Desktop and post one order to confirm the connection reaches the same company file.
Important Note
Note: The Windows account running Webgility Desktop on each add-on computer needs read and write access to the shared folder that holds the QuickBooks company file. If an add-on fails at Step 5, check that account's permissions on the host's share.
Save the network path in Webgility Desktop even if you only have one computer today. The next add-on install will work without any change to the connection settings.
Further AssistanceIf an add-on computer still cannot open the connection after you save the network path, contact Webgility Support with the exact path saved in Company file location and the Windows account the add-on uses.