Overview:
Webgility Online integrates easily with various payment gateways, capturing transaction fees and posting financial data directly to your accounting software. This process helps streamline your business accounting and keeps your financial records up-to-date effortlessly.
Here is a list of supported payment gateways for fee collection.
- PayPal Pro
- PayPal
- Stripe
- Shopify
- Square
Review the steps below to integrate payment gateways with Webgility Online. For this guide, we’ll use PayPal as an example to illustrate the integration process within Webgility Online.
Steps To Connect Payment Gateway.
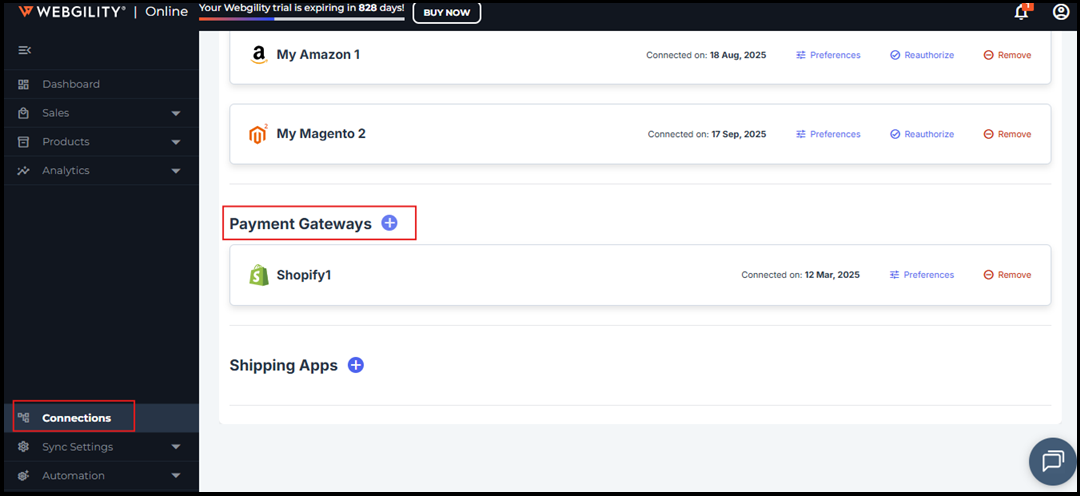
1). To connect PayPal as a payment gateway, on the left hand-side navigation panel go to Connections and click the blue plus sign next to Payment.
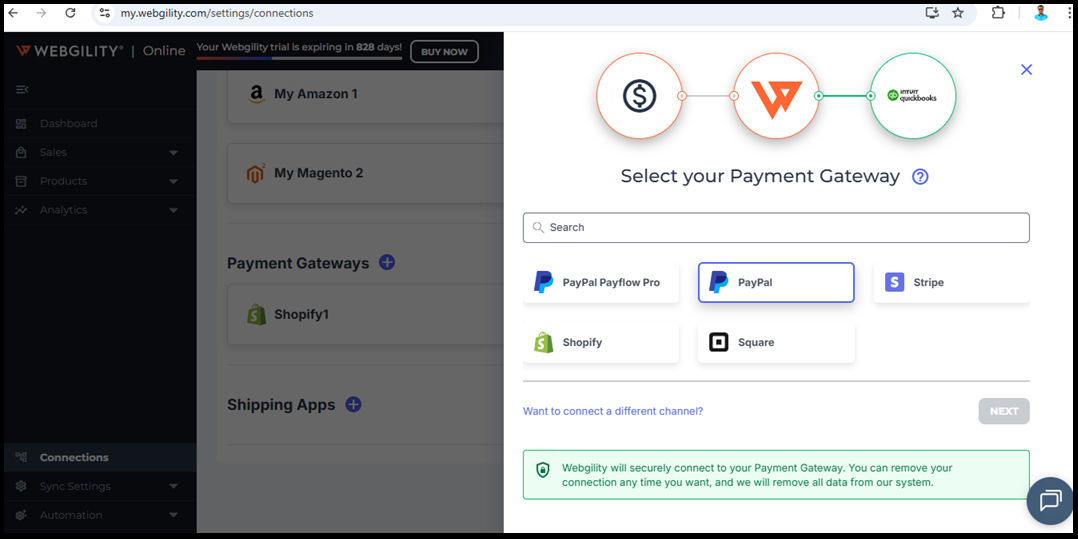
2). Select PayPal payment gateway. Enter your credentials as shown in the GIF below. For Shopify Payments, ensure that your Shopify sales channel is already added. Learn how to add it here.
Note: Each payment gateway has different fees and rates that can be synced to your accounting solution.
3). Once enabled, orders will display both the gross and net amounts, with fees deducted from the net amount.
Here are the links to the help articles on adding additional payment gateways with Webgility Online: