Overview:
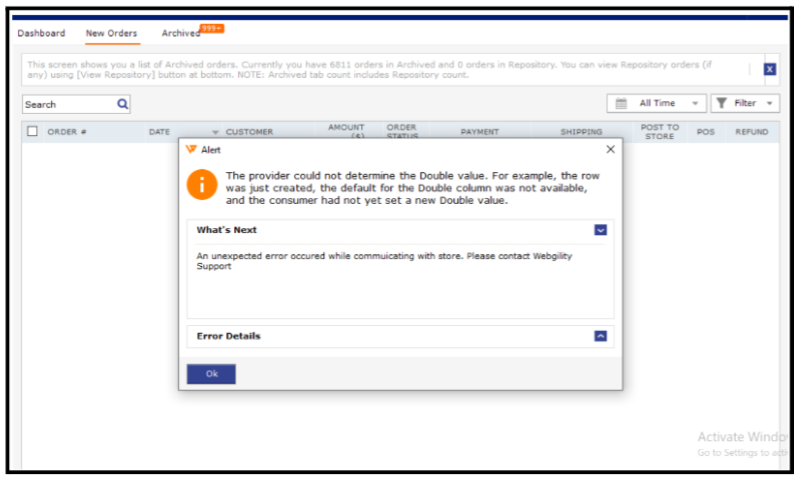
If you see the error message, "The provider could not determine the Double value," during the installation of Webgility Desktop, it typically means there’s an issue with permissions or outdated files. This guide will walk you through the steps to resolve this error and successfully install Webgility Desktop.
Causes of Issues:
-
Permissions Issue: The error often occurs if the installation process is blocked by permission settings, preventing new files from replacing old ones.
-
Outdated Files: The installation directory may contain outdated files that are interfering with the setup.
-
Conflicting Software: Antivirus or firewall software might be blocking the installation process.
Steps to Resolve the Error:
1). Reboot Your Machine:
-
Action: Restart your computer to ensure all system processes are refreshed.
2). Prepare Installation Directory:
-
Action: Create a new installation directory and rename or move the old one.
-
How To: Right-click on the old installation folder, select "Rename," and add "_old" to the folder name. Create a new folder with the original name.

3). Download the Latest Version:
- Upgrade existing installation : Follow the steps in this helpful article on How to Update Your Webgility Desktop Software
- For fresh installation: follow the steps in this helpful article on Installation Guide for Webgility Desktop
4). Disable Antivirus/Firewall Temporarily:
-
Action: Temporarily turn off any antivirus or firewall software to prevent interference with the installation.
-
How To: Access your antivirus/firewall settings and disable protection.

5). Run Installer as Administrator:
-
Action: Right-click on the Webgility Desktop installation file and select "Run as Administrator."
-
How To: Locate the installer file, right-click, and choose "Run as Administrator" from the context menu.
6). Ensure Version Consistency:
-
Action: Verify that all machines using Webgility Desktop have the same version installed.
-
How To: Check the version number on each machine and update any that are running older versions.
