Steps to follow:
1. Go to the Connections section and click on the plus symbol beside the Sales Channel option.
Note: If this is the first sales channel you are connecting and setting up, read the getting started process. Follow the steps in this helpful article on: Get Started with Webgility Online
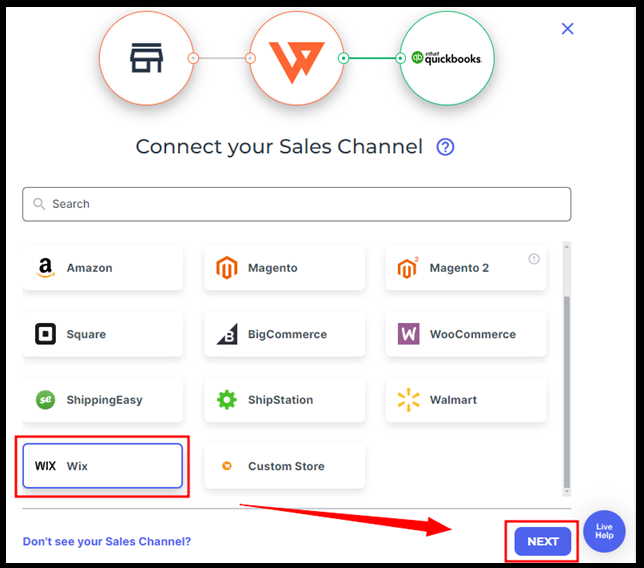
2. Connect your ecommerce channel by selecting Wix then select NEXT.
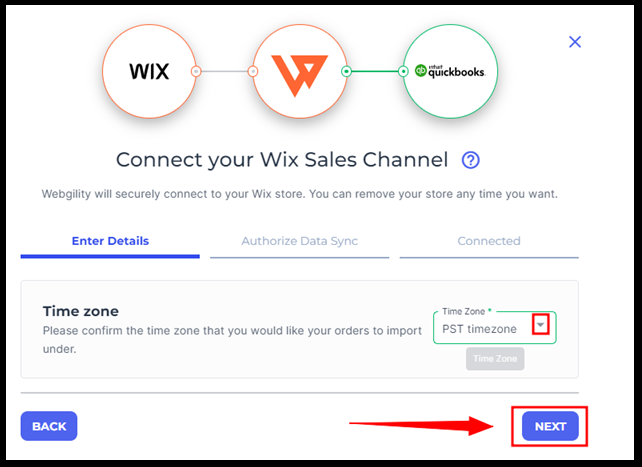
3. Select the Time Zone and Click Next.
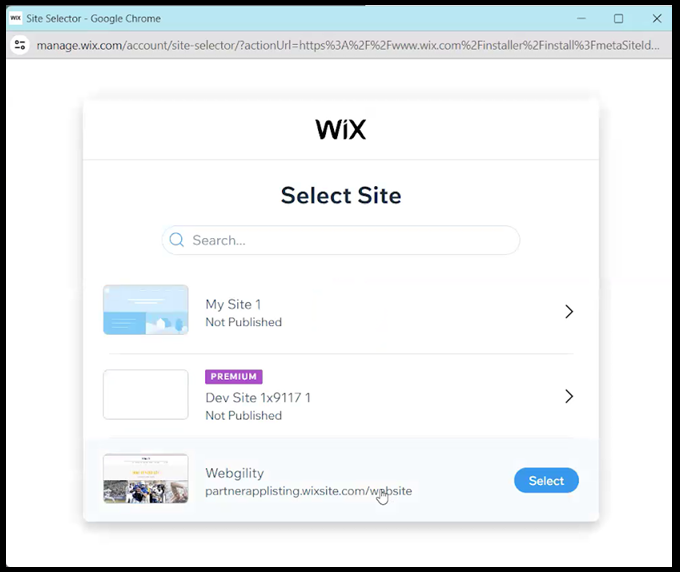
4. You’ll be redirected to the Authorize Data Sync. Here, select the site you want to integrate with Webgility Online (Webgility Online does not currently support restaurant orders).
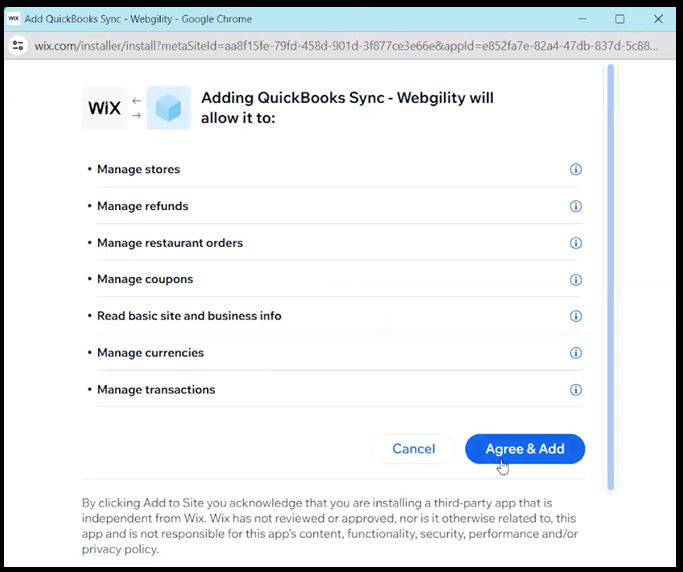
5. Click on Agree & Add to proceed and connect.
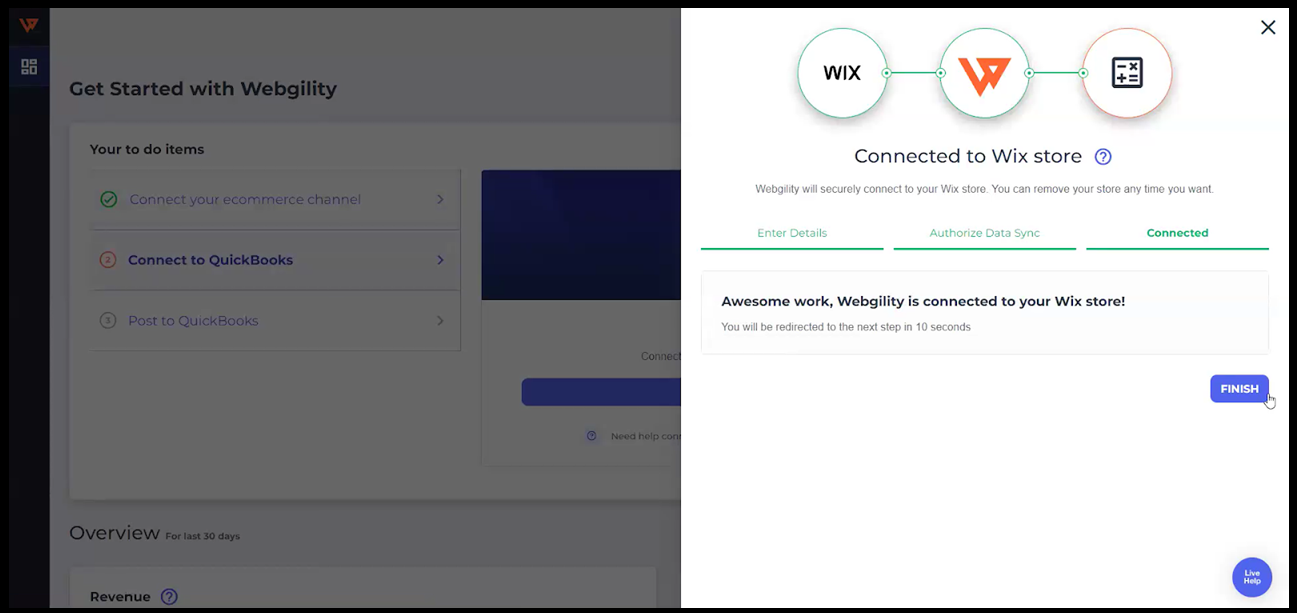
6. Webgility Online is connected to your WIX sales channel please select Finish.
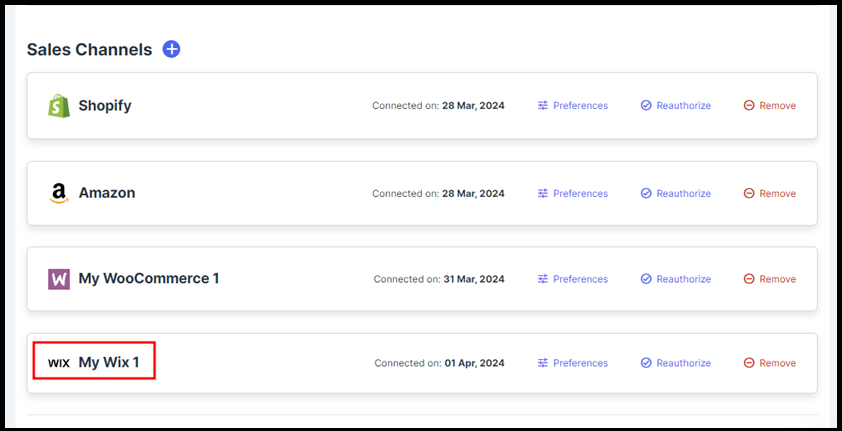
7. Upon successful connection of the sales channel, a notification window will confirm the connection, and you will find the Wix sales channel profile listed under the Sales Channel column.