How to Connect OpenCart to Webgility Desktop
This article explains Webgility Desktop users how to connect OpenCart with Webgility Desktop by installing the Webgility Extension and using the store’s FTP details. It provides step-by-step instructions to upload the extension, link the sales channel, and configure settings, enabling seamless data synchronization between OpenCart and Webgility Desktop for efficient order and inventory management.
To connect Webgility Desktop with Opencart, you will need to install the Webgility Extension. This will require you to have your sales channel FTP information.
Steps:
1. First login to portal.webgility.com with your Webgility Portal Account login credentials.
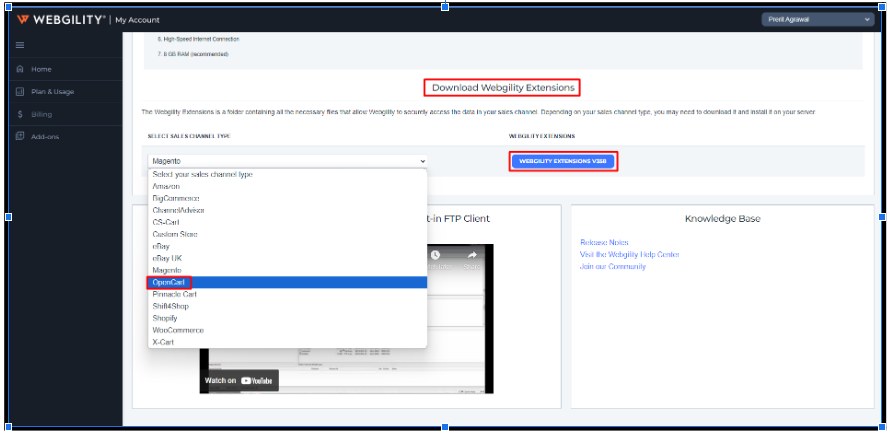
2. At the bottom center under downloads click on Extensions.On the next screen Under Download Webgility Extension Select the dropdown Under Select Sales Channel Type select OpenCart and then click Webgility Extension to download.
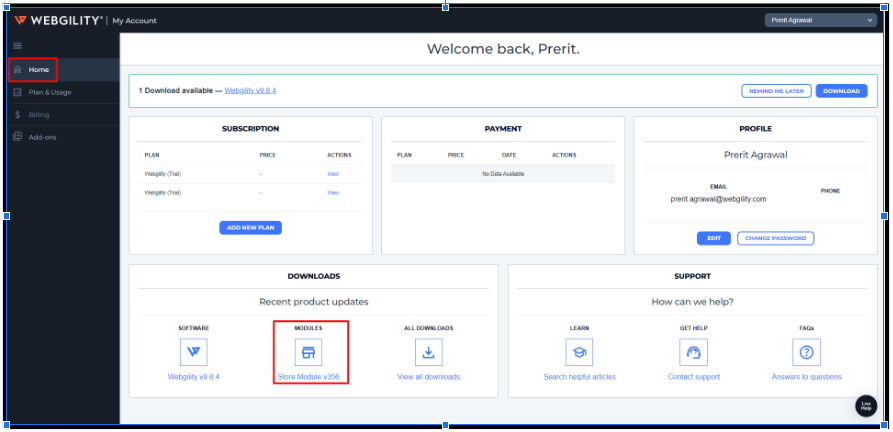
3. The Webgility Extension needs to be uploaded to the root directory of your OpenCart sales channel via the FTP Client application. If needed, consult your web developer on how to do this. Once this step is complete, proceed to connect the sales channel to Webgility Desktop.
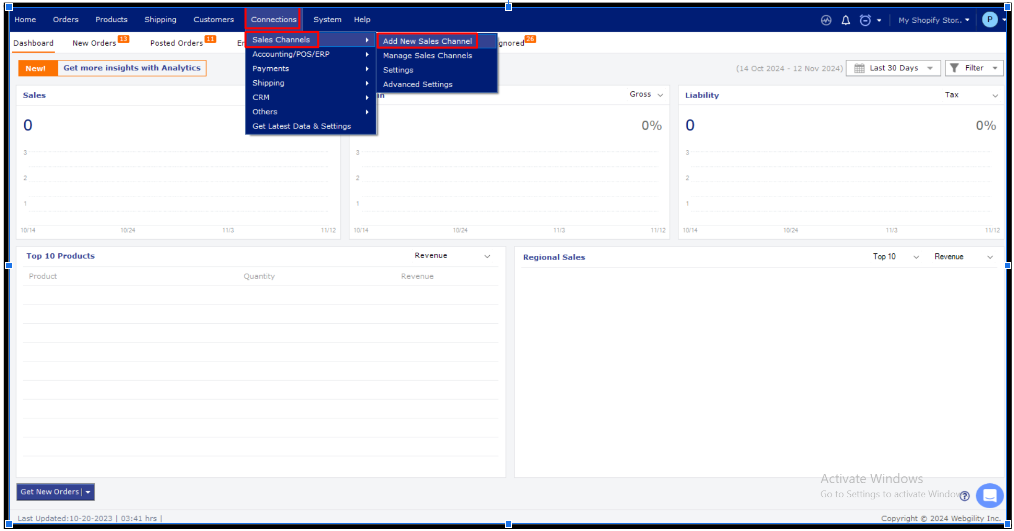
4. Launch Webgility Desktop and navigate to Connections> Sales Channels > Add New Sales Channel. If this is the first sales channel you are adding, after installation of the Webgility Desktop app, you will be directed to the sales channel connection window.
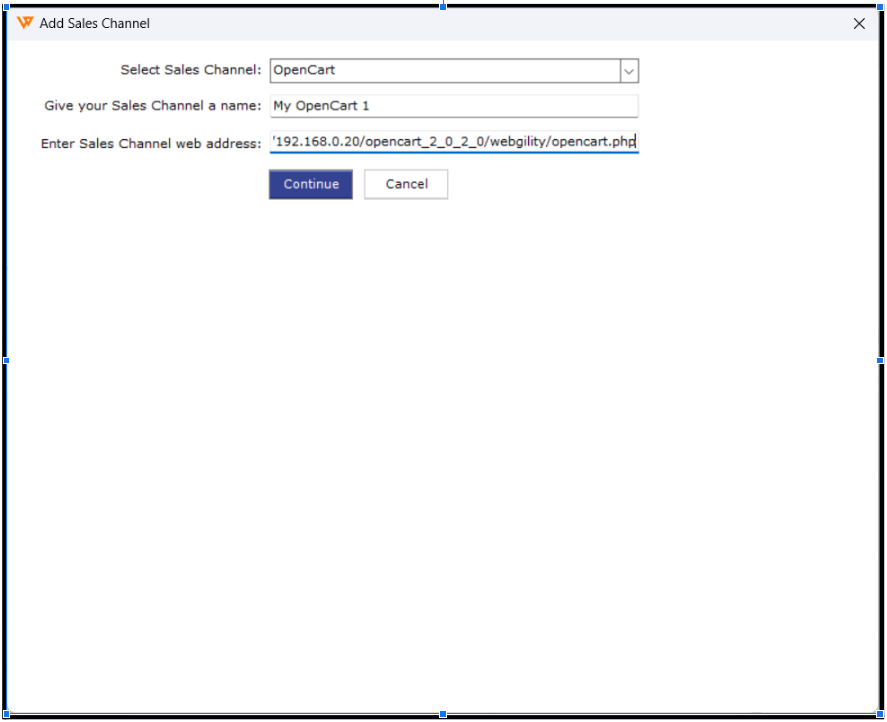
5. For Select Sales Channel choose OpenCart, then Give your Sales Channel a name, and Enter the Sales Channel web address. An example sales channel web address is: http://www.yourwebsitename.com/upload/webgility/opencart.php. Click Continue.
6. Now, enter the store's admin credentials and click Connect to OpenCart.
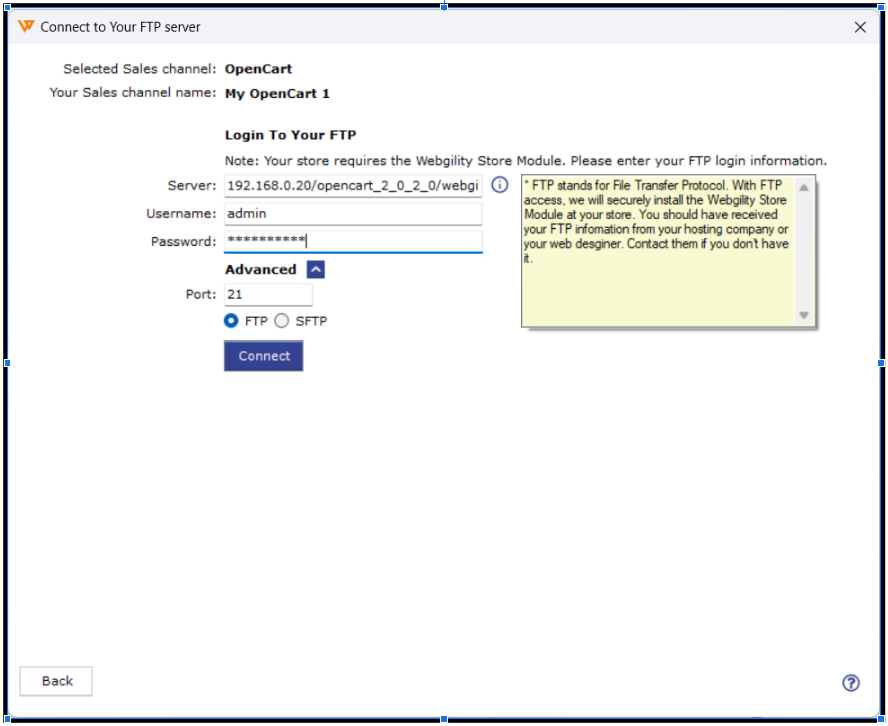
7. As soon as you click to connect to the sales channel, Webgility Desktop will communicate with the Webgility Extension and begin to download the data and settings from your sales channel.
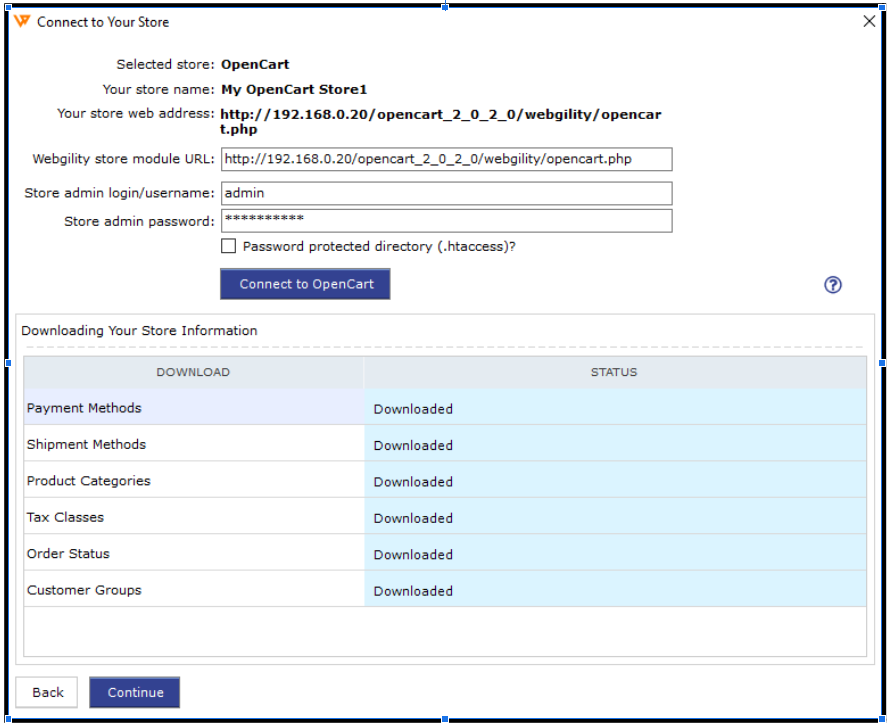
8. Click Continue once the data download finishes.
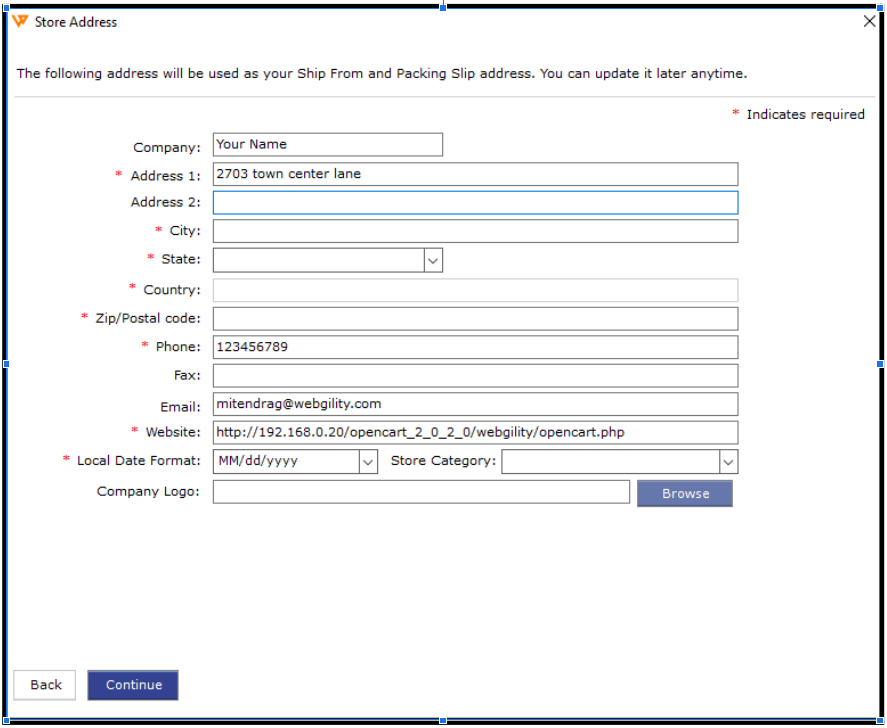
9. Enter your business contact information. Note: the fields with a red asterisk are required.
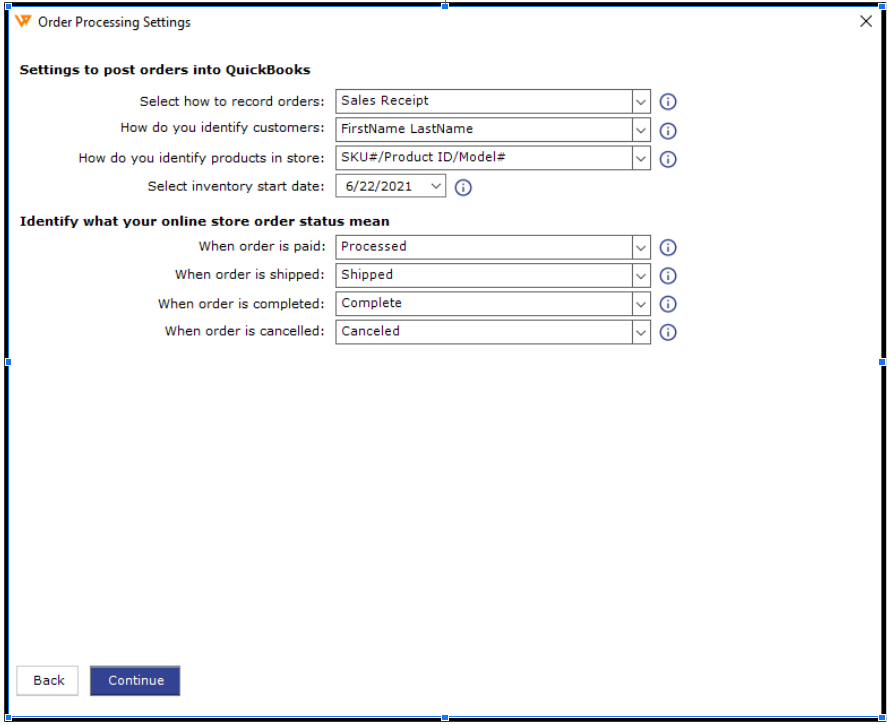
10. Define how you want to post orders to QuickBooks and how you want to identify sales channel orders by selecting the desired configurations, then click Continue.
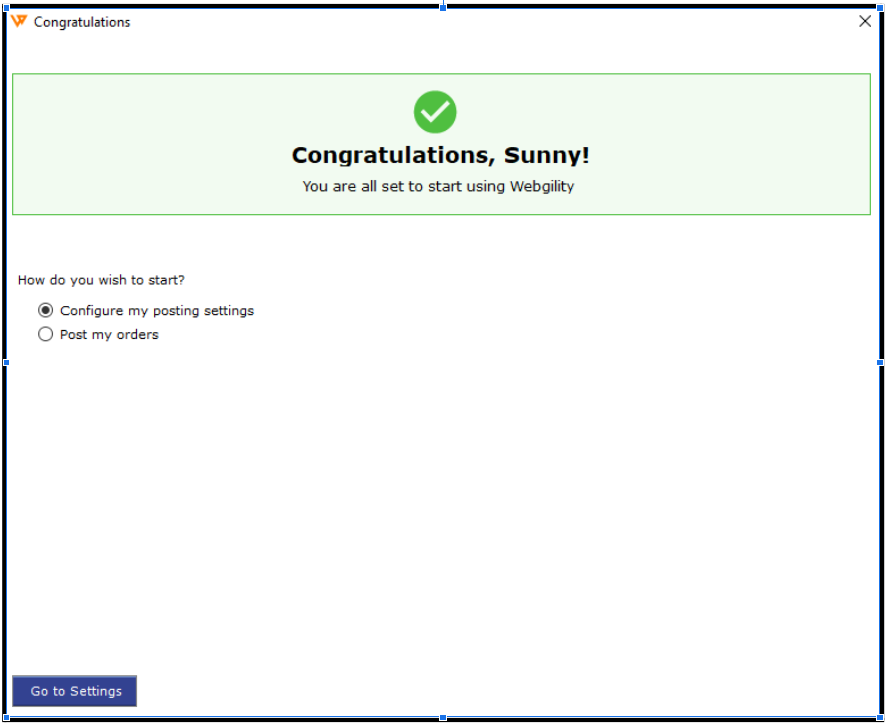
11. Next, you can either select the option to configure more detailed settings or download the first few orders from the sales channel into Webgility Desktop.
12. The next few screens are for connecting your Accounting, ERP, or POS system to Webgility. You can get more details on this here.