Steps to download the Settlement report By Range:
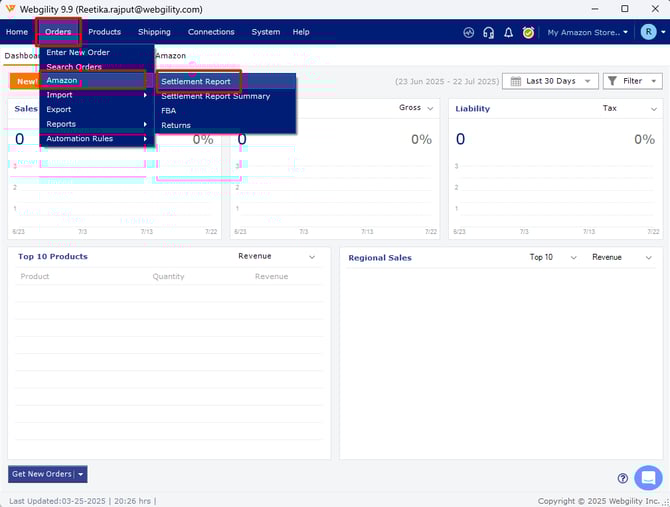
1). To download the settlement report in Webgility, navigate to Orders then goto Amazon click on Settlement Report.
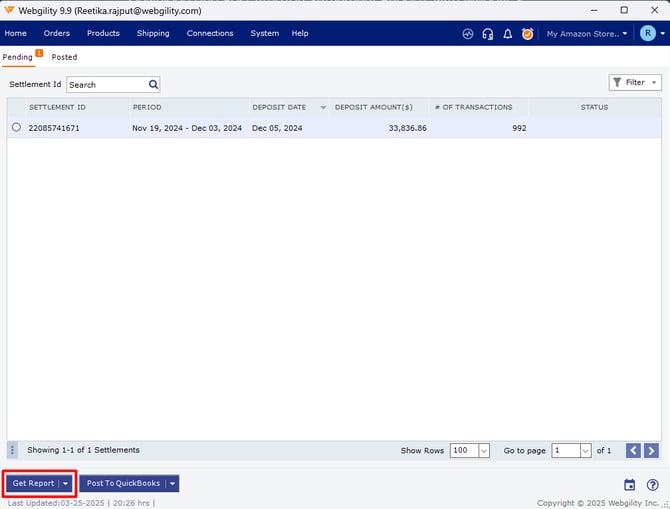
2). To download settlement reports click Get Report.
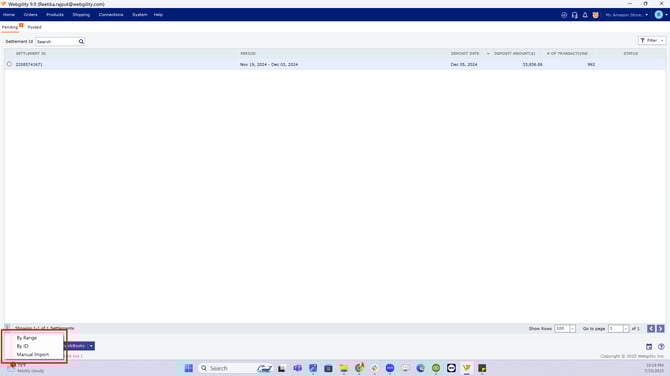
3). The "Get Report" button features a dropdown menu that enables you to download settlement reports by Date Range and settlement ID, or Manually by importing a CSV file downloaded from Amazon Seller Central.
4). When downloading by Date Range, you have three options:
-
Start Availability Date - Use this option if you are trying to re-download older settlement reports of more than 120 days after requesting them from within Seller Central.
-
End Availability Date - This date aligns with the start availability option to create an endpoint for getting settlement reports. It is recommended that you leave this as the current date.
-
Settlement Start Date - Use this option to pull in settlement reports from recent settlement periods based on the date for the start of the settlement period.
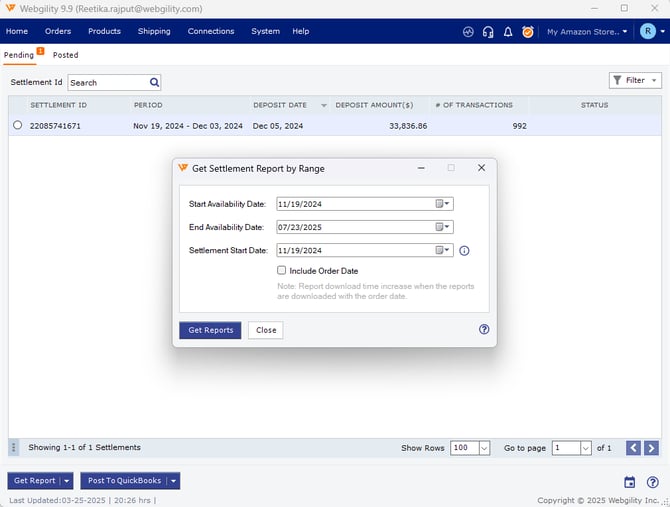
5). After choosing your desired range, click "Get Report," and the reports will be downloaded. If you are retrieving multiple reports or the settlement report has a large volume of orders, the process may take a few minutes to complete.
6). After the reports have completed downloading, you will find them listed on the screen.Steps to Download Settlement Report Manually:
Refer to the Import an Amazon Settlement Report Manually
Steps to post Settlement report in QBs:
1). To post the settlement report in QuickBooks, go to Orders then goto Amazon and click on Settlement Report.
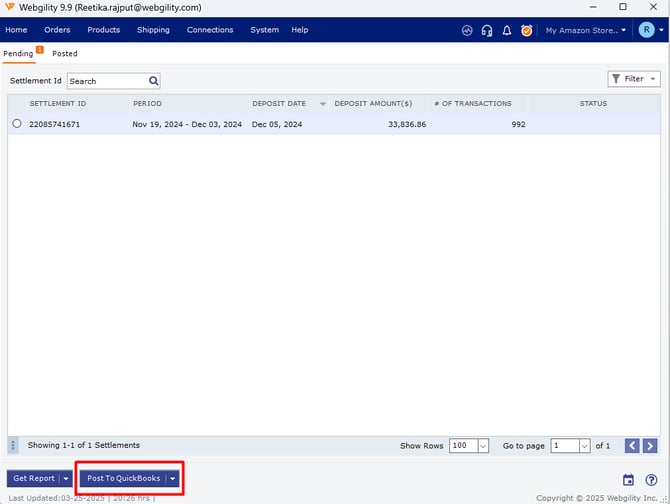
2). Locate the settlement report in the "Pending" tab, and proceed to post it in QuickBooks by clicking the “Post To QuickBooks” button.
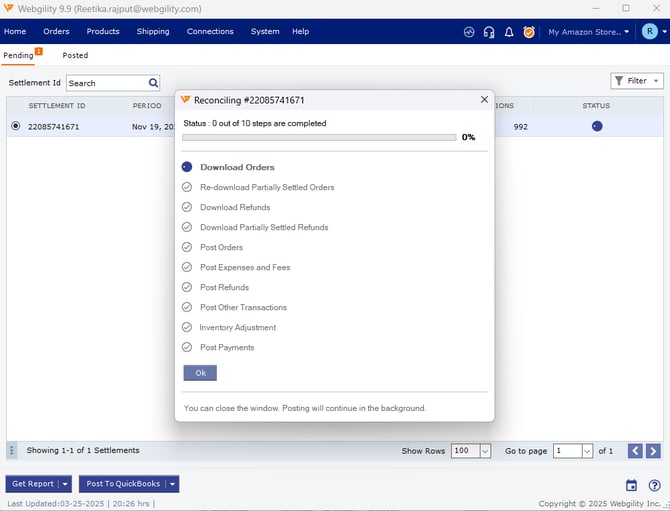
3). You can close this screen and continue working in other sections of Webgility while the process is ongoing. However, please avoid closing Webgility Desktop, as doing so will terminate the process. In the event of closure, you will be required to repost the settlement report the next time you log in to Webgility.
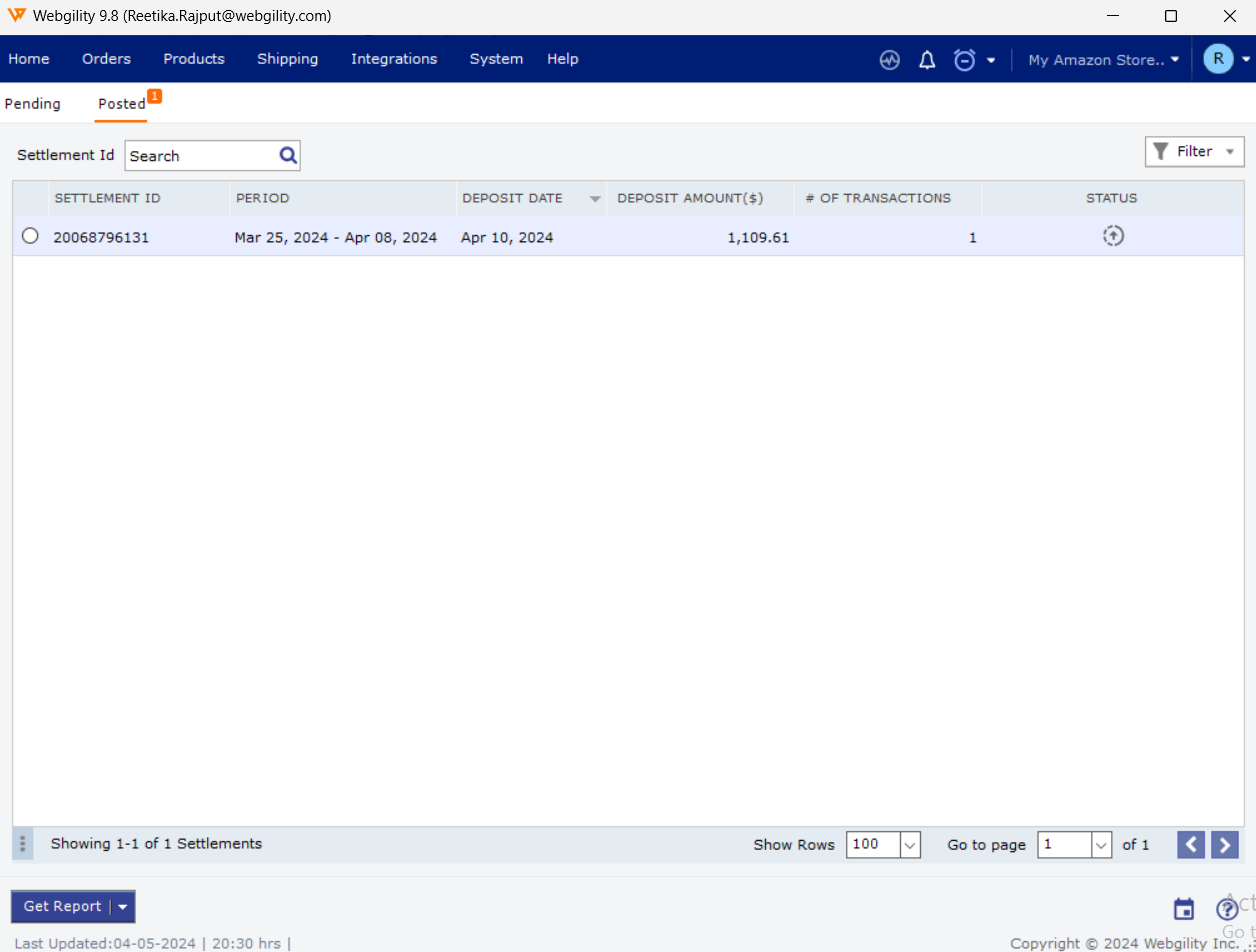
4). Once a settlement report has completed posting, and there are no mismatches to address, it will transition to the "Posted" view.
5). Hovering over a row in a settlement report enables you to click the "Detail" button, granting access to the detailed view.
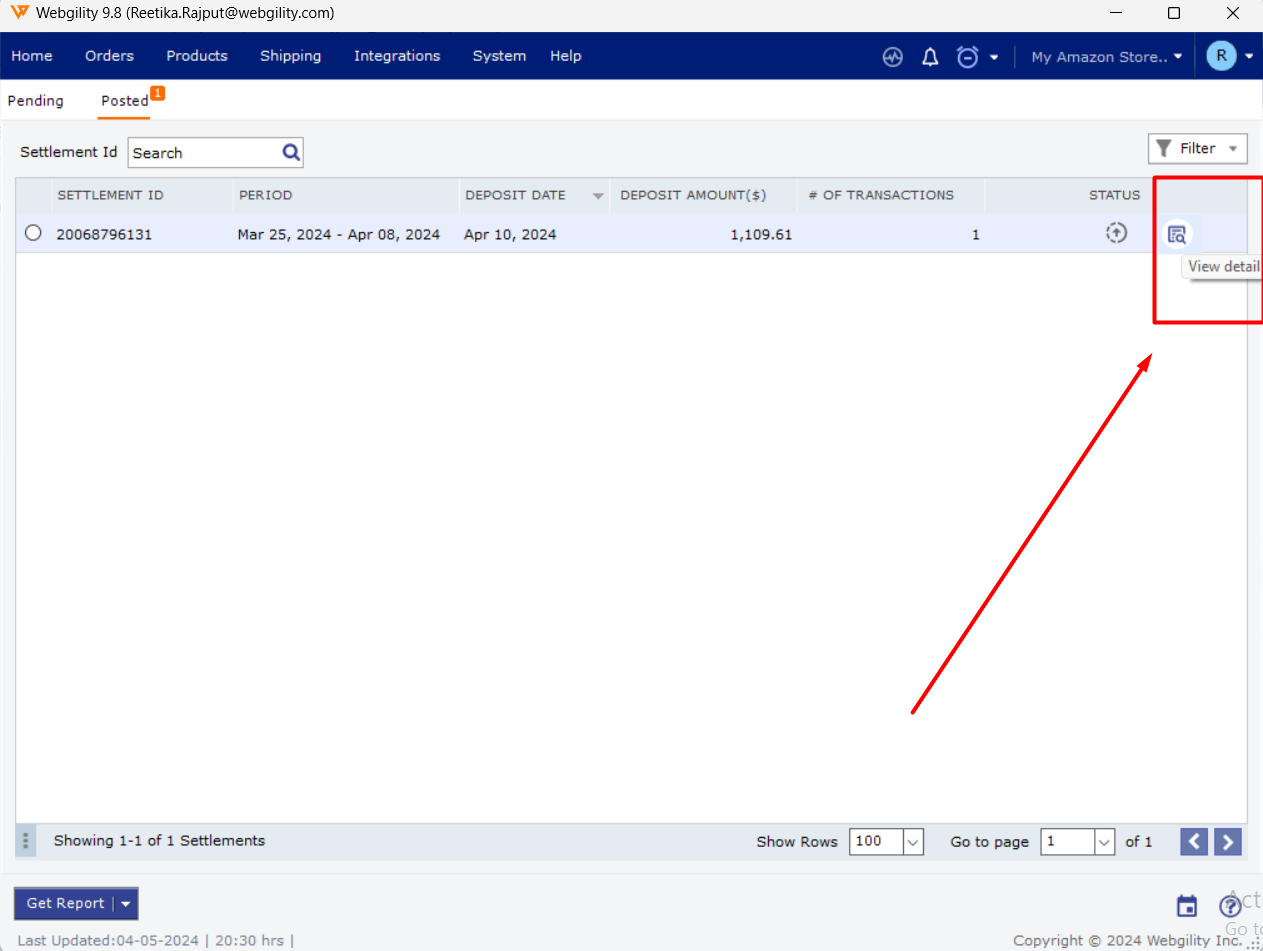
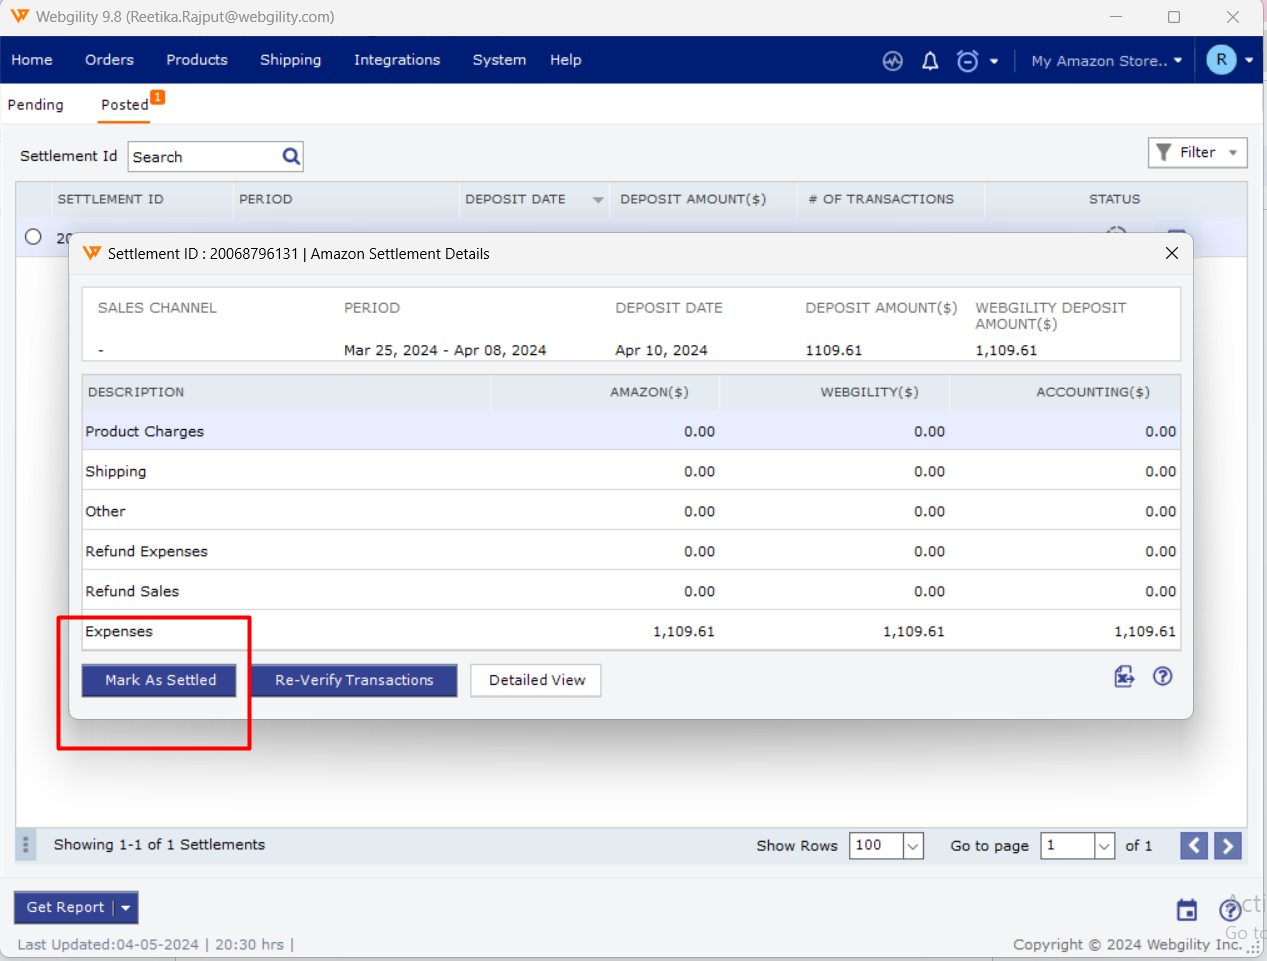
6). The Detailed view provides you with the opportunity to review the outcomes of the settlement report posting.

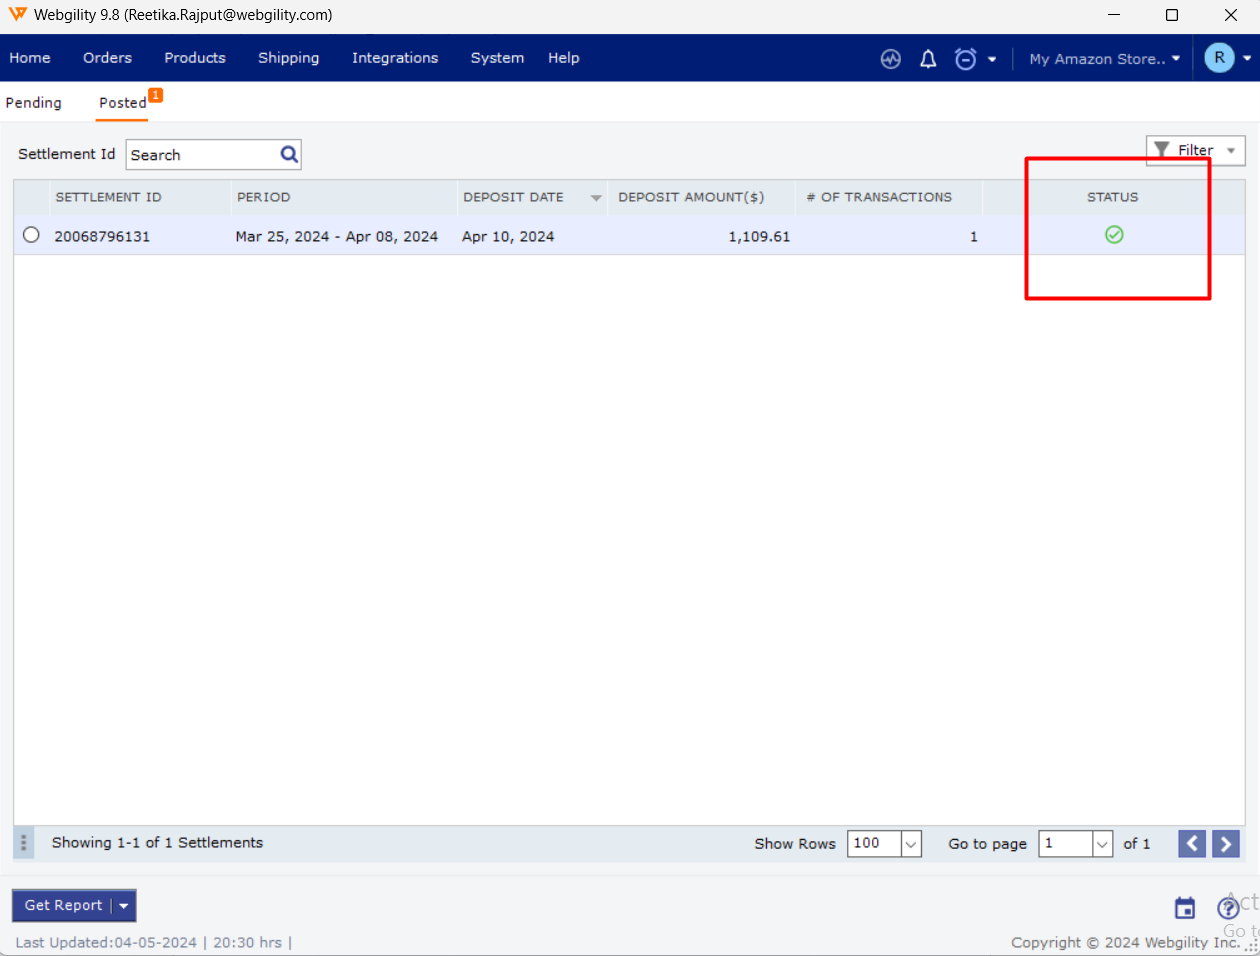
7). If everything appears satisfactory, click "Mark As Settled." Following a confirmation pop-up, the settlement report will be displayed as settled in the list.
8). Follow the steps in this helpful article on to review the various statuses of the settlement report Settlement Report Statuses in Webgility Desktop
Note: The posting of settlement reports might require some time, and the duration is influenced by the volume of transactions within the report.