Learn how to configure preset settings for transferring products between your sales channel and accounting system using Webgility Desktop.
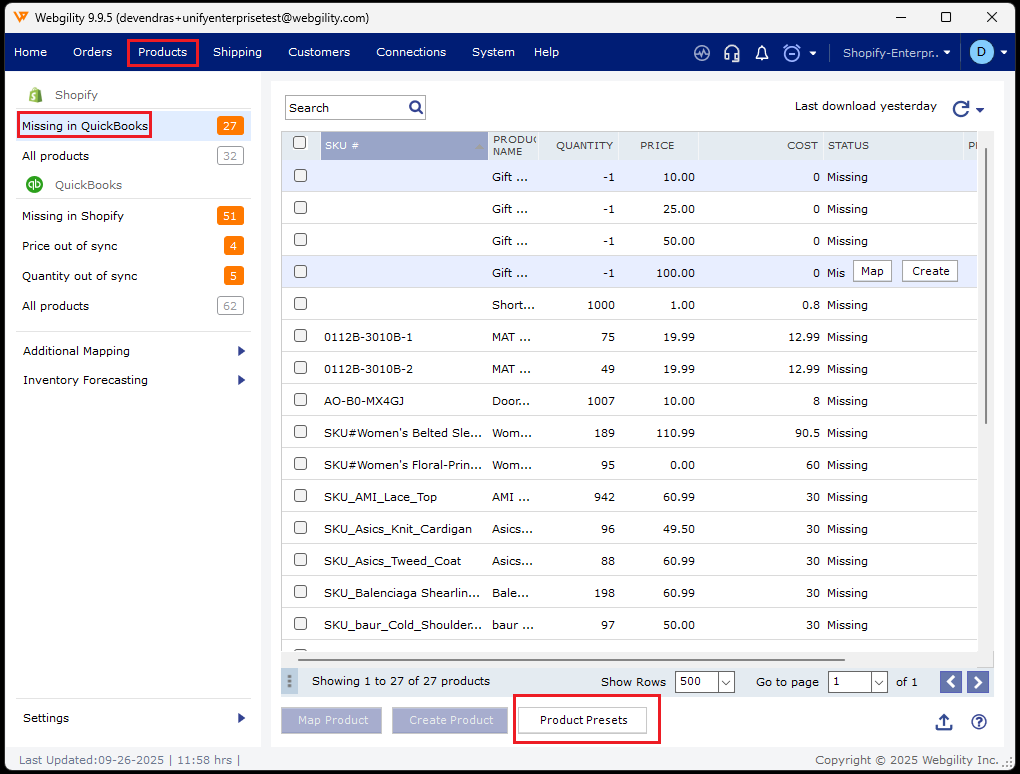
In Webgility Desktop navigate to Products in the Menu options, then look for "Missing In QuickBooks", then click on "Product Presets" at the bottom.
QuickBooks Presets:
Set up QuickBooks presets based on which Webgility Desktop app will transfer products from your online store to QuickBooks Desktop.
-
In Webgility Desktop, configure the default setting for transferring Online store Items not present in QuickBooks Desktop.
-
If you haven't set up accounts like COGS, Asset, Income, or Class in QuickBooks Desktop, you can create them directly within the Webgility Desktop app. Just click the Plus icon to do so.
Online Store Presets:
Set up Sales Channel presets based on which Webgility Desktop will transfer QuickBooks products to your Sales Channel.
-
Set up default settings for transferring new items from QuickBooks to Sales Channel when they are not already on the Sales Channel. The available options may differ depending on your Sales Channel type.


After configuring the presets, you are all set to begin moving items between QuickBooks and your Sales Channel.
Learn How to Transfer products in Webgility Desktop.