Steps to follow:
1. In Webgility Desktop navigate to Connections > Sales Channels > Add New Sales Channel. If this is the first channel you are adding, you do not need to do this step.
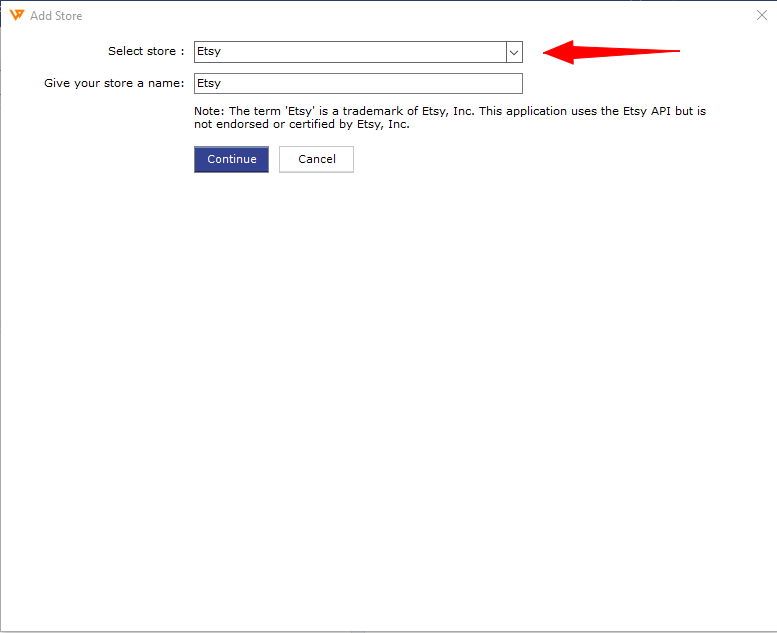
2. In the pop-up screen, select the sales channel type "Etsy" to connect and give your sales channel a name. Then click Continue.
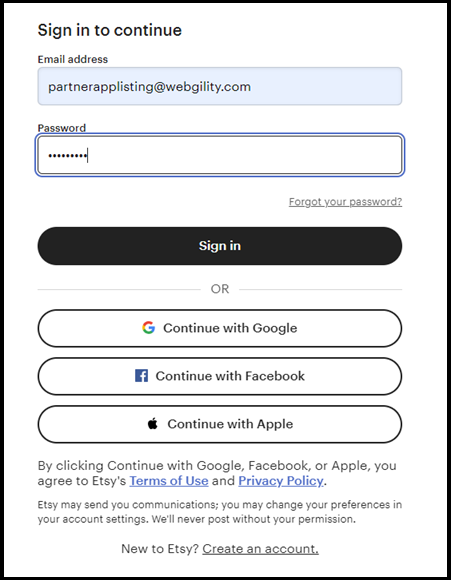
3. The Etsy login screen will appear. Enter the email address and password associated with your Etsy. Then click Sign in.
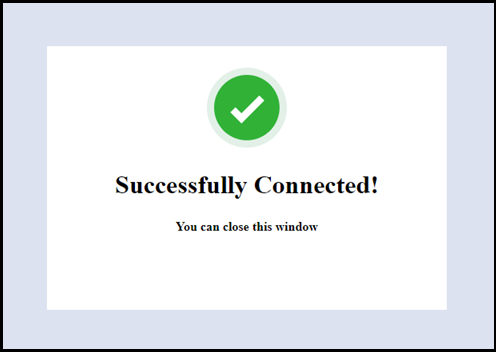
4. You’ll see a Successfully Connected notification window.
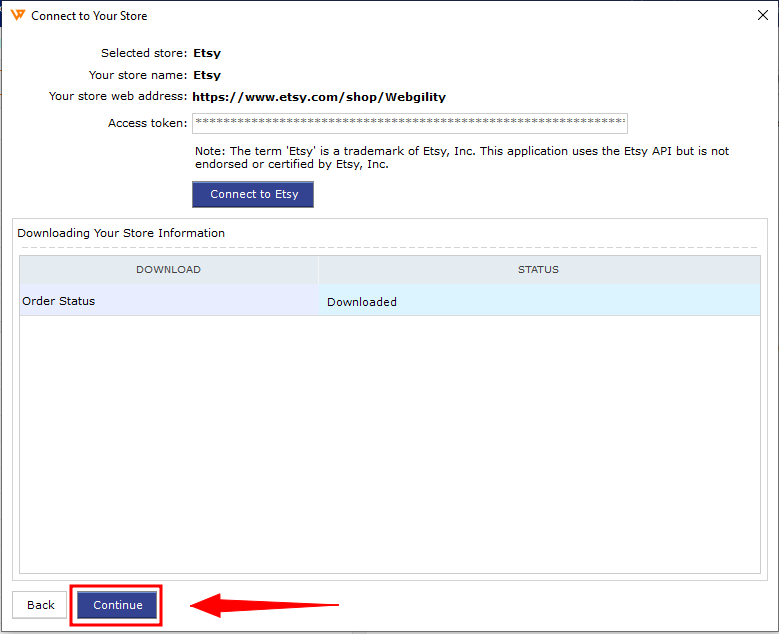
5. The Etsy access token will be populated into Webgility and sales channel information will be downloaded automatically. Click Continue.
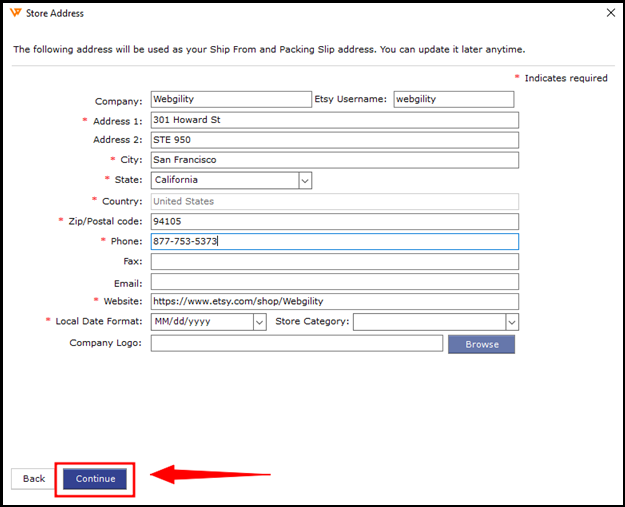
6. Enter your sales channel contact information and address. Fields with a red asterisk are required to continue.
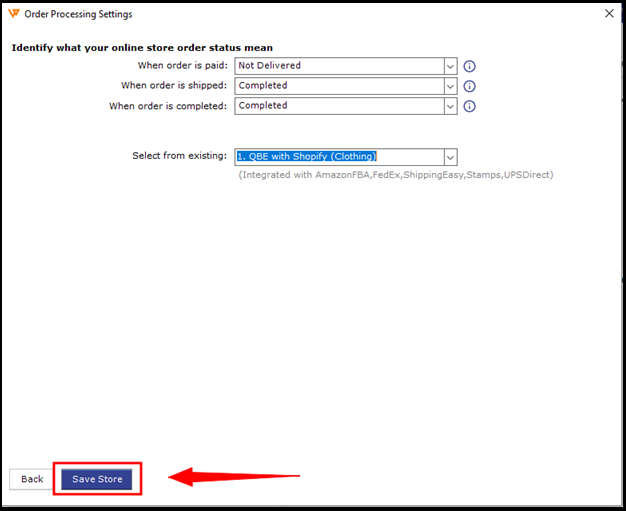
7. Complete the Order Processing Settings and click Save Store.
8. You’ll get redirected to the Home screen of the Webgility Desktop app.
The next few screens involve connecting to your Accounting, Point of Sale, or ERP. Learn more about these steps here.