How to Connect Shopify to Webgility Desktop
This article helps Webgility Desktop users connect their Shopify store to Webgility Desktop by providing a step-by-step guide for setting up the integration. It walks users through the process of adding Shopify as a sales channel, entering the store URL, logging into Shopify, approving the Webgility app installation, and syncing store data. This setup enables seamless order, product, and customer data synchronization between Shopify and Webgility Desktop for efficient multichannel operations.
Note: If you are connecting your first sales channel in Webgility, after you login you will be prompted to Add Sales Channel.
Steps to follow:
1. If this is not the first sales channel that you are adding, you can navigate to Connections > Sales Channel > Add New Sales Channel. In the Add Sales Channel screen, select the sales channel type as Shopify and give your sales channel a name. Click Continue.
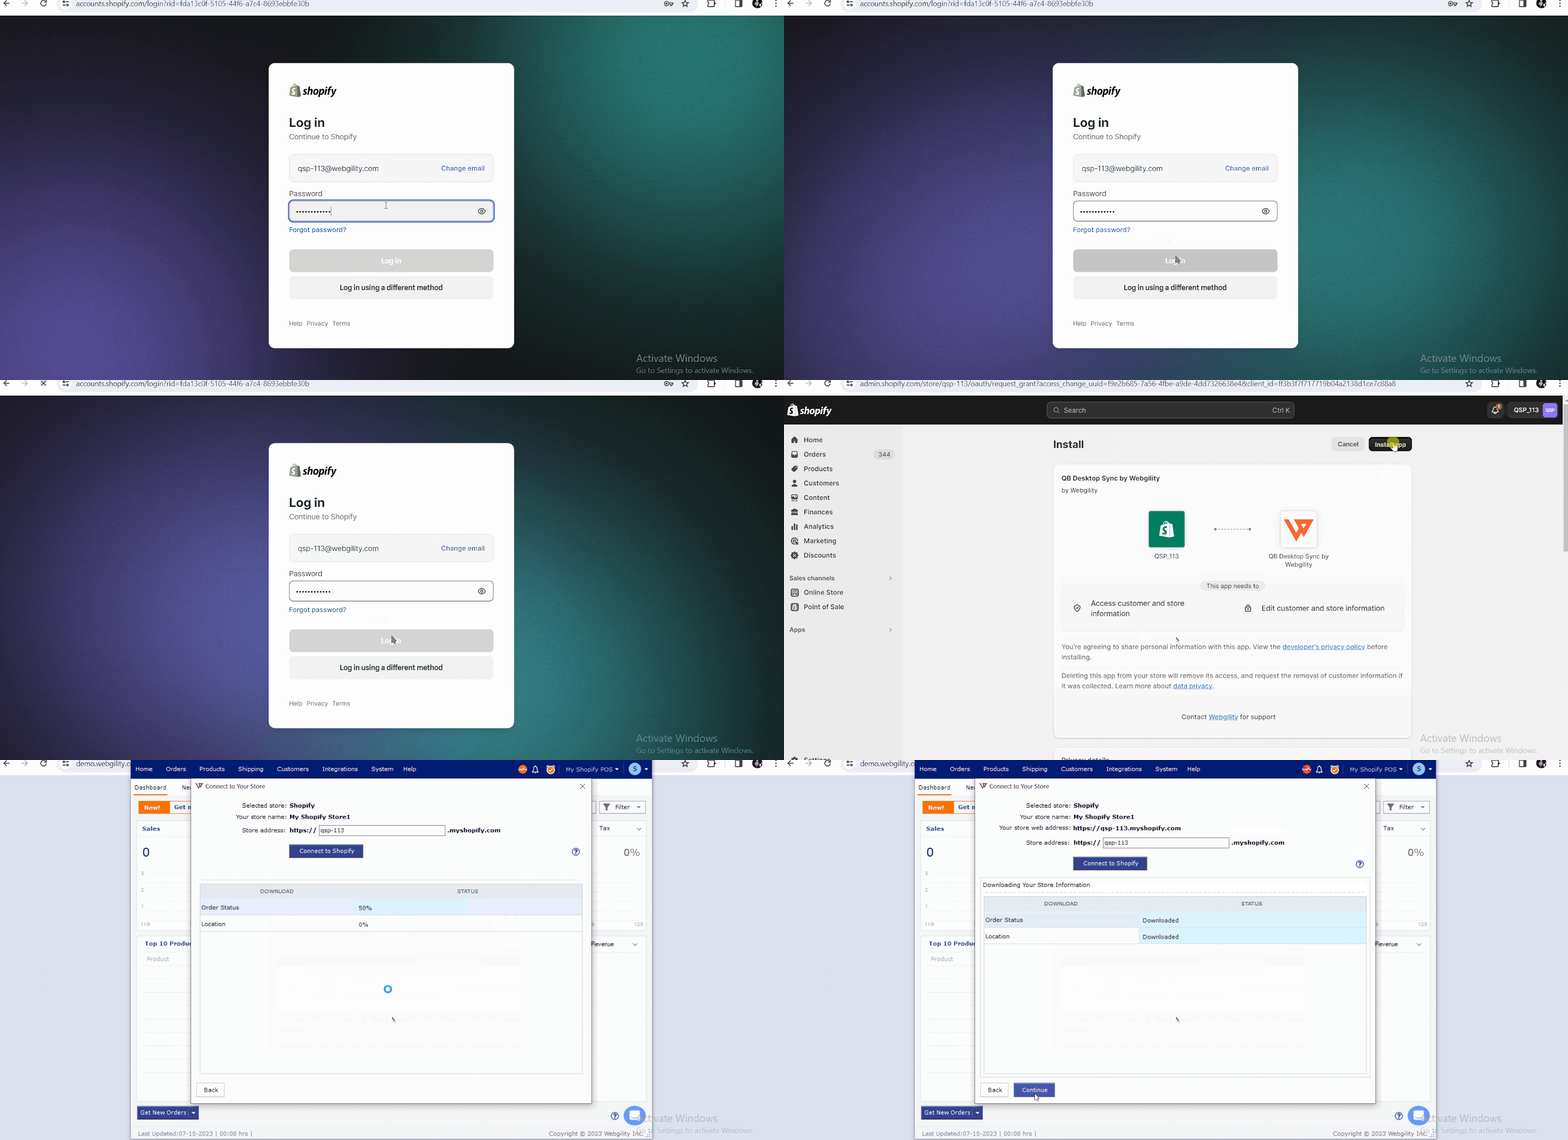
2. Enter your Store address. If you are unsure what this is, log in to your Shopify Sales Channel in a web browser with your admin credentials. The address will be displayed in the browser window. Then click Connect to Shopify.

3. Log in to Shopify with your Admin email and password and click Next.
4. Next, you will need to approve the sync between Webgility and your Shopify sales channel. From the top/bottom right corner click Install app.
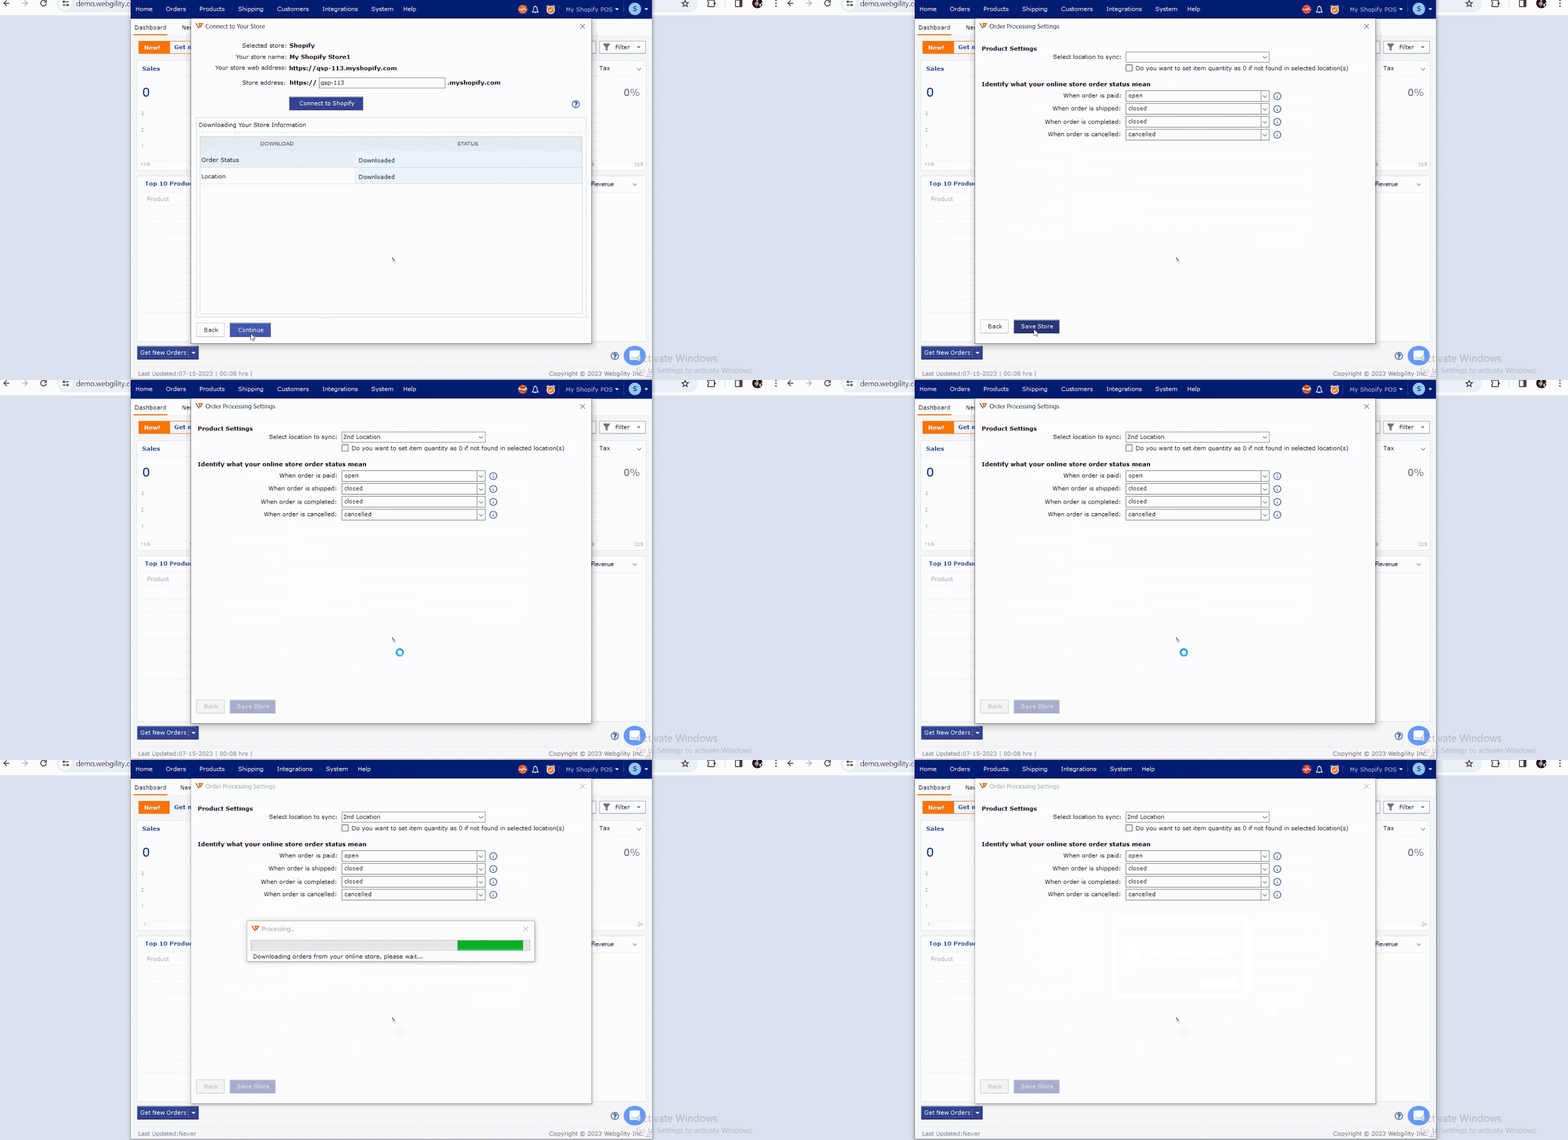
5. The window will close, and Webgility will begin downloading the sales channel information. Once this is finished, click Continue.

6. Enter your business contact information. The fields with a red asterisk are required.

7. Next, you will want to connect your Accounting, ERP, or POS system to Webgility. Follow the steps in this helpful article on How to Connect Webgility Desktop with QuickBooks Enterprise, Pro, or Premier