How to Connect Webgility Online with Etsy
Steps:
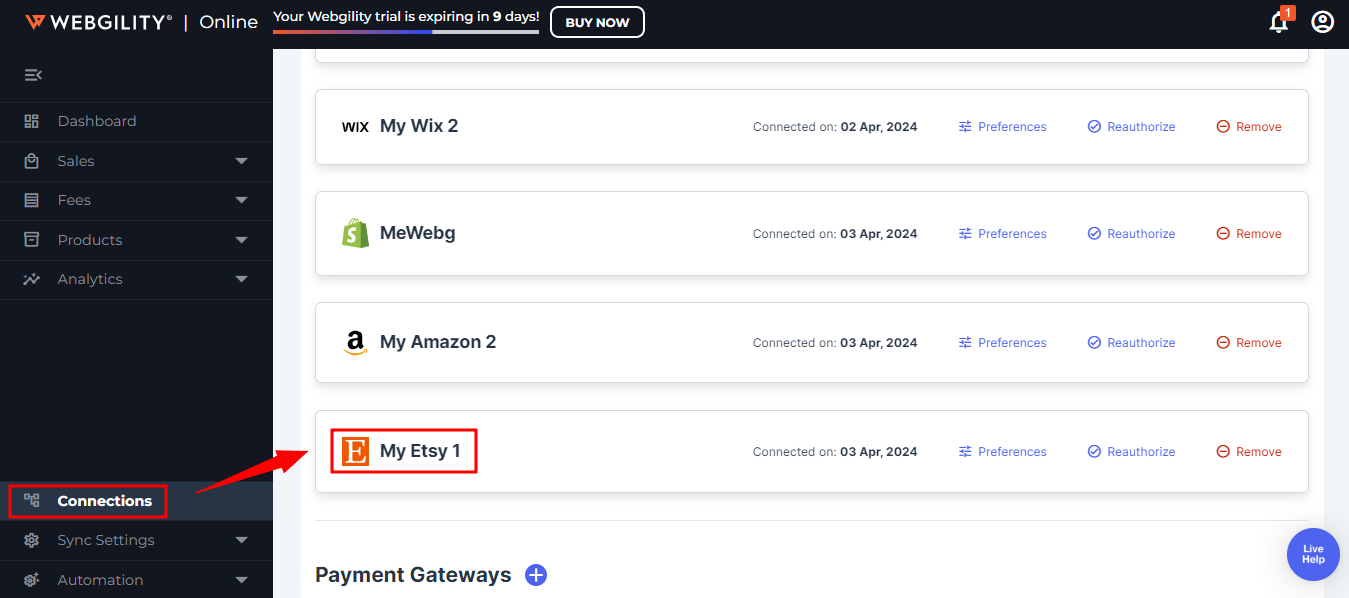
1. Go to the Connections section and click on the ‘+’ symbol located beside the Sales Channel option.
Note: if this is the first sales channel that you are setting up, read the getting started process, here.
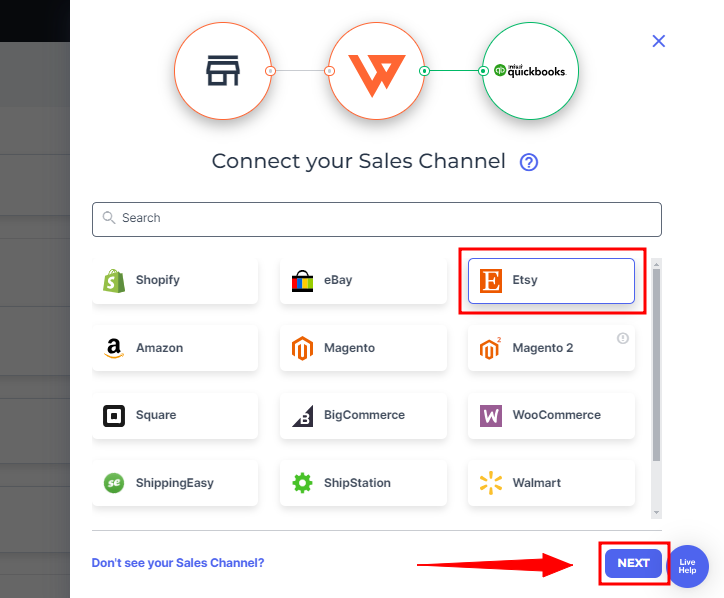
2. Select Etsy and proceed by clicking the Next option.
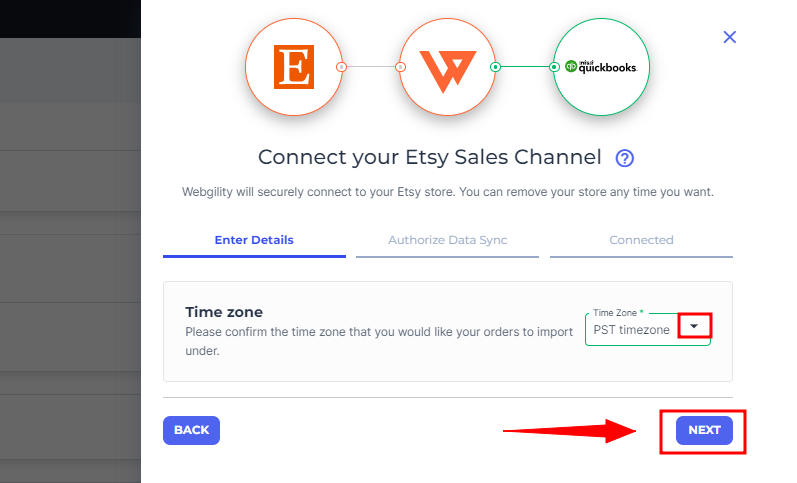
3. You will be directed to the "Enter Details" tab. Choose the time zone for importing orders and then proceed by selecting the "Next" option.
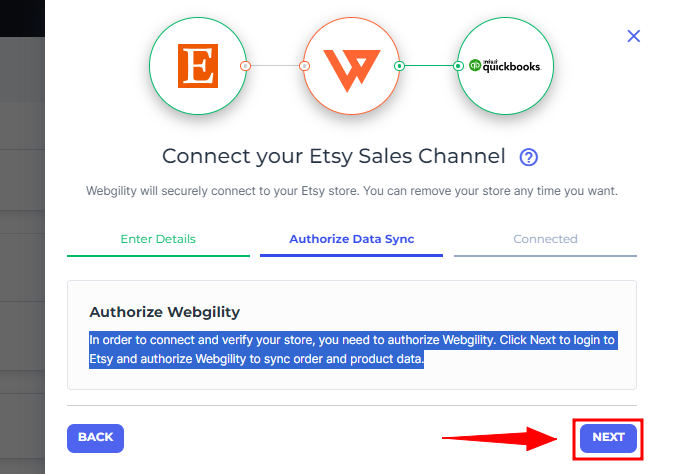
4. In the subsequent tab, titled "Authorize Sync," you'll get a notification stating, "To connect and verify your sales channel, you need to authorize Webgility." Click on "Next" to log in to Etsy and authorize Webgility to synchronize order and product data.
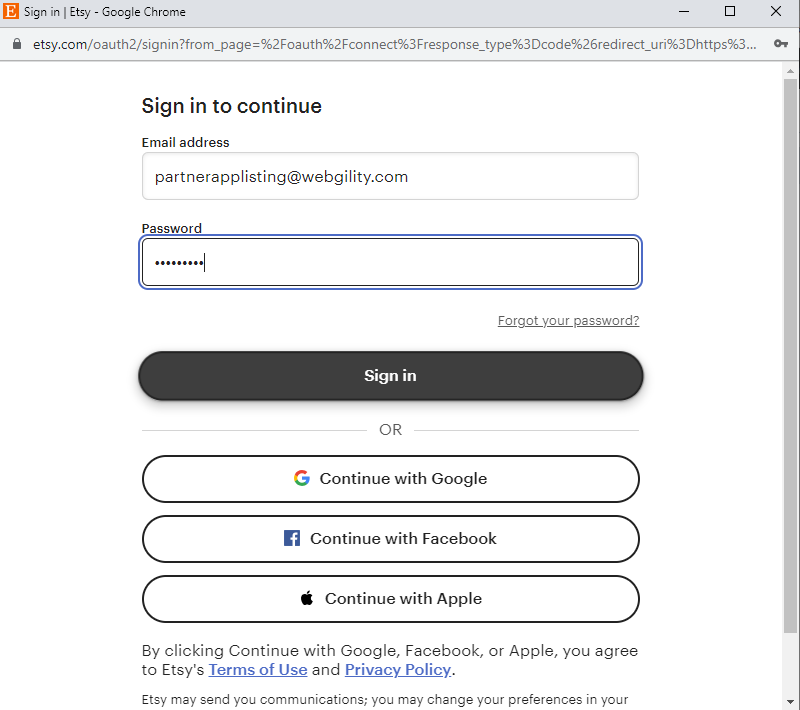
5. This will open up an Etsy pop-up window where you must select all the options from the left panel, starting with Enter Sales Channel details. Make sure your pop-ups are not blocked.
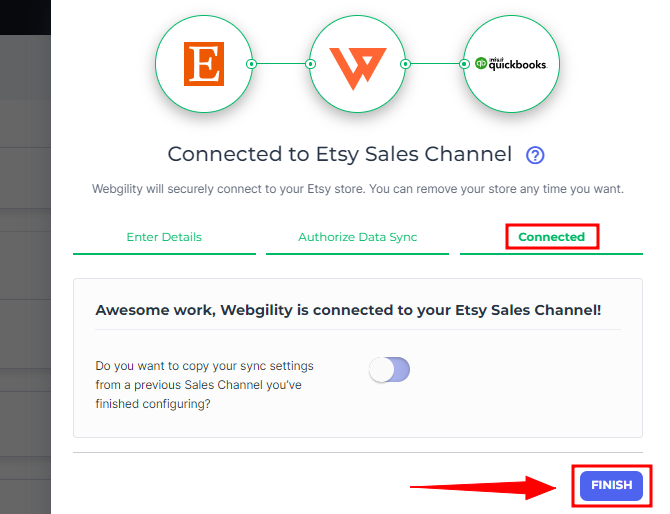
6. Upon successfully signing in, Webgility Online will begin establishing the connection with your Etsy sales channel. Following this, you'll be directed to the Connected tab. From there, proceed by selecting "Finish" to complete the setup.
7. Finally, you will receive a notification confirming the integration of Etsy with Webgility Online.

8. After completing the connection process, you will be redirected to the Connection screen, and the Etsy Sales Channel profile will be displayed.