How to Connect Webgility Online with Amazon
Follow the steps below to connect Webgility Online with Amazon Sales Channel.
Steps:
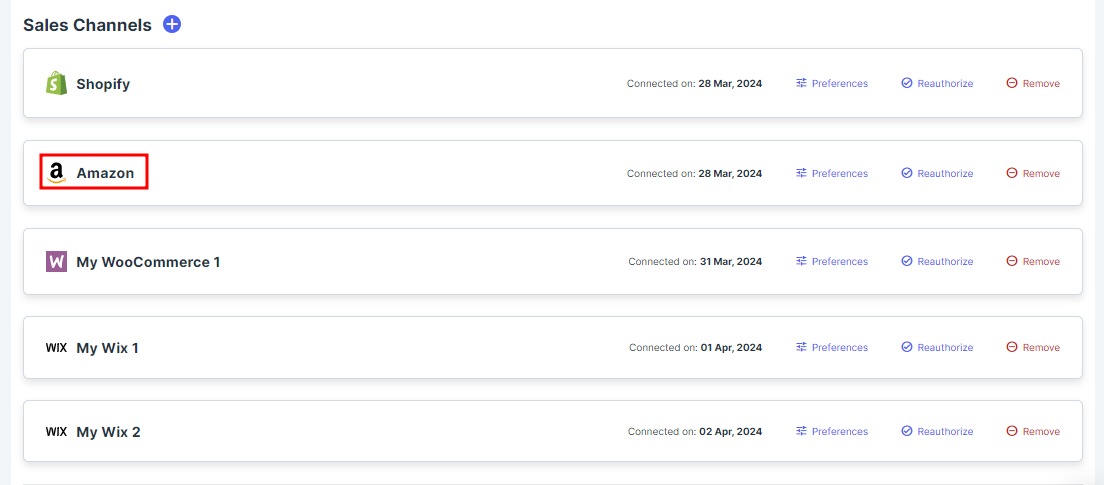
1. Go to the Connections section and click on the ‘+’ symbol located beside the Sales Channel option.
Note: if this is the first sales channel that you are setting up, read the getting started process, here.
2. Connect your e-commerce channel by selecting Amazon then select NEXT. Webgility Online is compatible with Amazon US and Amazon EU.

3. In the next window, select the Amazon Marketplace Location whether it is Amazon US or Amazon EU, and proceed with the Next option.

4. Follow the next option on the Autrize Data Sync tab.
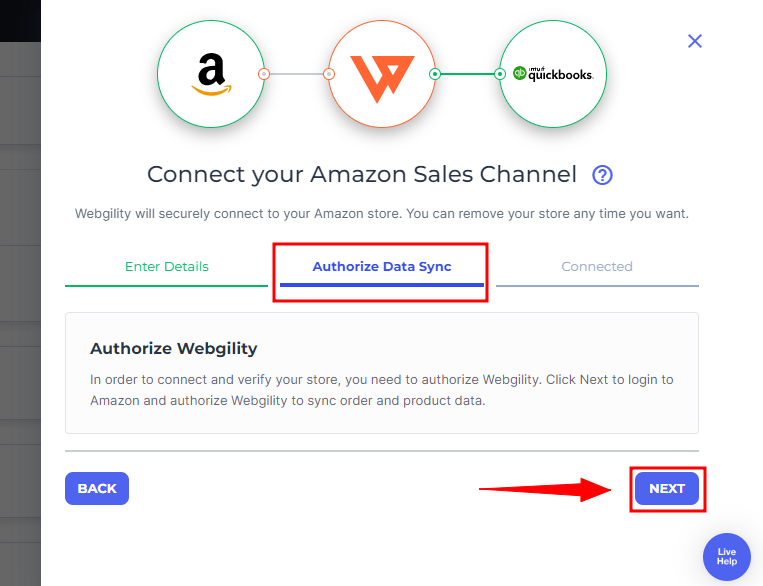
5. In the Amazon popup window, enter your Username and Password for Amazon Seller Central, then click Sign In to continue.
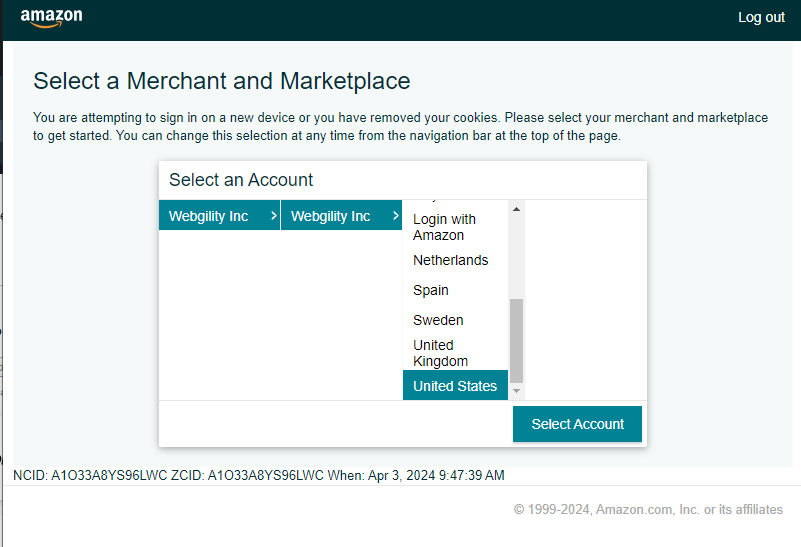
6. Choose the Account/Marketplace where you are selling, such as Canada, Mexico, or the United States, etc.
7. Confirm the Webgility Online connection to Amazon using Amazon Marketplace Web Services.
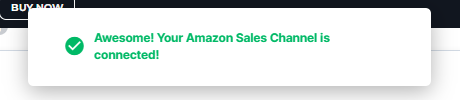
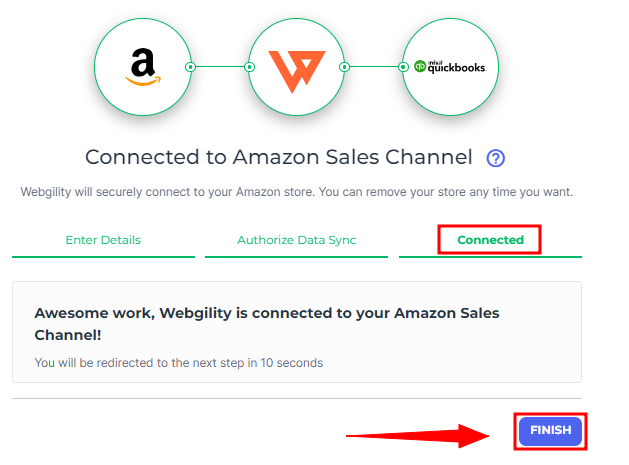
8. Finally, you will receive a notification confirming the integration of Amazon with Webgility Online. You can then proceed by selecting the "Finish" option.
8. After completing the connection process, you will be redirected to the Connection screen and an Amazon Sales Channel profile will be displayed.