
Issue
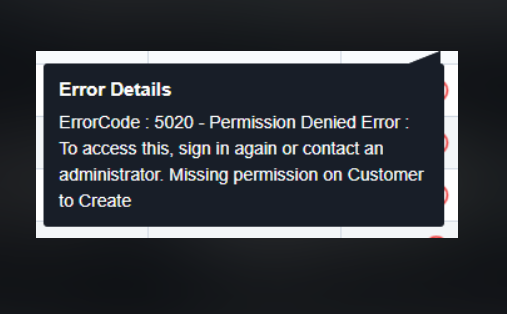
When you post new orders from Webgility Online to QuickBooks, some orders may fail and move to the Errors tab with this message:
Error Code 5020: Permission denied error to access this. Sign in again or contact the administrator.
This means there is an authorization or permission issue between Webgility and your QuickBooks company file. The fix depends on whether your Webgility account is connected to QuickBooks Online or QuickBooks Desktop.
Resolution for QuickBooks Online (QBO)
For QuickBooks Online, reauthorize the connection. Have your QuickBooks Admin credentials ready before you start.
- Log in to Webgility Online.
- In the left navigation menu, go to Connections.
- Find your QuickBooks Online connection in the list.
- Click Reauthorize.
- You will be taken to the QuickBooks Online login page.
- If your browser already has an active QuickBooks session, the login screen is skipped. Otherwise, sign in with your QuickBooks Admin credentials.
- If prompted, select the correct QuickBooks company file.
- Review the authorization request and click Connect (or Authorize) to give Webgility access.
- When authorization is complete, you'll return to Webgility Online. Post the failed orders again from the Errors tab.
Resolution for QuickBooks Desktop (QBD)
For QuickBooks Desktop, this error usually means the application certificate needs to be regenerated. Remove the existing Webgility (Unify) Extension so it can set up a fresh connection.
- Open QuickBooks Desktop and log in with your Administrator credentials in Single-User Mode.
- Click the Edit menu at the top of the screen.
- Select Preferences.
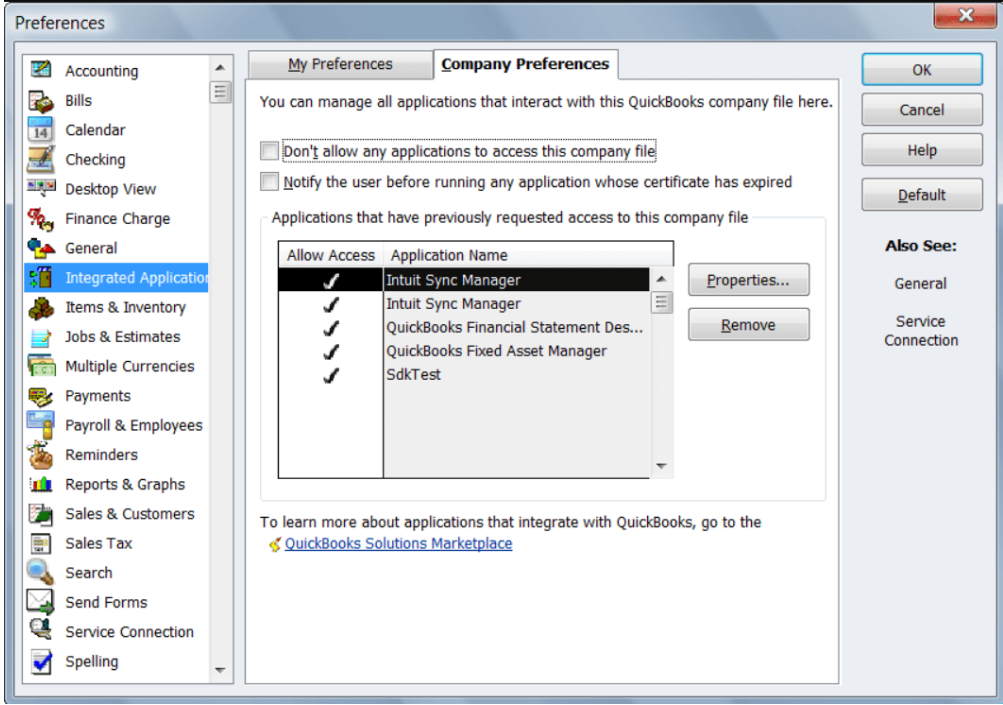
- In the left panel of the Preferences window, select Integrated Applications.
- Click the Company Preferences tab.
- Find Unify Extension in the list of integrated applications.
- Uncheck the box next to Unify Extension.
- Click Remove to delete the extension's certificate.
- Click OK to save your changes and close the window.
- Reconnect the Webgility Extension to QuickBooks Desktop so QuickBooks prompts you to grant a new application certificate. When prompted, choose to allow access even when QuickBooks is not running. For detailed steps, see How to check if Webgility Online is connected to QuickBooks Desktop.
- Once the connection is restored, post the failed orders again from the Errors tab.
Once QuickBooks is successfully connected, please post the orders again.