Part of How to Connect a Payment Gateway to Webgility i.
Set how payment fees post
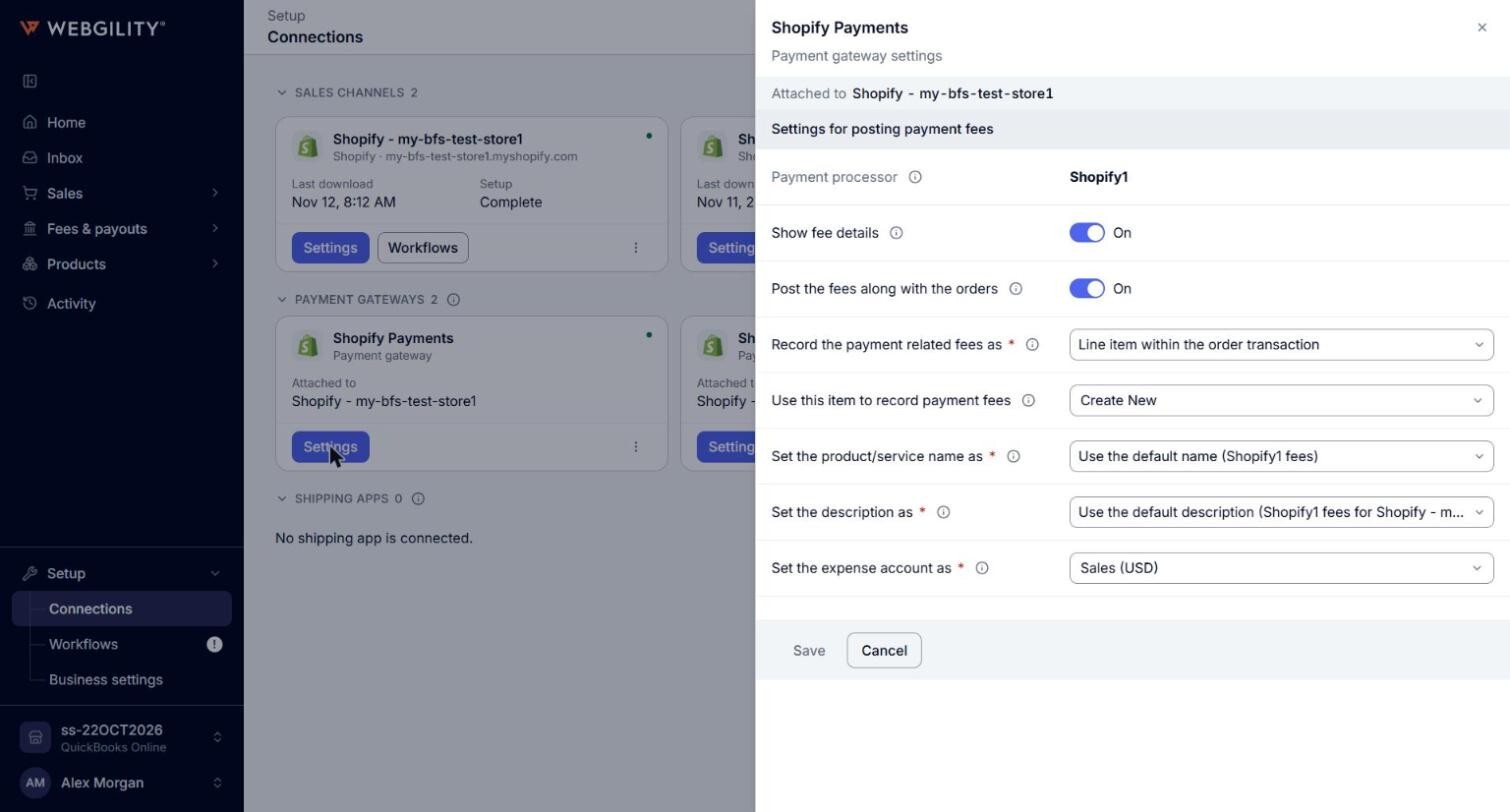
- Go to Setup > Connections. On the gateway's card under Payment gateways, click Settings. The panel opens with Payment gateway settings under the gateway's name.
- If the gateway is attached to more than one store, pick the store under Channel. Each store keeps its own fee settings.
- Set the options under Settings for posting payment fees and click Save.
Note: For a Shopify store, the panel also shows Multi-currency fee payments. When it is on, a fee in a currency posts with the vendor and accounts of that currency's row in Set the expense account per currency, in the Settings of the store's first payment gateway. Add a row for every currency you pay fees in.