Part of How to Map a Sales Channel Listing to a QuickBooks Product in Webgility i.
Steps: Map a listing to an existing QuickBooks product
- Go to Products > Catalog and click the Sales channel listings tab. Then click the Unmapped tab.
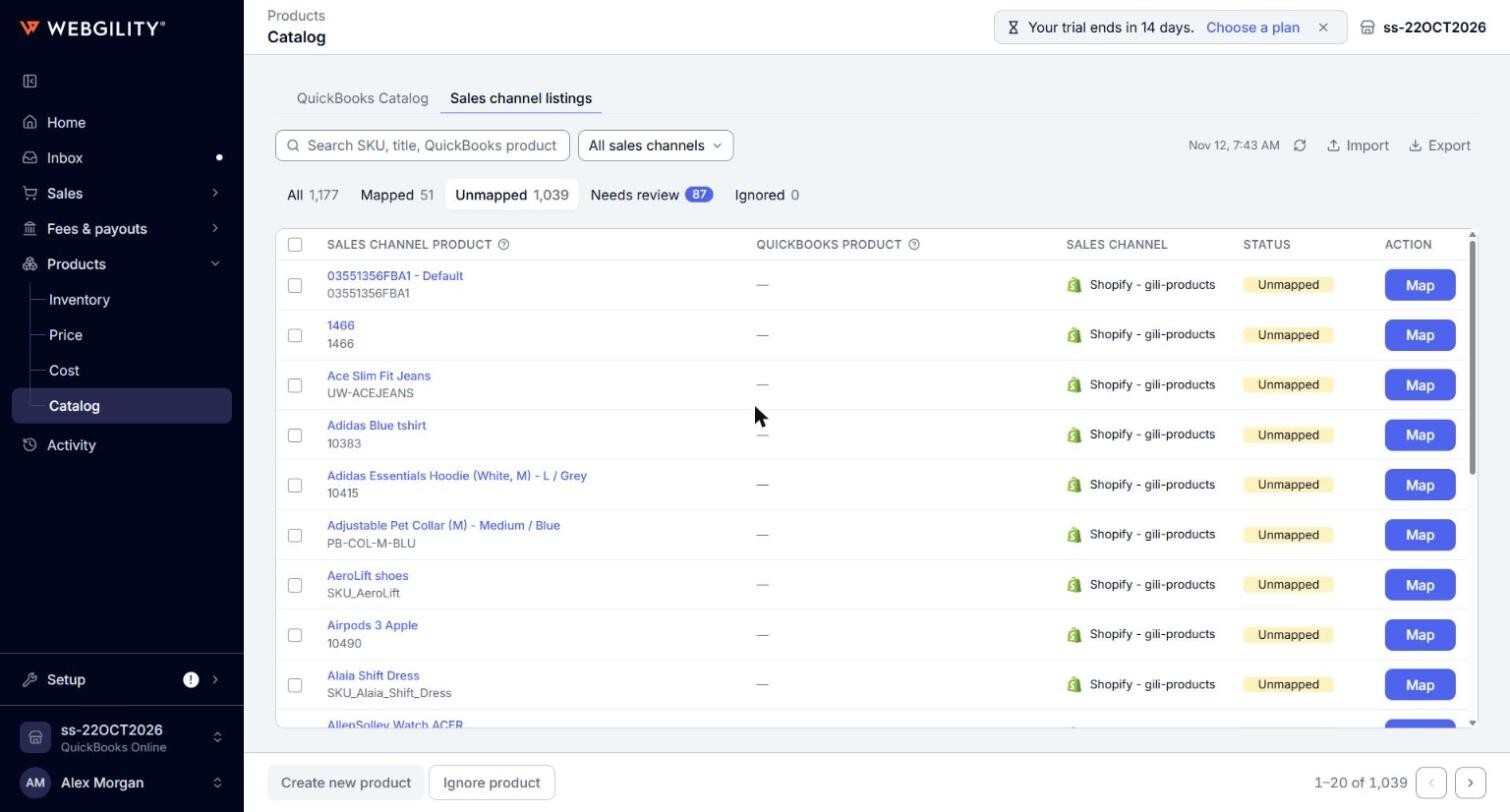
- Find the listing. You can type its SKU or title in the search box, or select its channel in the All sales channels filter.
- Click Map in the listing's row, or click the listing's title. A panel opens on the right with the listing's title, status, store and SKU.
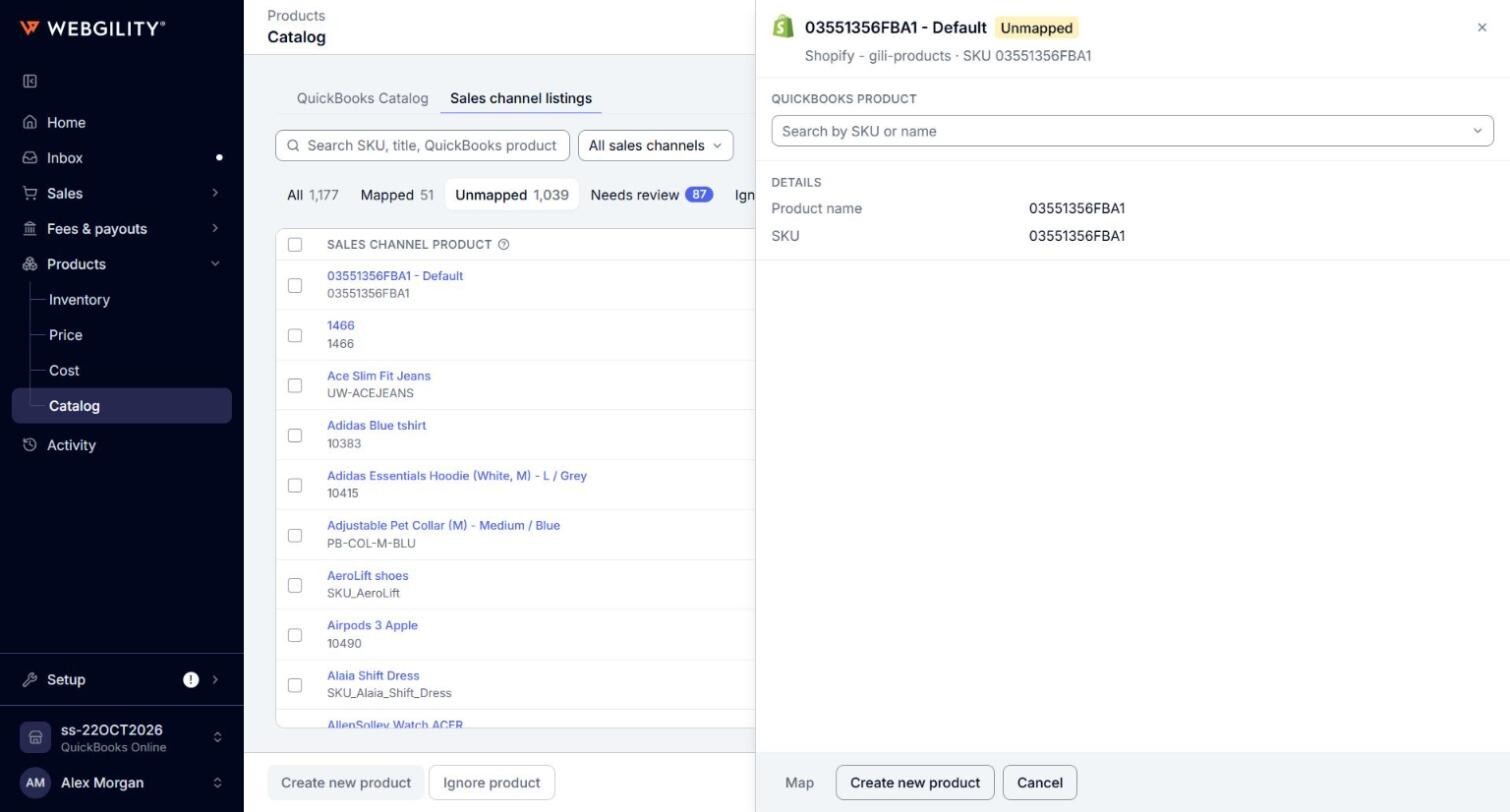
Note: You can also open this panel from an order that stopped because a product has no QuickBooks product. After you map it, click Next product to go to the order's next unmapped product.
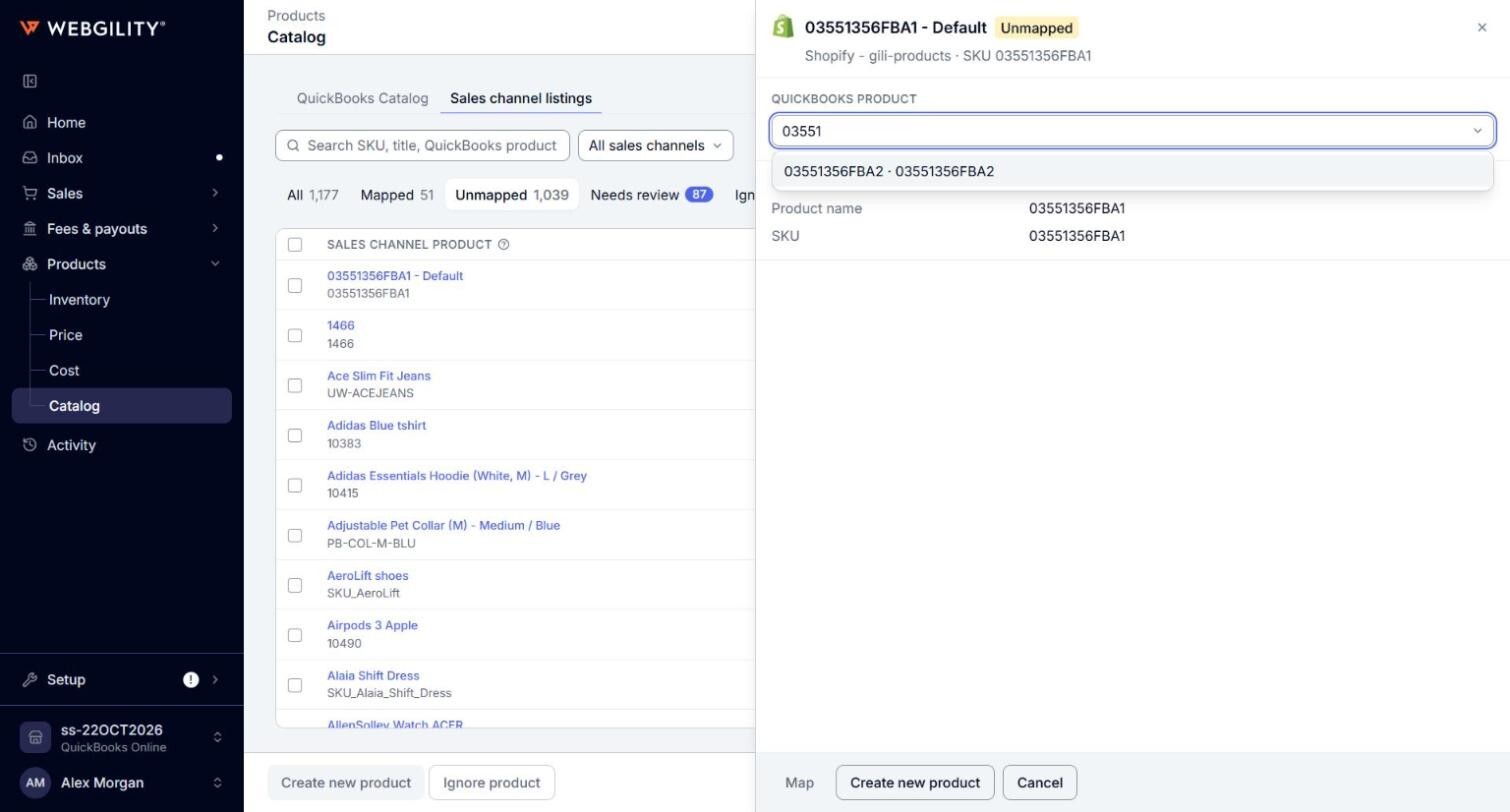
- Under QuickBooks product, click the search box and type the SKU or name of the QuickBooks product. Select the product from the list. The Map button becomes available.
Note: The list shows the active products of your QuickBooks Online company. If you see "Your QuickBooks products are still loading. Try again in a few minutes.", Webgility i is still reading your QuickBooks Online products.
- Click Map. A confirmation opens, for example "Links Blue Tee on My Shopify to TEE-BLU in QuickBooks. Nothing is created."
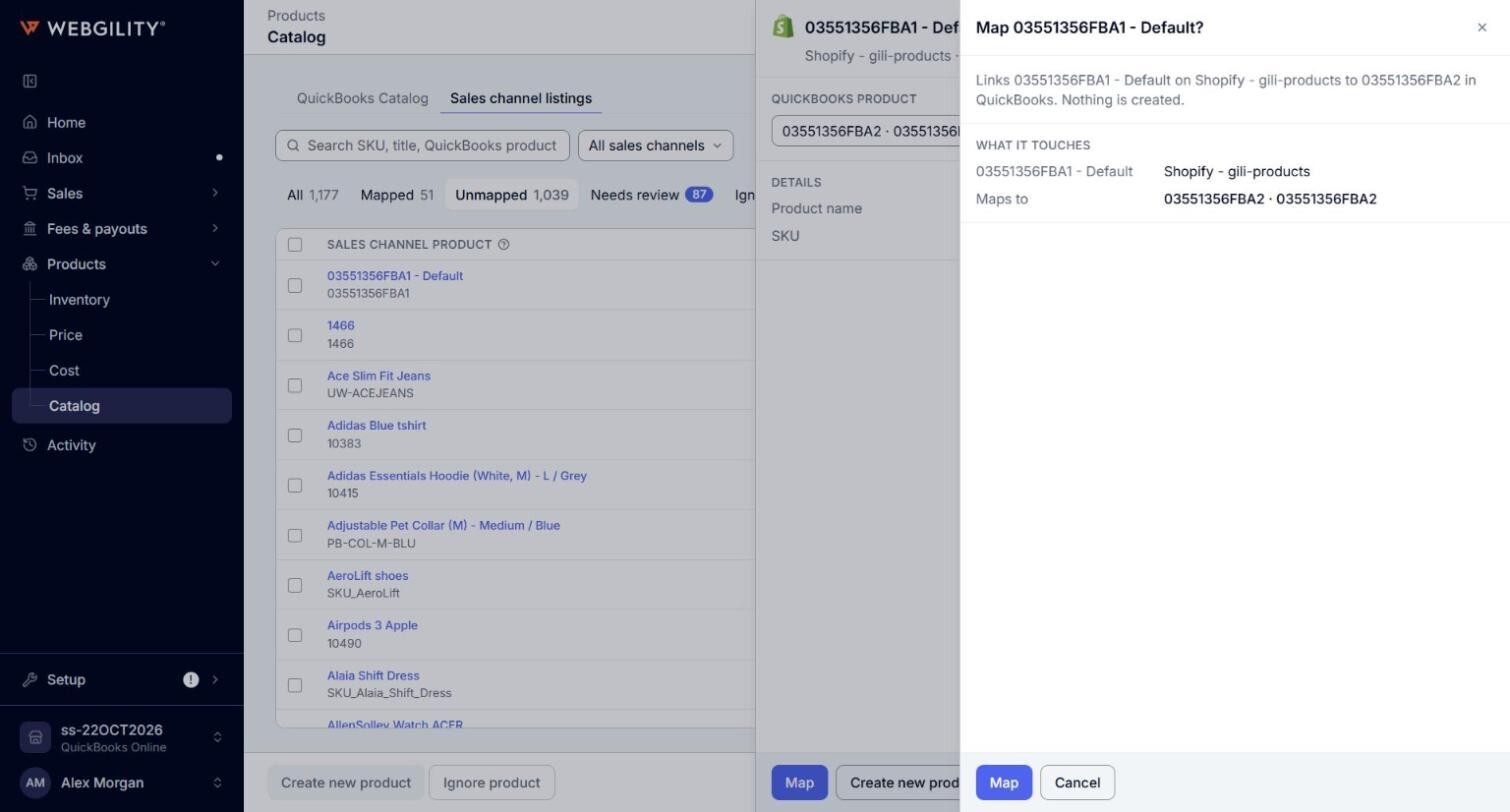
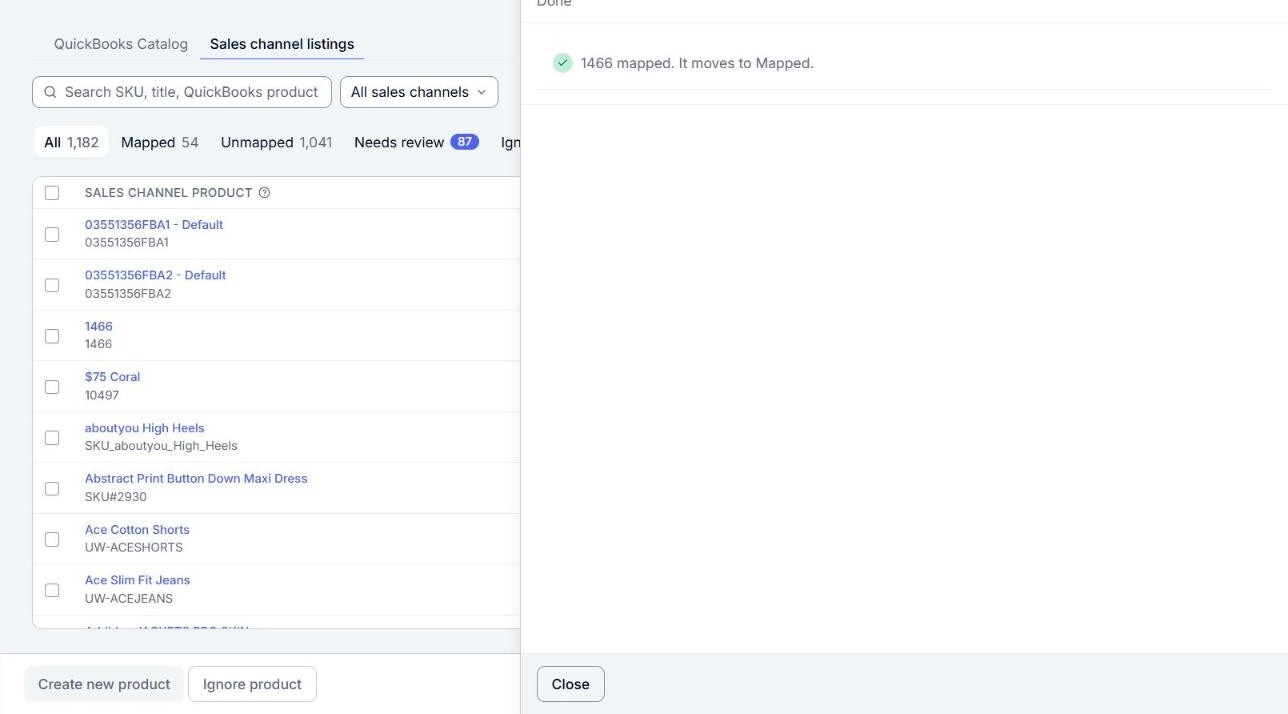
- Click Map to confirm. The panel shows that the listing is mapped and moves to Mapped. Click Close.
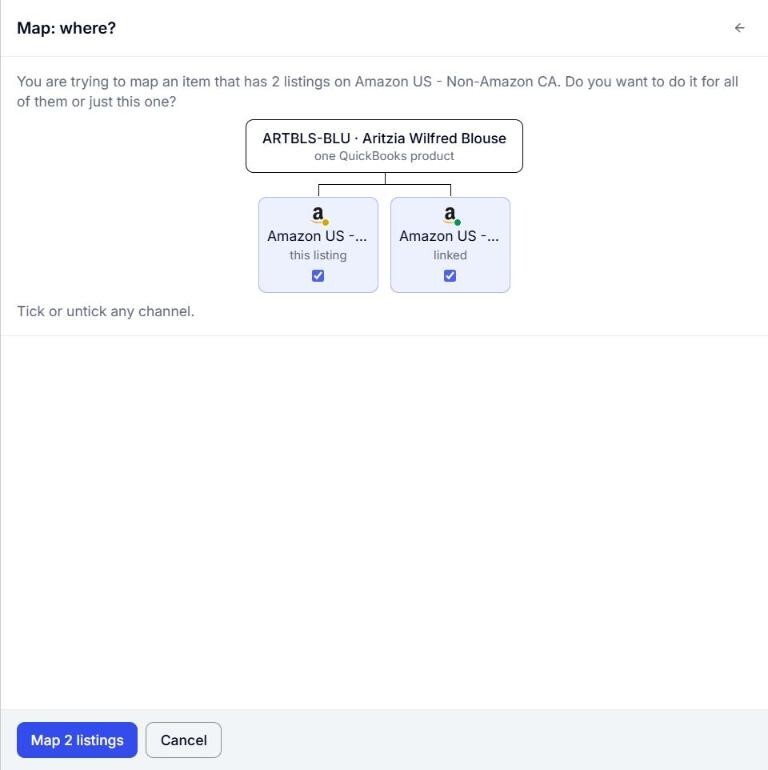
Note: If the same product is also listed on another sales channel, or more than once on the same channel, the confirmation asks where to map it, under the title Map: where?, for example "You are trying to map an item that has 2 listings on Amazon US. Do you want to do it for all of them or just this one?" Each listing shows as a box under the QuickBooks product, all selected. Clear the box of any listing you do not want to map, then click the button, for example Map 2 listings. A listing you clear keeps its current status.