You start from Webgility i, which opens the Webgility plans page already signed in to your account, so you do not sign in again to buy.
Note: During a trial, the top of every page shows how many days your trial has left. When the trial ends, buy a plan to keep posting your orders to QuickBooks Online.
Steps:
- Click Choose a plan in the trial notice at the top of any page. You can also click your name at the bottom of the left menu, click My account, and then click the Plan and usage tab. The tab shows your Plan, for example Webgility Trial, and the Trial expiration date.
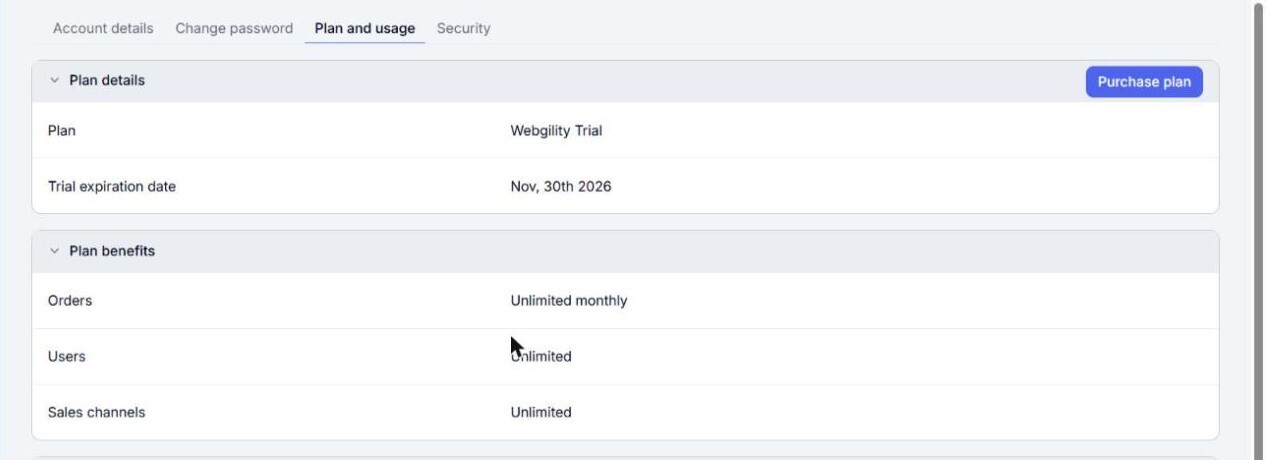
- Click Purchase plan. The Webgility plans page opens in a new browser tab, signed in to your account.
- Choose how you want to pay: Annual or Monthly. Annual billing costs less per month. Make sure the tab for your accounting system is selected, for example QuickBooks Online / Xero. To connect more than one QuickBooks Online company, choose the Intuit Enterprise Suite tab. See How to Add and Switch Between Multiple Businesses.
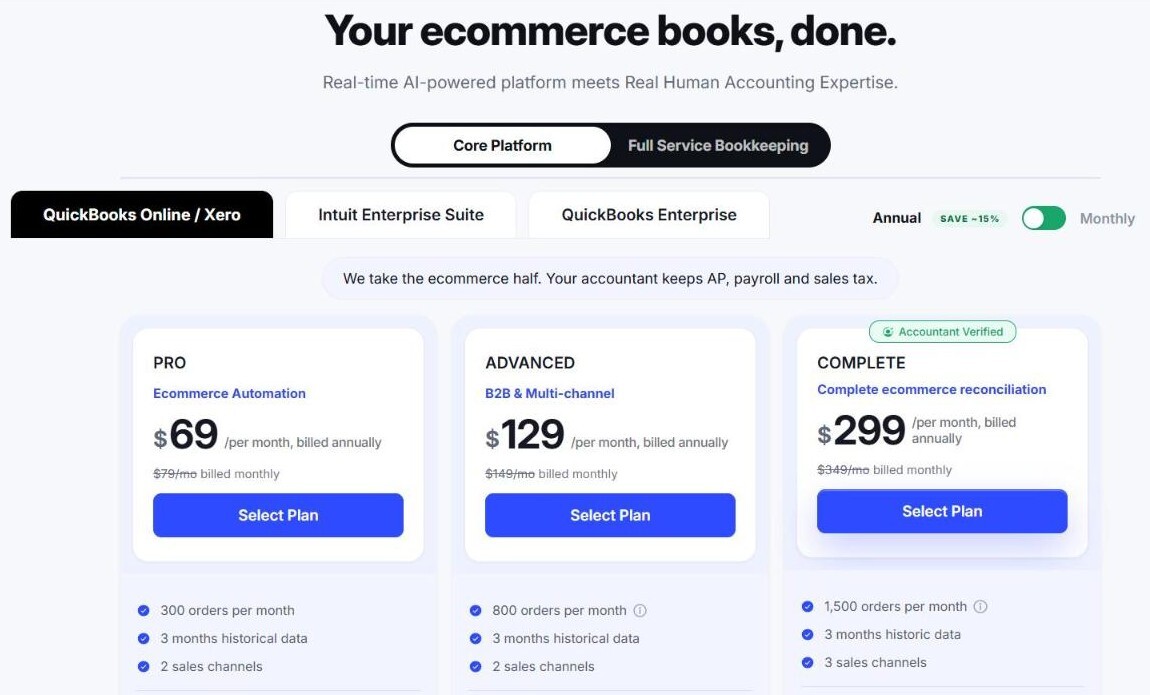
- Compare the plans. Each plan lists how many orders per month and how many sales channels it includes, and what it adds. Click Select Plan under the plan you want.
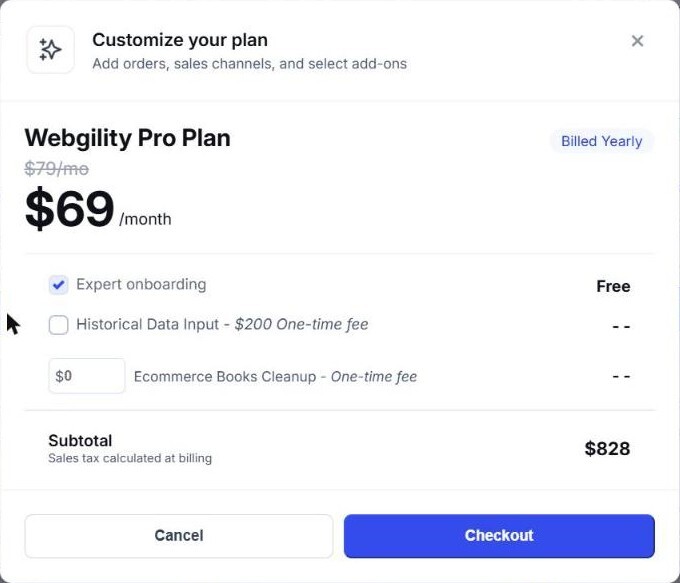
- In Customize your plan, check the plan and its billing period, and add any add-ons you need. The Subtotal shows the price before sales tax. Click Checkout.
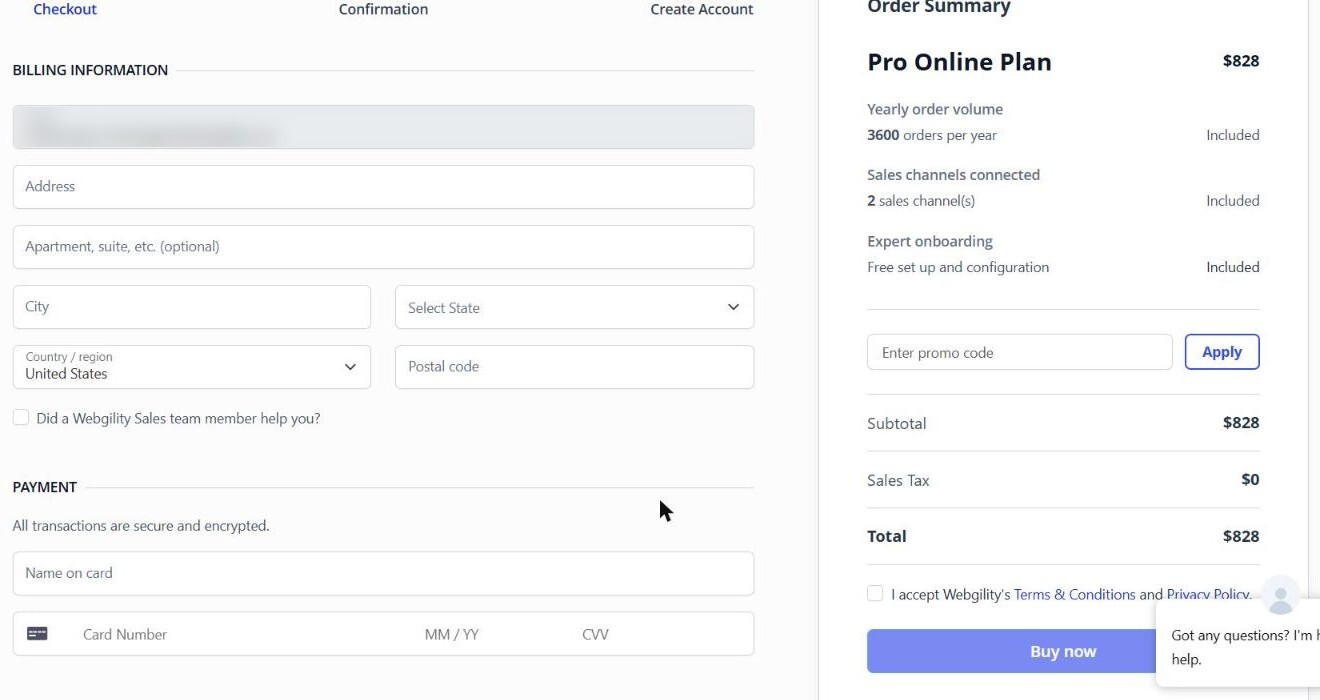
- On the checkout page, your email is already filled in. Enter your billing address and your card details. To use a promo code, type it in Enter promo code and click Apply. Check the Order Summary and the Total.
- Tick I accept Webgility's Terms & Conditions and Privacy Policy and click Buy now. Follow the remaining steps to confirm your purchase.