
Part of Understanding Fees and Payouts in Webgility i.
How the Fees and Payouts pages differ
Go to Fees & payouts > Fees or Fees & payouts > Payouts. The two pages work the same way: the same status tabs (All, Not posted, Errors, Posted and Ignored), the same search on the payout ID, and the same panel that opens when you click a payout. They differ in which part of the payout they show:
- Fees: the Payout fees of each payout, and the QuickBooks Online document they became, a Bill or an Expense. A Bill can be followed by the Bill payment that pays it. The page also has a Date range filter on the payout date.
- Payouts: the Net deposit of each payout, the amount the channel reports it paid to your bank, and the QuickBooks Online Transfer that records it.
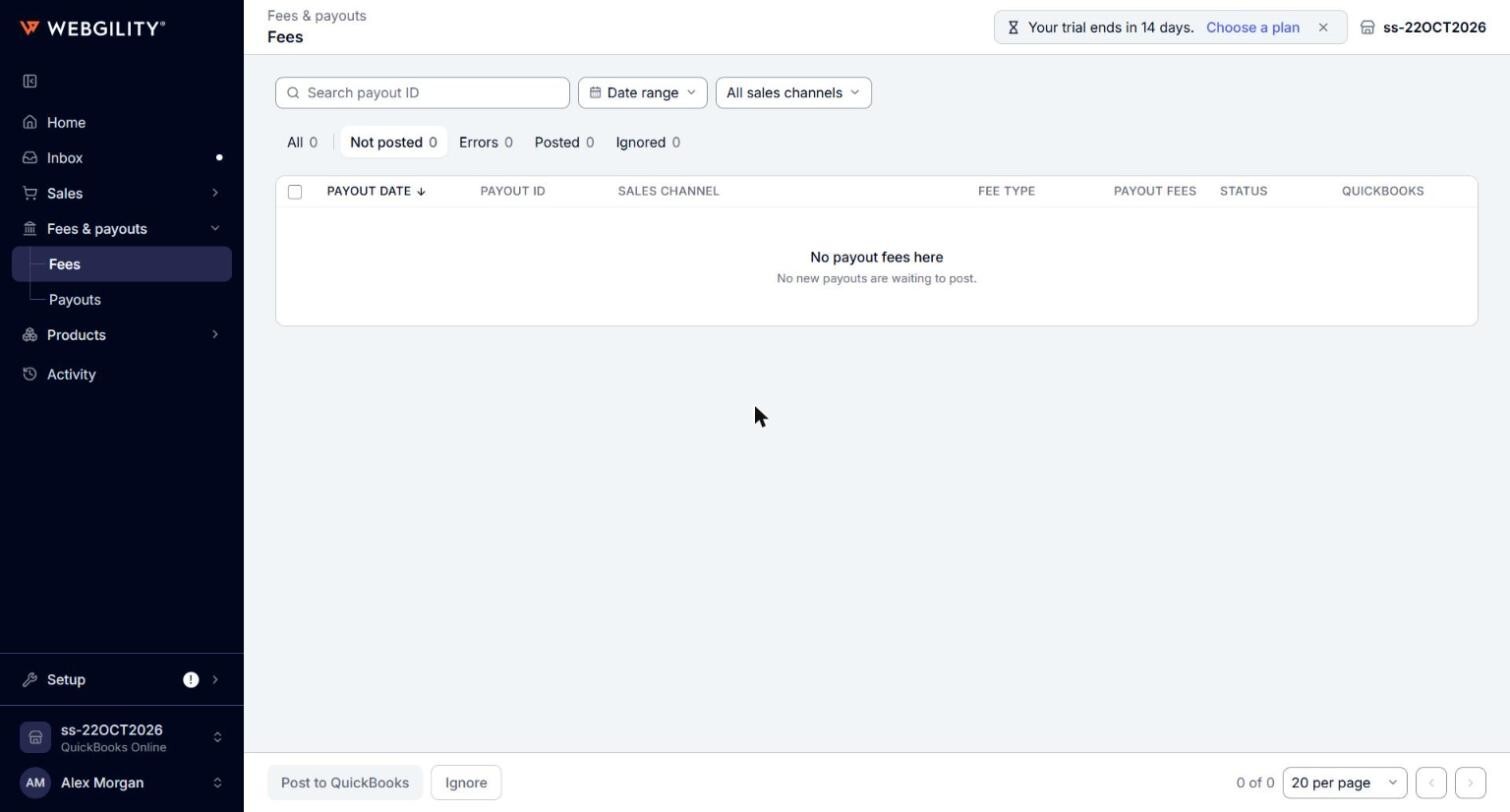
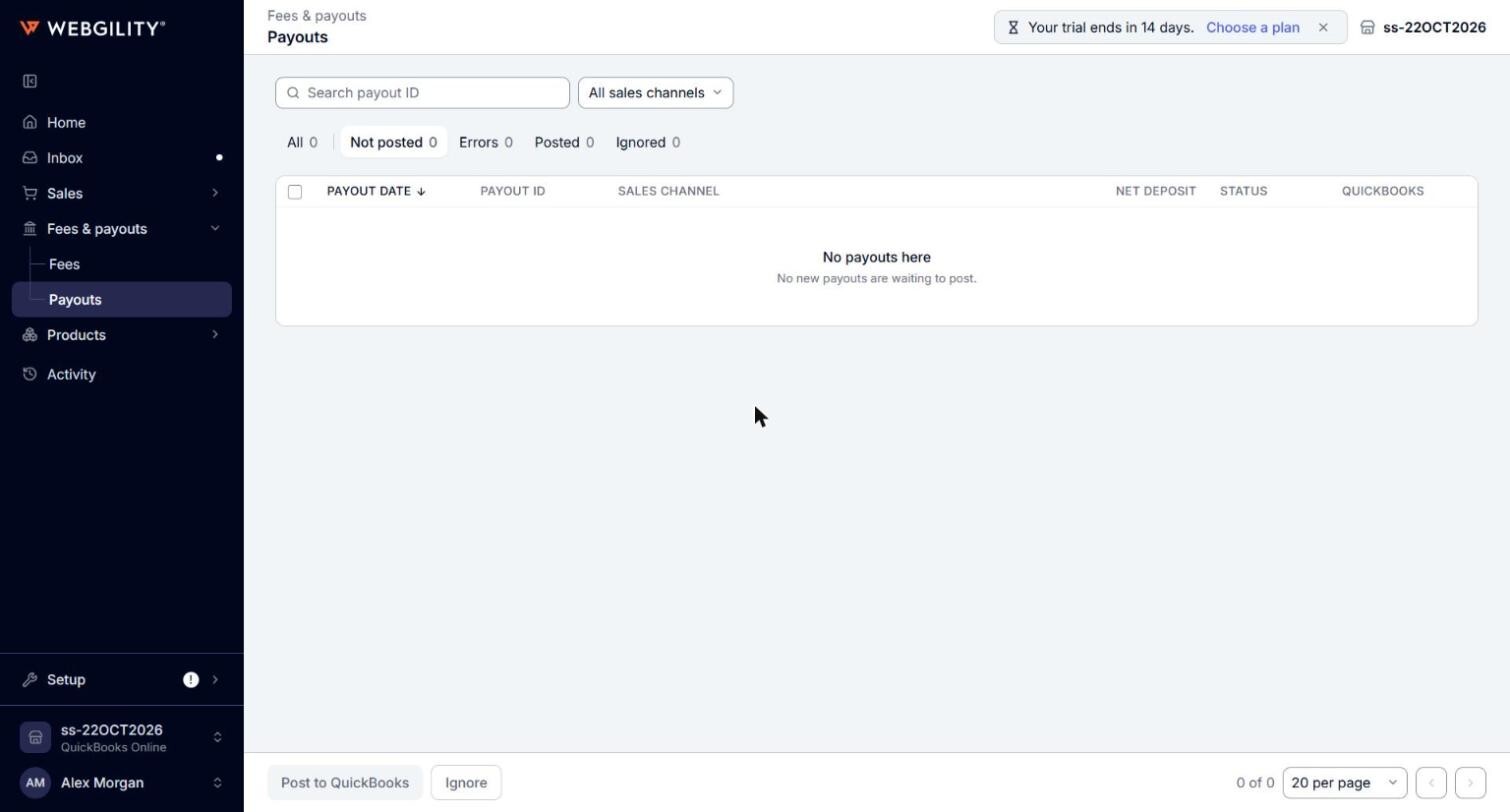
Because each page shows its own part, a payout can have a different status on each page. For example, its fees can be Posted on the Fees page while its deposit is still Not posted on the Payouts page.
Note: Each page posts only its own part of a payout. Post to QuickBooks on the Fees page posts the fees, and on the Payouts page it posts the net deposit. Until you post the other part from its own page, it shows Held: your call there. If that part's automation switch is on, Webgility i posts it by itself. Unpost and Ignore also act only on the part the page shows. For eBay, Walmart, TikTok Shop and Square, Ignore and Restore always move the whole payout, fees and deposit together, from either page.