Steps to follow:
1. Login to the Webgility Desktop application
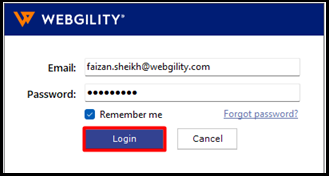
Note: If you are connecting your first sales channel in Webgility Desktop, after you log in, you will be automatically prompted to Add Sales Channel
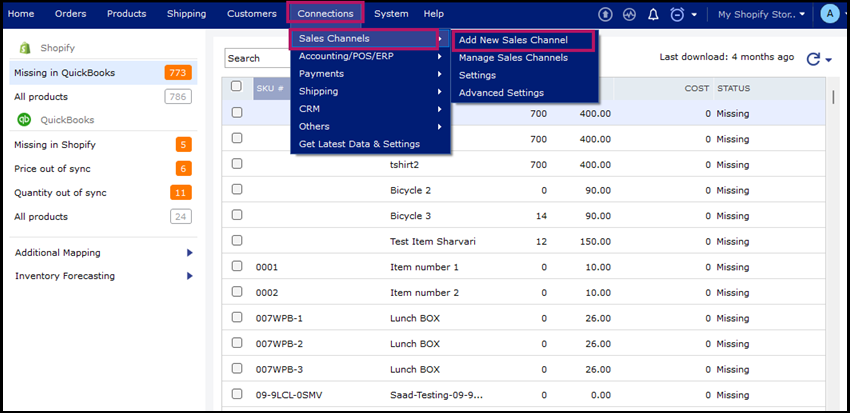
2. Navigate to Connections then goto Sales Channel and click on Add New Sales Channel
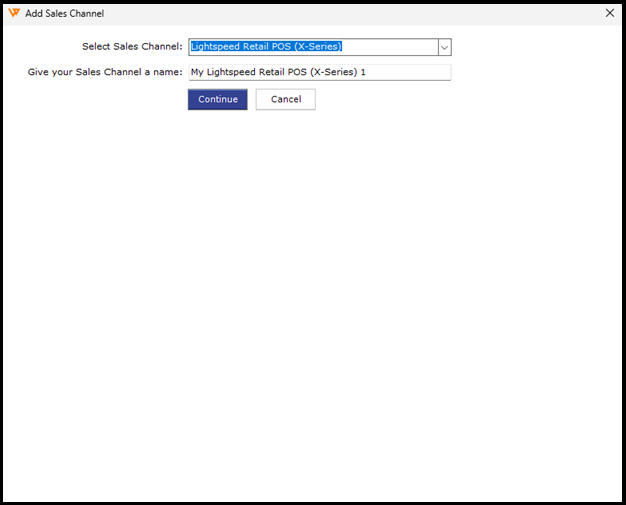
3. Select Lightspeed (X-Series), name it (Give your Store a name), and click Continue
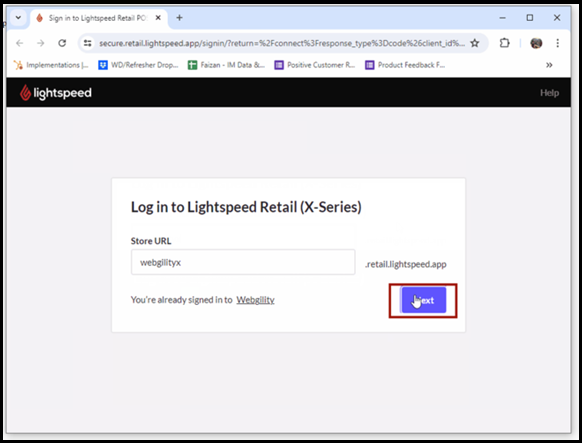
Webgility Desktop will redirect you to sign in to Lightspeed in your default browser. Enter your credentials and click Login.
Click Connect to allow Lightspeed to connect to Webgility Desktop.
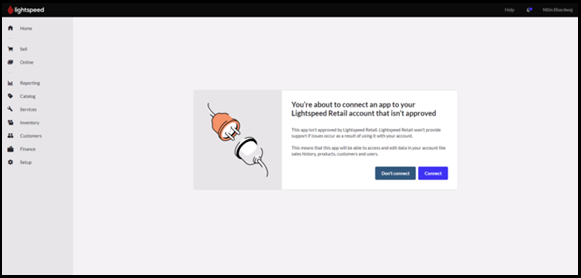
Note: Webgility Desktop app is already provided for authorization with LightSpeed. Once the app is authorized, the above displayed message will no longer be visible
-
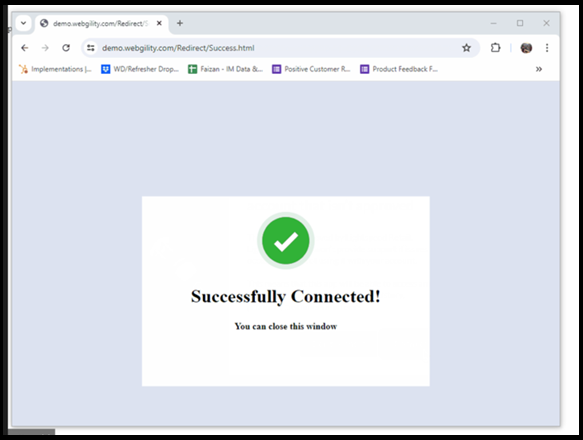
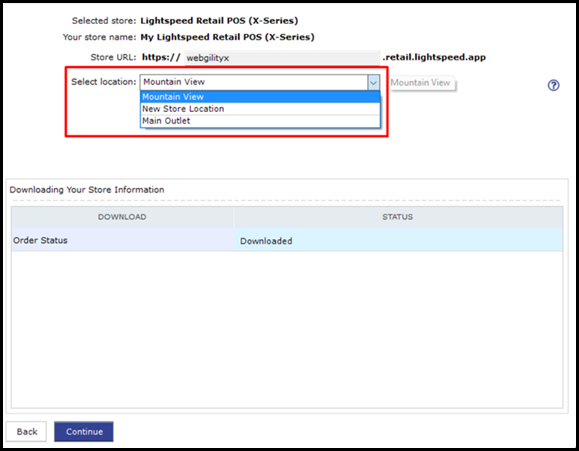
You’ll see a prompt indicating a successful connection [image below]. Close the web browser and return to the Webgility Desktop app. Select your sales channel location from the dropdown menu and click Continue.
-
Click Continue to finish the accounting connection process, or simply proceed to download orders. Once, that’s done, you will be able to see the integration is available in the existing list of connected sales channels.