Overview:
Webgility Desktop Software can install SQL Server and create a database during installation. Occasionally, it may encounter issues with SQL Server installation, resulting in a new database being created due to permission problems or restrictions in the system environment.
Resolution:
You must download and install the required SQL Server version, ensuring it is the same as or newer than the one on the old server. Additionally, create a new database instance on the new machine.
Steps of troubleshooting;
1). Follow the steps in this helpful article on: How to Manually Install SQL 2019 for Webgility Desktop.
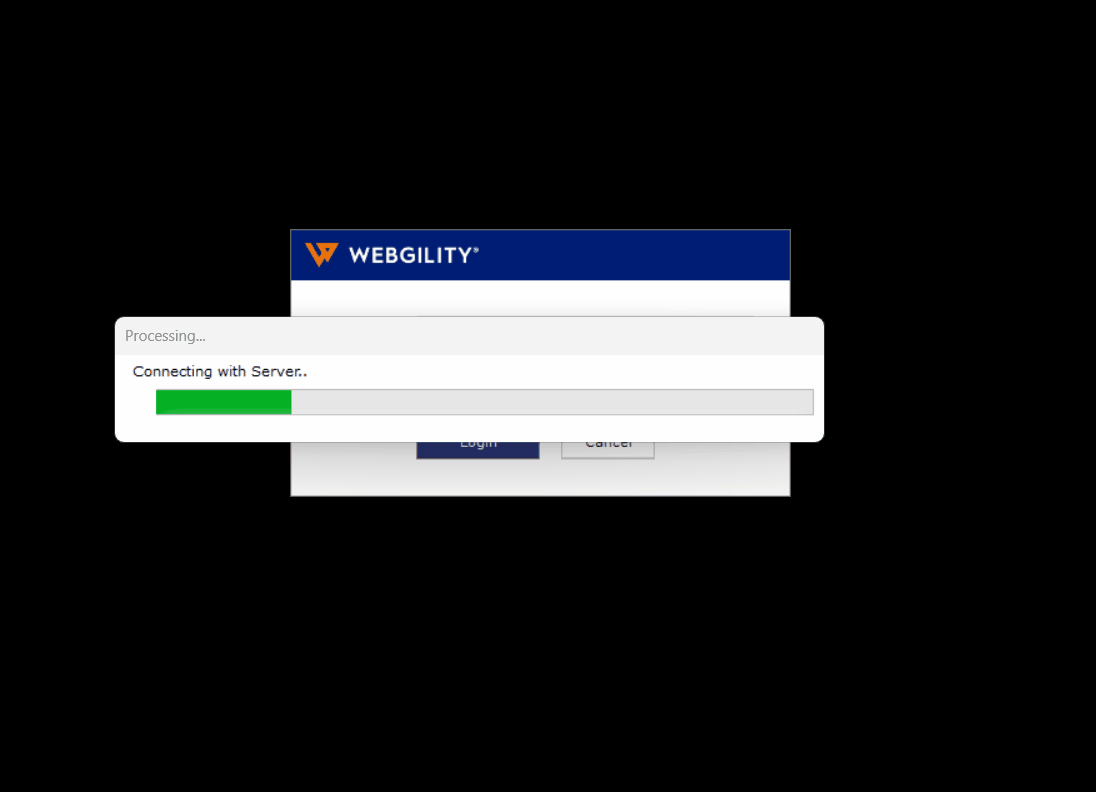
2). Launch the Webgility Desktop Software. It will attempt to connect to an existing server but will ultimately display a database configuration form.
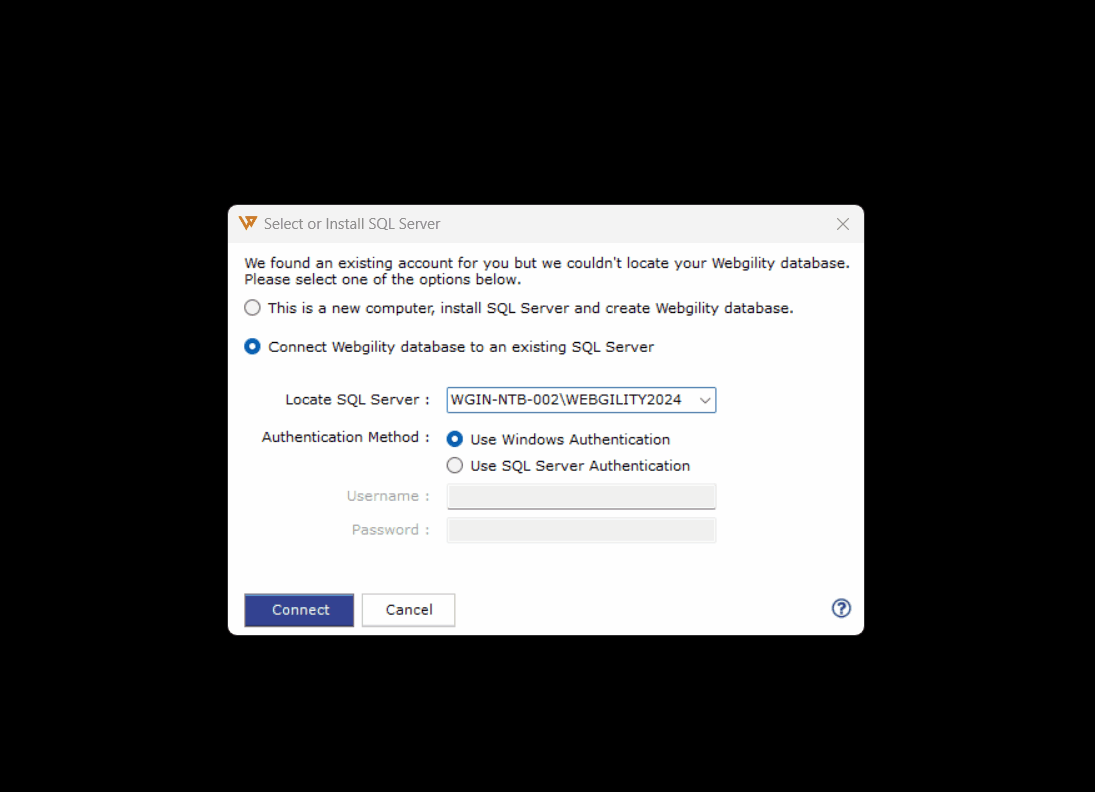
3). Choose "Connect Webgility database to an existing SQL Server." From the "Locate SQL Server" dropdown, select "Browse for More" and allow 2-3 minutes for the software to identify all SQL Server database instances on the local network.
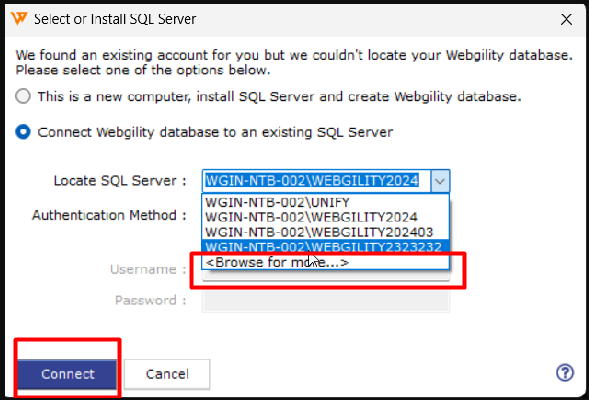
4). Select the newly created database instance from the SQL Server installation. Use SQL Authentication with the username "sa" and the password "Webgility2011," then click "Connect."
5). You will be redirected to a window to restore a database. Browse for the most recent database backup (use the one from the old server) and continue with the restoration.

6. After completion, close Webgility Desktop completely. On the new machine, go to the folder location “C:\Webgility\UnifyEnterprise,” find the file named “UnifyDBUpgrade,” run it once, and wait for a success popup. Once finished, log in to Webgility Desktop on the new machine.
