Note: This article applies only to Webgility Online users running QuickBooks Desktop.
Error Message:
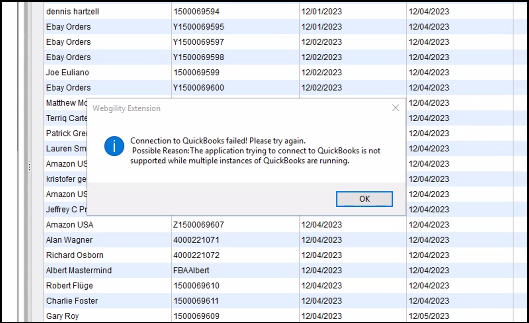
Connection to Quickbooks failed! Please try again. Possible Reason: The application trying to connect to Quickbooks is not supported while multiple instances of Quickbooks are running. Webgility Extension
Cause of the issue:
This usually happens when there are multiple instances of the Quickbooks Desktop application running or there is a difference in the user permissions between the Webgility Extension and Quickbooks Desktop.
Steps to rectify the issue:
1). Restart QuickBooks Desktop:
-
On the affected machine, close all instances of the QuickBooks Desktop application.
-
Open Task Manager, go to the Details tab, and ensure there are no lingering QuickBooks processes.
-
Once everything is closed, relaunch QuickBooks Desktop and test the connection from the Webgility Extension.
2). Check User-Level Permissions:
-
If the issue persists, it may be due to a discrepancy in user permissions between the Webgility Extension and QuickBooks Desktop. If that's the case then follow the steps mentioned below:
-
Close both the Webgility Extension and QuickBooks Desktop completely, including the one under the Details tab in Task Manager.
-
-
-
Navigate to the C: Drive and locate the Webgility folder.
-
Right-click on the Webgility folder and select Properties.
-
Go to the Security tab, click Edit, and then Add.
-
In the Enter the object names to select text box, type Everyone, then click Check Names and OK.
-
Under Permissions for Everyone, check the box for Full Control under the “Allow” column.
-
Click Apply and OK to save the changes.
-
Please refer to the help article here for detailed instructions on how to execute the Unify.exe.\
-
Need to follow the same steps for the Webgility Extension launcher, Intuit folder (C:\Program Files\Intuit\), and the Quickbooks Desktop launcher).
-
Once done launch Quickbooks Desktop, then Webgility Extension, and then test the connection again.