How to resolve the issue?
Here are potential reasons and steps to resolve the issue:
-
Check Product/Service Item Status:
-
Ensure the product or service item assigned to the invoice exists in QuickBooks Desktop.
-
If marked as inactive or discontinued, reactivate it in QuickBooks Desktop.
-
-
Creation of Product/Service Item:
-
If the item has been deleted or was never created in QuickBooks Desktop, recreate it before generating the invoice.
-
-
Syncing Issues Resolution:
-
Address any syncing problems between Webgility Desktop and QuickBooks Desktop.
-
Resync the systems to ensure the availability of the product or service item in QuickBooks Desktop before invoice creation.
-
Troubleshooting:
1. Navigate to Connections > Accounting POS/ERP > Sync Settings > Orders.
2. Click on the Setup button next to the Transaction Type (Invoice/Sales Receipt/Sales Order) & verify the account selected for Deposit To field.
![]()
3. Log in to QuickBooks Desktop, open Chart Of Accounts, and confirm that the account selected in Webgility Desktop is active.
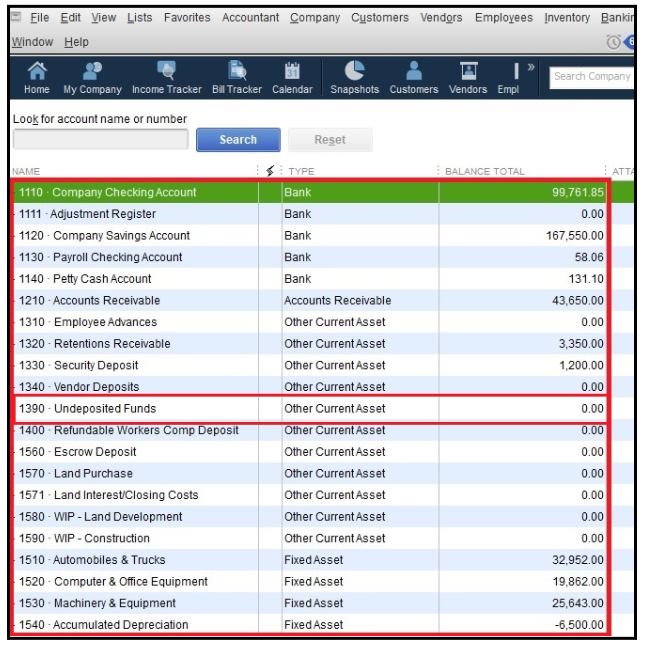
4. If the account selected is active, please open the order that you are trying to post and verify the items of the order. Ensure that all the items came in the order are active in QuickBooks Desktop.
5. Once done, please download the latest data from QuickBooks Desktop following the path Connections > Get latest data & settings.
6. Click “Download Data” to download the latest data from QuickBooks Desktop.
7. Navigate again to Connections > Accounting POS/ERP > Sync Settings > Orders > Transaction type > Setup > select the correct Deposit to account > Save, Save and Continue.
7. Once done then, try to post the order again and it should now post to QuickBooks Desktop.