Overview of Accounting Data in Webgility
In Webgility, accounting data includes items, customers, and related metadata, which must stay synced with your sales channel to prevent errors. Discrepancies can cause sync, posting, and mapping issues. By default, Webgility retrieves data based on the last download date. If you experience errors, follow the steps below to refresh and update your data from scratch.
Note: To ensure that the Webgility Desktop application does not run into any permission issues, it is advised to log into QuickBooks company file as an administrator user before carrying out any of the actions listed below.
Step 1: Manually Clear Dates from Advanced Settings
It’s recommended to clear the dates for the item and customer fields from the accounting side to ensure the most current data is downloaded.
-
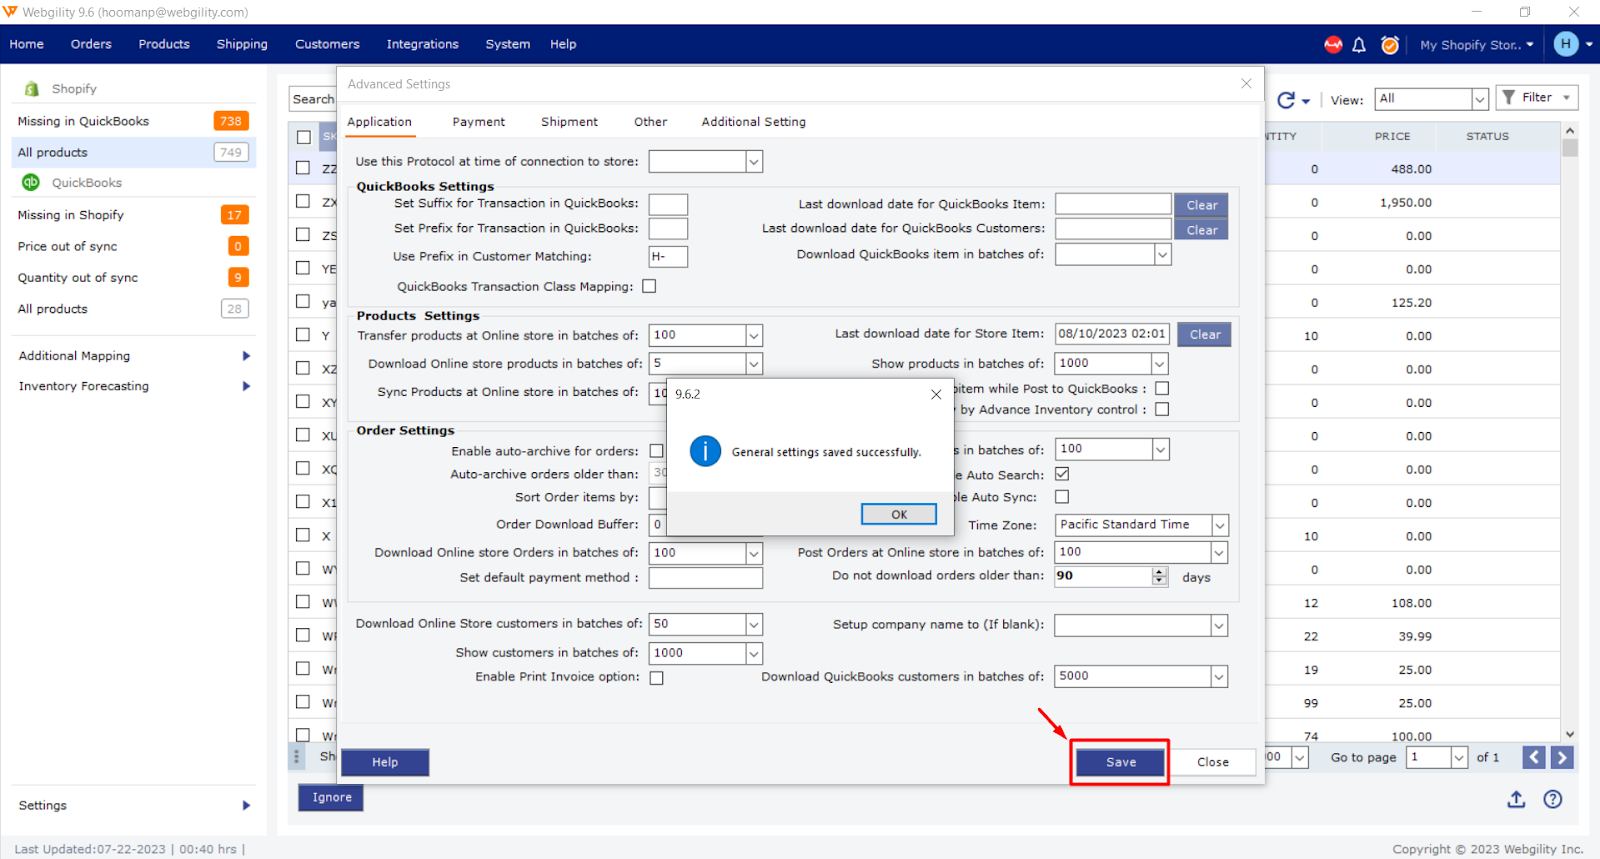
Navigate to Connections then goto Sales Channels and click on Advanced Settings.
-
Click Clear for both "Last Download Date for Quickbooks items" & "Last download date for Quickbooks Customers".
-
Then click Save and Close.
Step 2: Download Latest Data and Settings from Scratch
To update customer lists, items, or other settings from the accounting software into Webgility, follow these steps:
-
Go to Connections and then click on Get Latest Data & Settings.
-
Click on the drop-down associated with the Download Data button and select Re-Download All Data.
This process may take a few minutes, depending on the volume of data in your accounting file. If there’s an issue with the sales channel data, or it isn’t up-to-date, press the Download Data button below to refresh the sales channel settings.
Ideally, all download dates should show today's date. If not, follow the complete process as outlined above.
Once the download is complete, a message will appear confirming that the data was successfully downloaded.
Step 3: Download Only Items from Scratch
To download only items from scratch, follow these steps:
-
Access the Products Module by clicking on the Products tab.
-
Select the Download Products from Scratch icon located in the top-right corner of the QuickBooks All Products menu.
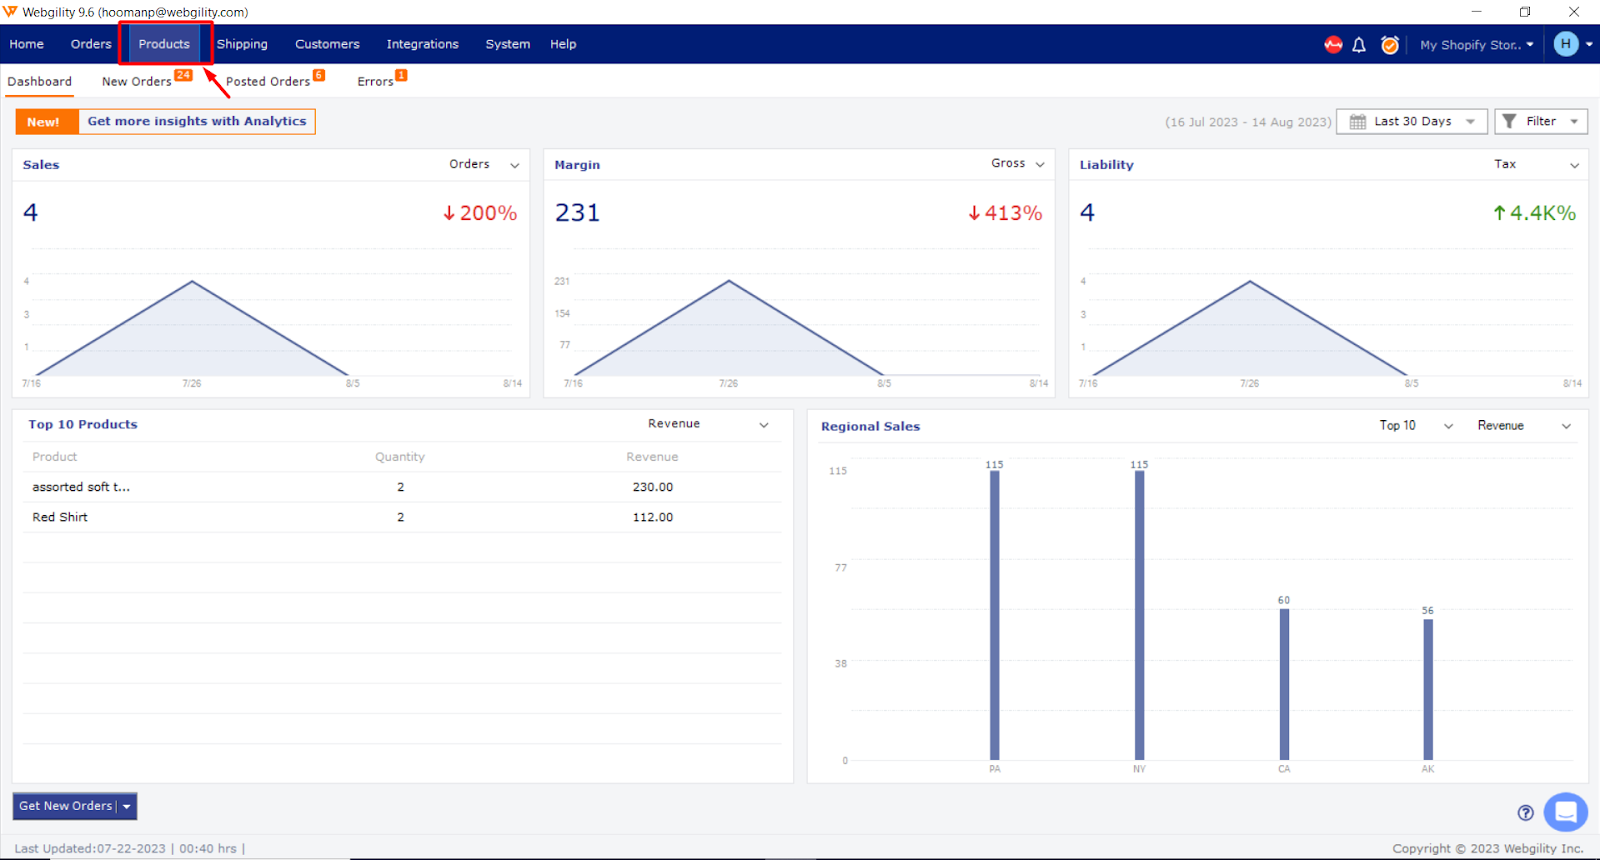
Next, select the Download Products from Scratch icon located in the top right corner of the QuickBooks All Products menu.
Note: You can also download the Sales Channel items from scratch from the Products module itself by accessing the All Products tab for the sales channel as well.