If you are using the Shopify Payout Workflow setup or want to configure the Shopify payout setup, please skip this article and refer to the following instead:
Steps to Configure Shopify and PayPal Fees
1. Access Fee Settings
-
In Webgility Desktop, go to Connections > Accounting/POS/ERP.
-
Click on Settings.
2. Configure Shopify Payment Fee
-
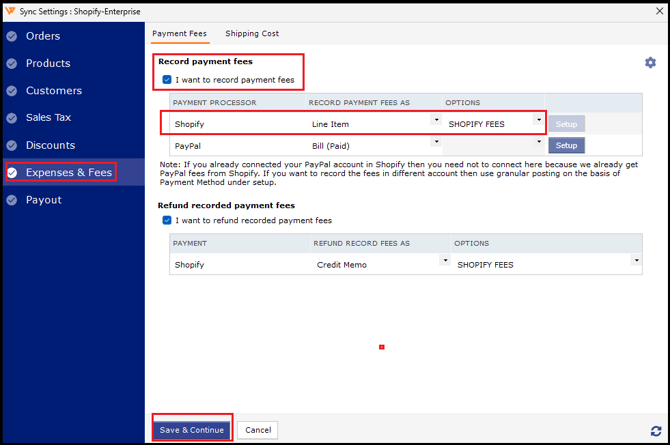
In the configuration menu, navigate to Expenses & Fees.
-
Check the box for “I want to record payment fees.”
-
This will enable the option to select the preferred line item for Shopify Payment Fee.
-
Note:
-
The option “Refund recorded payment fees” is not required if you are using a line item setup for payment fees.
-
If you need to create the line item in QuickBooks, set it up as a Non-Inventory Part with the account type as Payment Processor Fees (or a similar account).
-
After creating the item in QuickBooks, click the refresh icon in the lower-right corner of the Webgility Desktop configuration.
-
Under Fee Setup, select the line item from the Record Payment Fee As dropdown and choose the relevant QuickBooks line item you created.
-
Click Save & Close.
3. PayPal Fee Connection and Setup
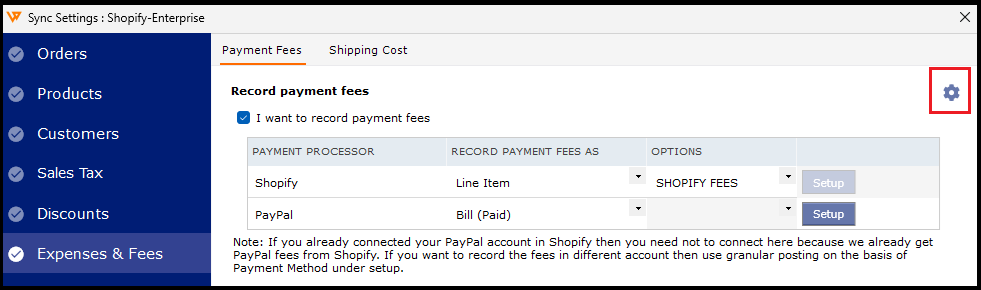
- To record PayPal fees as a line item, connect PayPal with Webgility Desktop:
-
-
Click the Gear icon under the PayPal fee connection.
-
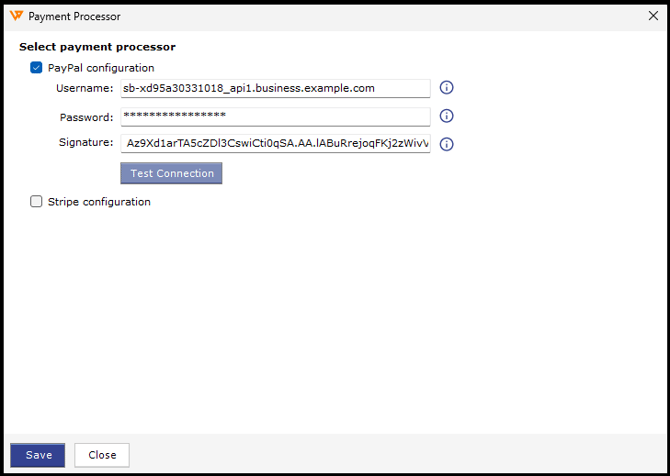
On the next page, enter your PayPal API credentials (Username, Password, and Signature).
Note: This does not request your PayPal email and password.
-
Click Save.
-
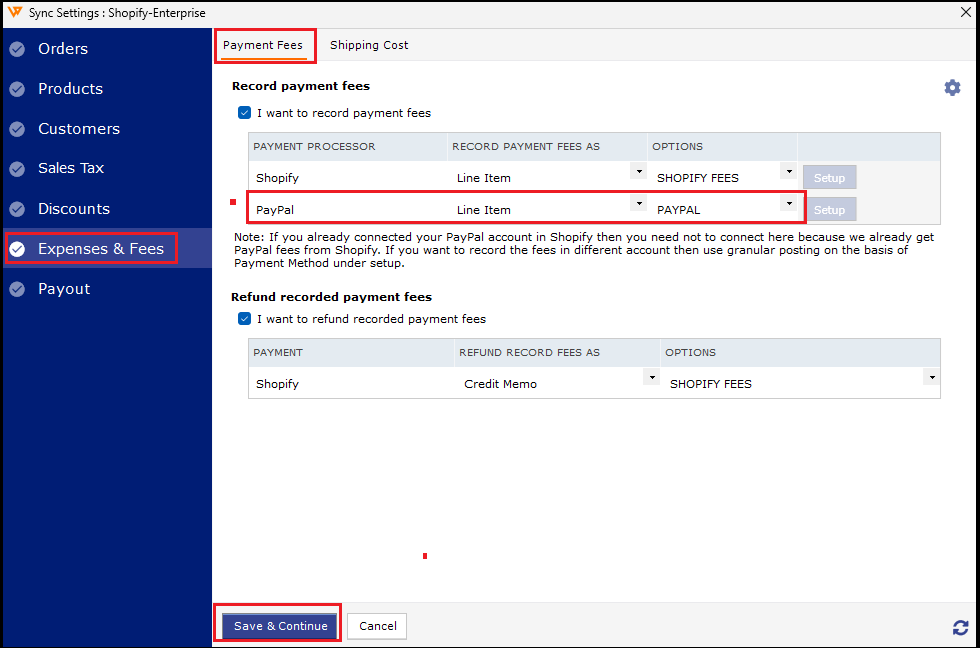
- Once connected, you can now select the Line Item option to record PayPal fees.
-
-
Choose your preferred QuickBooks line item for PayPal Fees.
-
Click Save.
-
If you do not have PayPal API credentials, refer to PayPal’s help article here:
What are API signature and certificate credentials, and how do I request them?
Additional Notes
-
These changes will only affect future downloaded orders.
-
For existing orders in Webgility Desktop, you will need to:
-
If you are posting orders as consolidated/group entries, Webgility Desktop will post both Shopify and PayPal fees as consolidated under their respective configured line items.
This setup ensures that your Shopify and PayPal fees are captured accurately while keeping your QuickBooks data clean and manageable.