Note: Replacing the QuickBooks Online file may cause you to lose all of your existing posting settings in Webgility Desktop. It is highly recommended that you create a backup of your Webgility database before proceeding.
Replacing the QuickBooks Online file in Webgility Desktop:
1). Log out of QuickBooks Online on your web browser on the system where Webgility Desktop is installed.
a). To log out of QuickBooks Online on your web browser, click on the Gear Icon at the top right-hand corner of the screen.
b). Select “Sign out”.
2). In Webgility Desktop, go to Connections> Accounting/POS/ERP> Edit Connection.

3). Click Connect to QuickBooks.

4). This will launch the browser and open the QuickBooks Online login page.
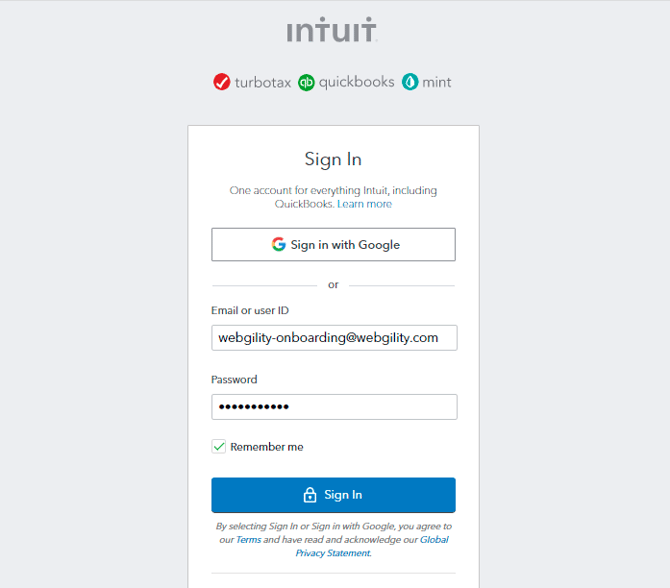
5). Enter your administrator user ID and password for QuickBooks Online. If more than one company file has been created in QuickBooks, choose the appropriate new company file. You will see the below screen, click on “Connect”.
6). Once the connection is successful and the data download is complete, you will receive a notification of a successful connection.
7). Return to the Webgility Desktop application and click Save.

8). Once you have successfully changed your Quickbooks online file, download the latest data and reconfigure the order posting settings in Webgility Desktop.
Follow the steps in this helpful article on Download Data from Quickbooks
Follow the steps in this helpful article on Order Posting Settings