How to Upload Webgility Extension Using FTP
This article provides step-by-step instructions to Webgility Desktop users for uploading the Webgility Desktop extension to a PHP-based shopping cart using an FTP client. Using Magento v1 as an example, it guides users through downloading the extension from the Webgility portal, transferring the files to the server via FileZilla, and preparing the module for integration with Webgility Desktop.
Note: This article uses Magento v1 channel as an example
How to Upload Webgility Extension Using FTP
If you have a PHP-based shopping cart, you will need to install the Webgility plugin on your sales channel server to connect your sales channel with Webgility.
Steps to Install the Webgility Extension:
1. To upload a Webgility Extension using FTP, you will need access to an FTP client like FileZilla and the login credentials for your website's FTP server.
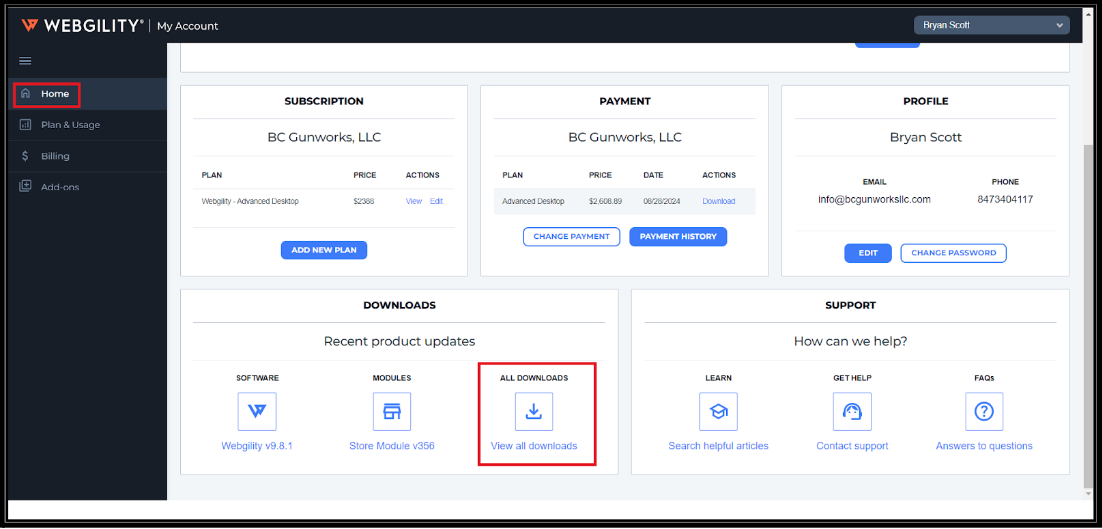
2. Download the Webgility Extension from your Webgility account portal and log in to https://portal.webgility.com/ go to Home > View all downloads

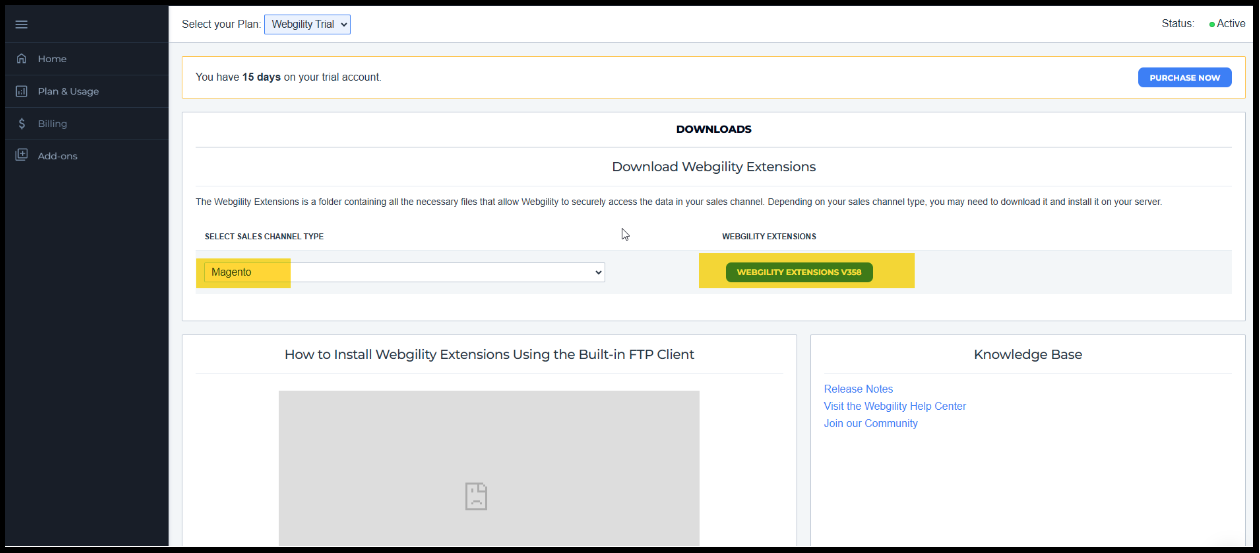
3. Select the Store Type and download the Webgility Extension.

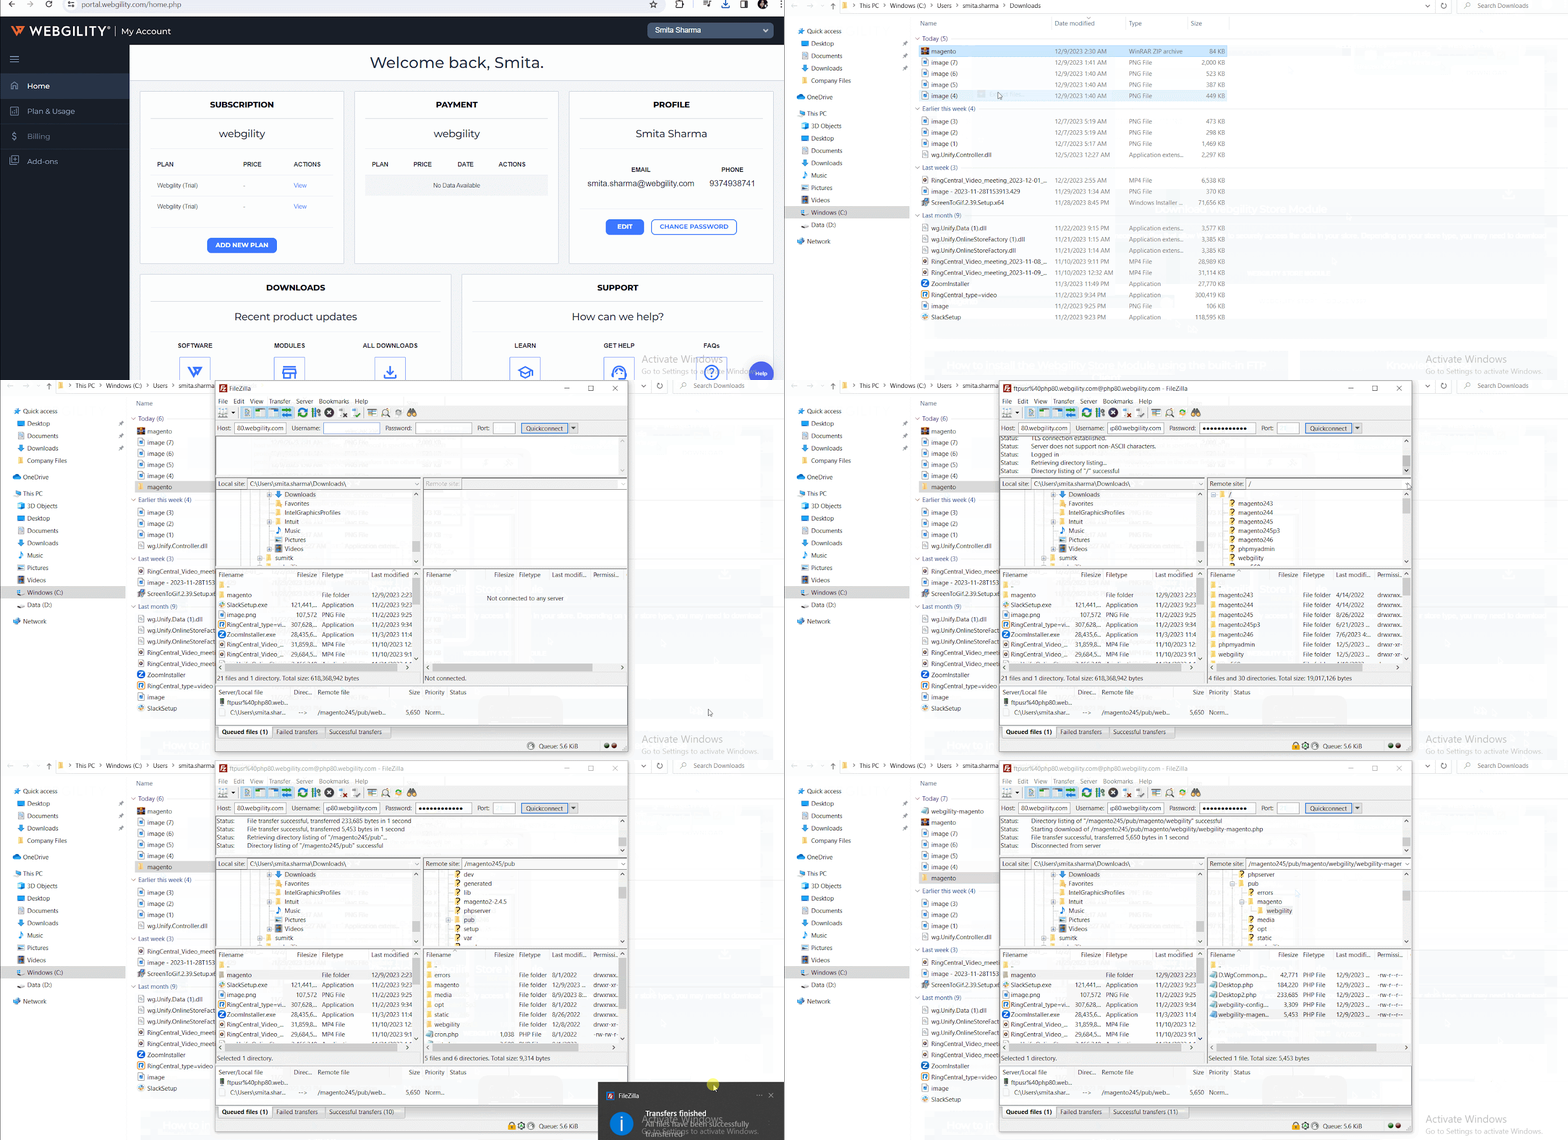
4. Open the FTP client, for example, Filezilla, and enter the hostname, username, password, and port number.
5. Go to your downloads folder or the location where you downloaded the Webgility Extension files.
6. Go to your root or pub folder on the sales channel server. Select the pub folder.
7. Now right-click on the Webgility Extension files you downloaded from Webgility and select the upload option.
8. Here, all the files will be available under the Webgility folder. Using a Magento sales channel as an example: The path would be /magento245/pub/Magento/webgility

9. Once the transfer is complete, you should be good to connect Webgility Desktop with your sales channel using the Webgility Module Address URL.
For example (Magento v1) the Store Module URL will be like: https://php80.webgility.com/magento245/pub/webgility/webgility-magento.php
You can refer the steps on How to Connect Webgility Desktop with Magento