Follow the steps below to record taxes in QuickBooks under separate tax items.
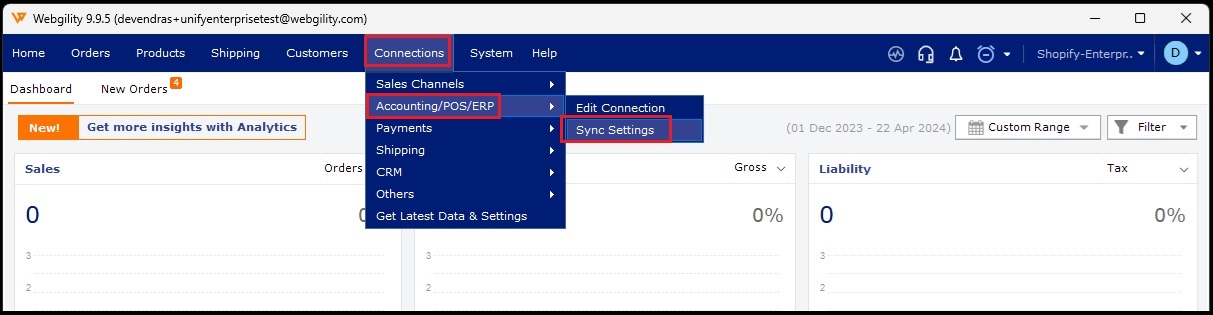
1). In Webgility Desktop go to Connections > Accounting/POS/ERP> Sync Settings
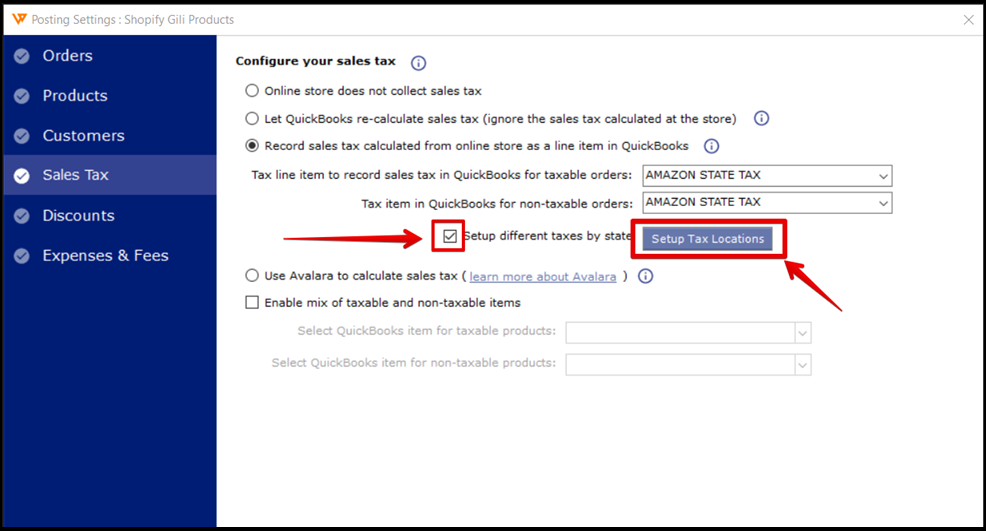
2). Click on Sales Tax> enable Setup different taxes by state> Setup Tax Locations
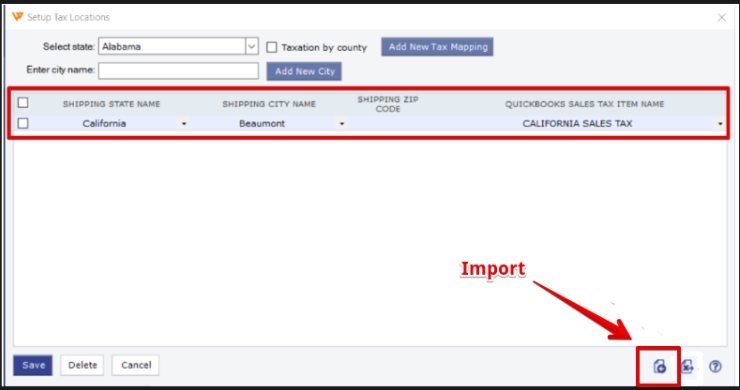
3). Select the way you want to map the taxes (by State or by County). Create at least one entry of the mapping in the Setup Tax Locations menu, then click on Save, export this to a CSV file on your PC.
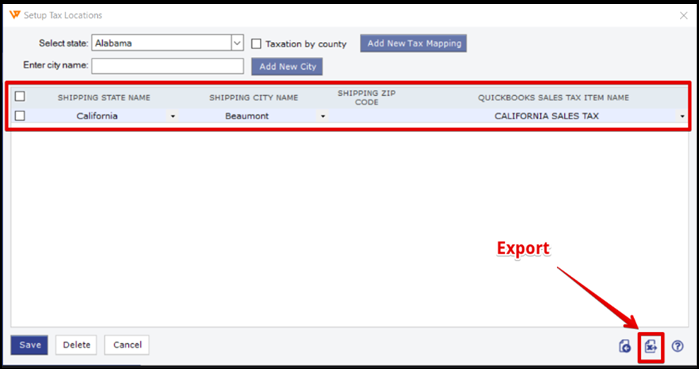
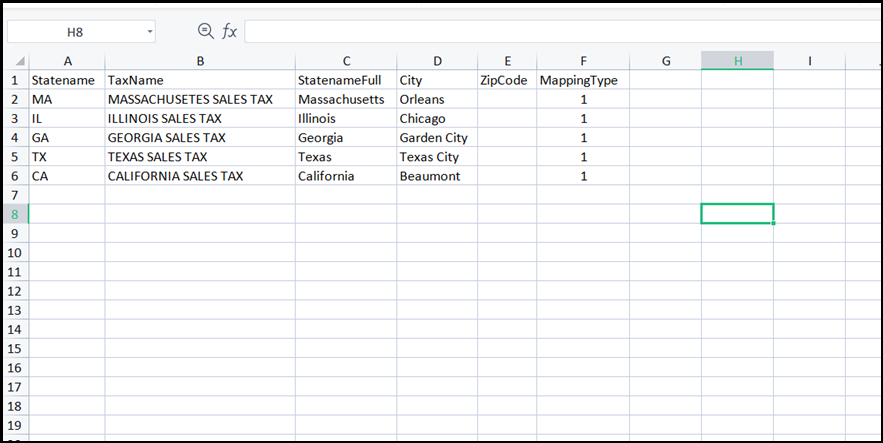
4). Open the exported file to an Excel sheet and map the states with the city jurisdiction you want to collect the sales tax. Make sure that the Tax Item Names are identical in QuickBooks as well.
5). Once done with the mapping on the Excel sheet, save the file, access Webgility Tax Setup again, and under the same window (Tax Locations) click on the import button
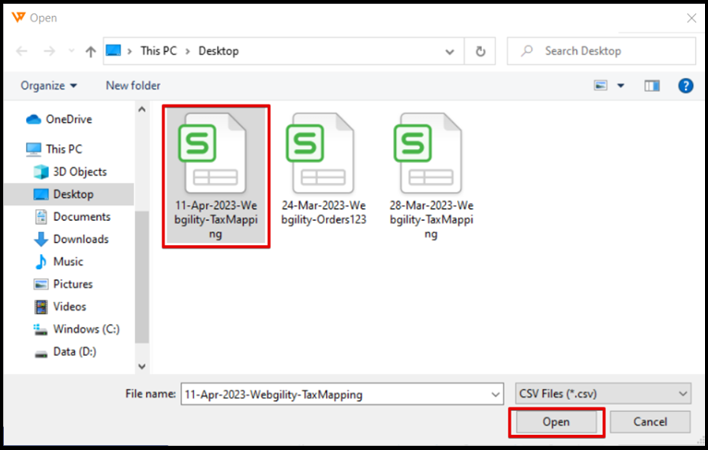
6). In the next window, select the file you have created with the tax mappings and click Open.
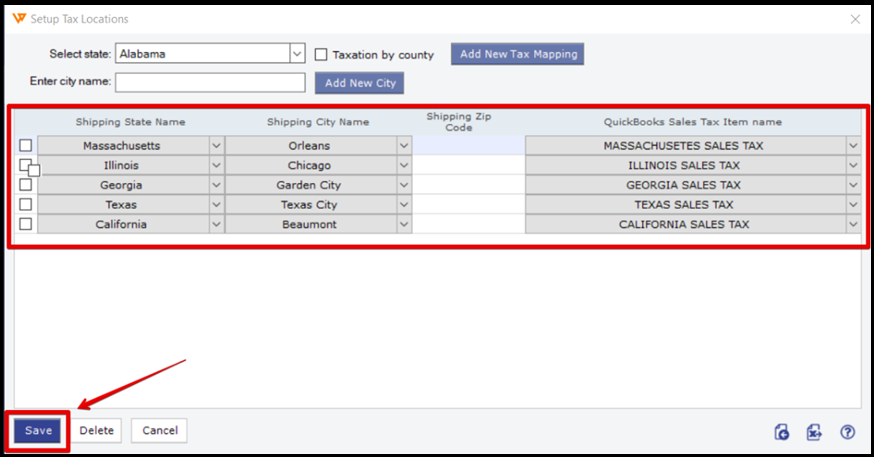
7). Once the CSV file is imported to the Setup Tax Locations window, click Save and then close the window.
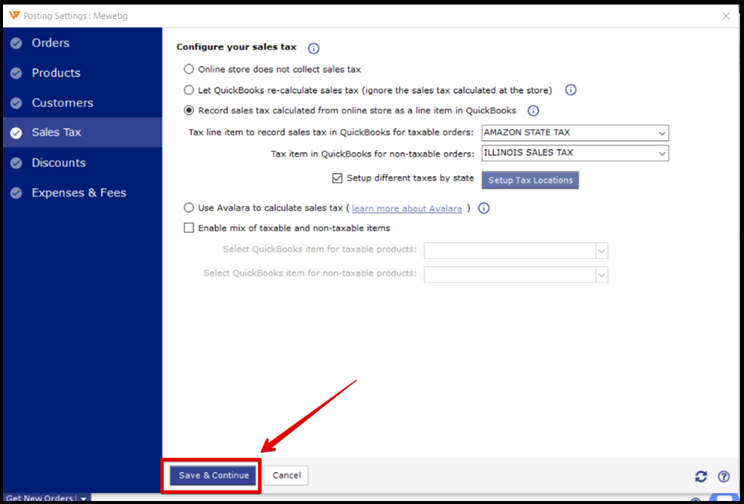
8). After closing the Setup Tax Locations window, click on Save & Continue button on the sales tax posting settings page.