Note: This article applies only to existing Webgility Online users connected to QuickBooks Desktop .
1. Before updating please ensure:
-
The Webgility Desktop Extension is turned off.
-
Your QuickBooks Company file is turned off.
-
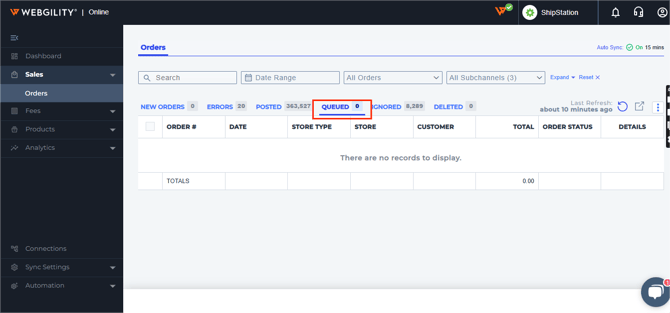
There are no orders in the Queued tab in Webgility. See orders here? Then launch the Webgility Desktop extension and from the system tray right right-click on the extension icon, then click Manual Sync Now. This will post the orders in the queue and clear the queue.

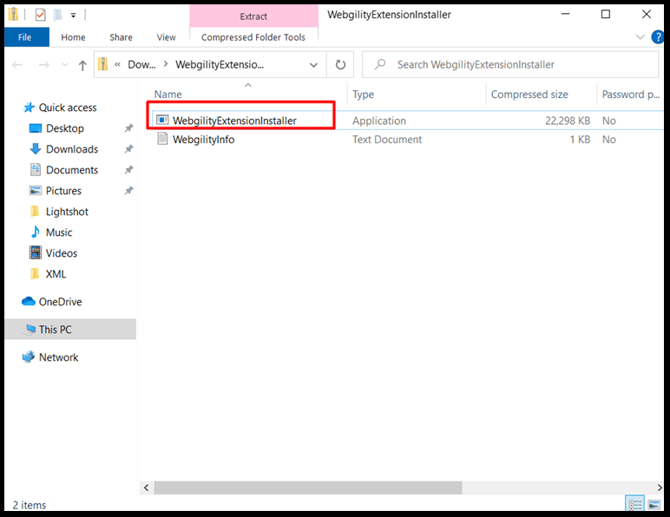
2. To get the latest Webgility Desktop Extension installation file,click on this link
Once the extension file is downloaded, open the downloaded folder and double-click on the WebgilityExtensionInstaller file.
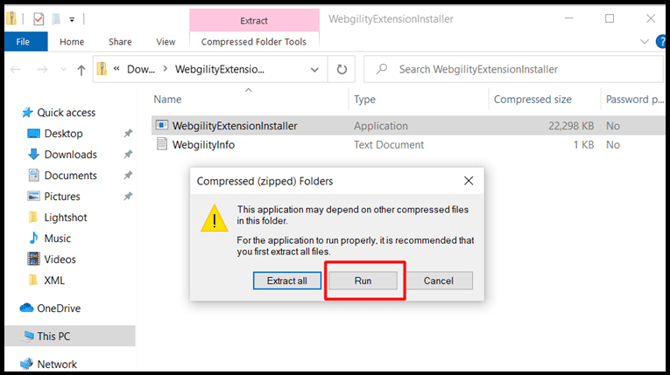
3. After clicking on the installer, click Run.
4. Now you will be guided through an installation wizard. When asked about re-installing, click Yes.
5. The installation wizard will then remove the outdated elements of the software and the license agreement will appear. Select I accept the agreement, then click Next.

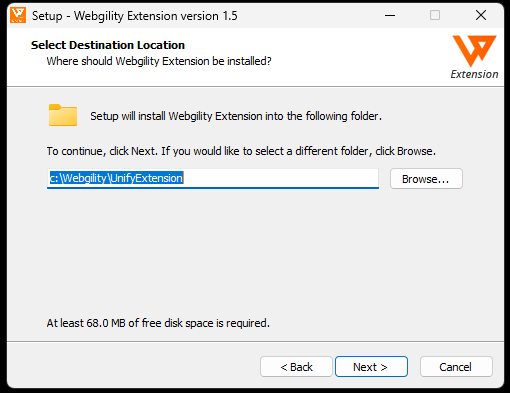
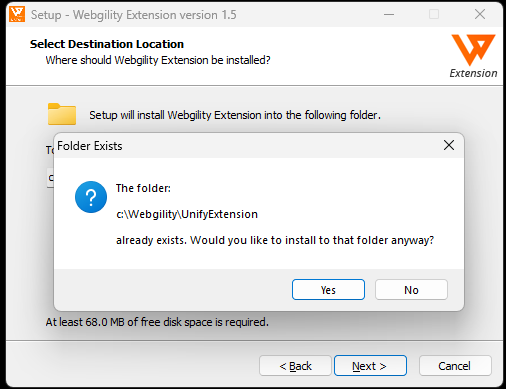
6. You are then prompted to choose the install location. You can leave the folder provided and click Next to continue.
7. Click Yes to confirm the folder location.
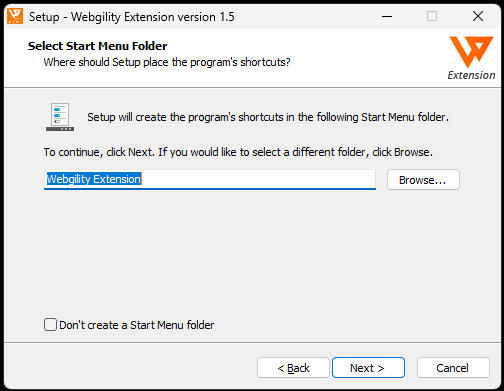
8. Click Next to confirm the start menu folder for the software
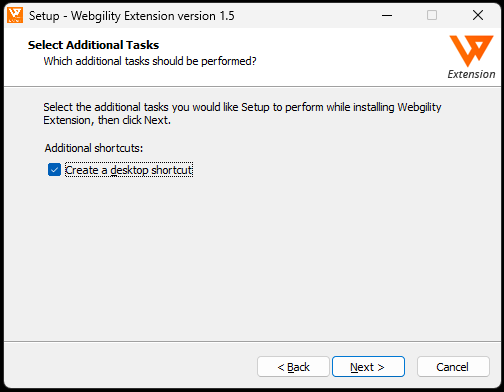
9. If you would like to have a shortcut placed on your desktop, leave the box selected to Create a desktop shortcut and click Next. Don't want a shortcut? Unselect the box and click Next.
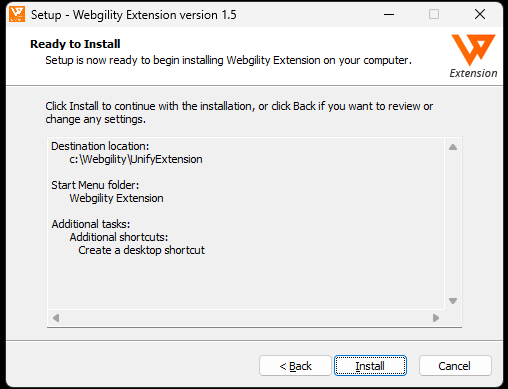
10. The last screen of the wizard will review your settings. If you need to make any changes, click Back. Once you are ready, click Install. The installation will take around 3-5 minutes.
11. Leave the box selected to Launch Webgility Desktop Extension, then click Finish.
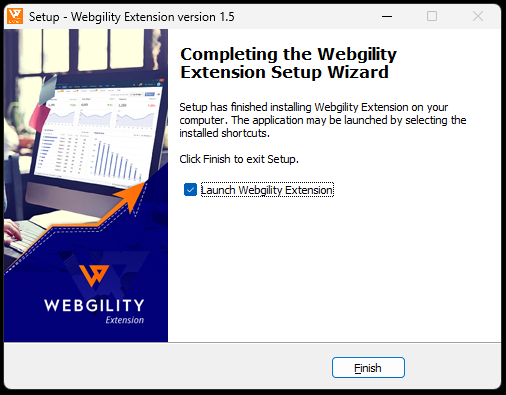
12. The Webgility Desktop Extension is now updated to the latest version.