Reason to install SQL manually:
If Webgility Desktop has encountered an issue installing the SQL server automatically, the SQL server must be installed manually. Download the SQL Server 2016 directly from Microsoft, here. This download will take about five minutes and is dependent on your internet connection speed.
How to Install the SQL Server
1. Run the installation file. This will likely be in your Downloads folder.
2. Once extracted, the SQL Server Installation Center will launch. Select New SQL Server Stand-alone installation or add features to an existing installation.

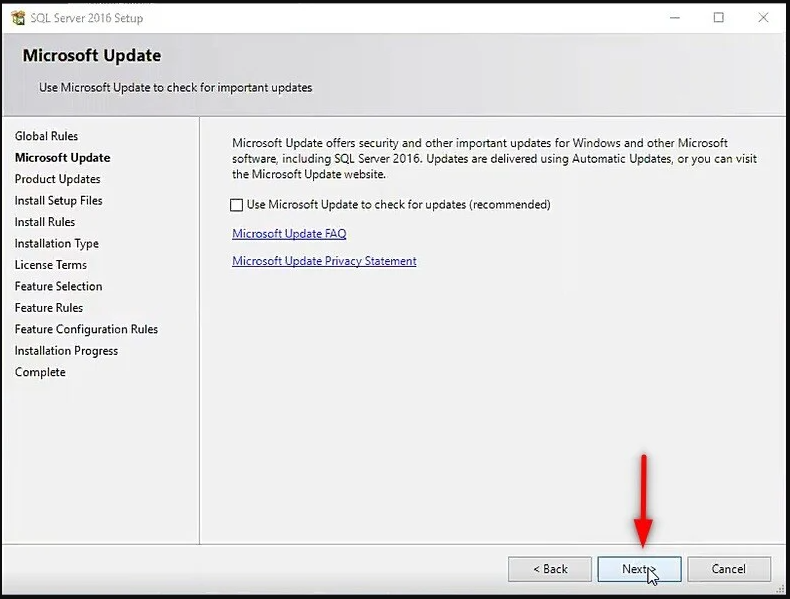
3. Next, choose whether or not your Windows update will look for SQL updates when it continues its normal processes. This can be left unchecked, then click Next.
4. Select Preform a new Installation of SQL 2016, then click Next.

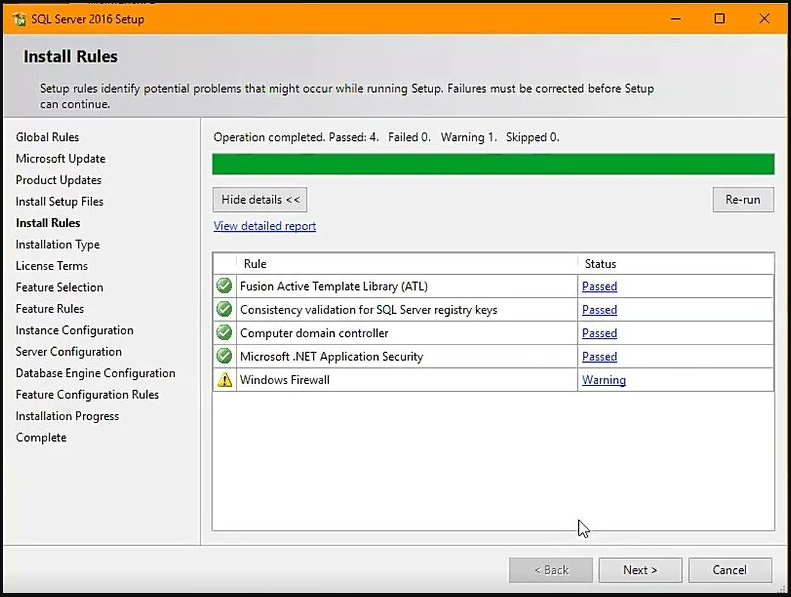
5. Allow the installer to analyze the system. If you see no errors in the list, click Next.
6. Select I accept the license terms., then click Next.

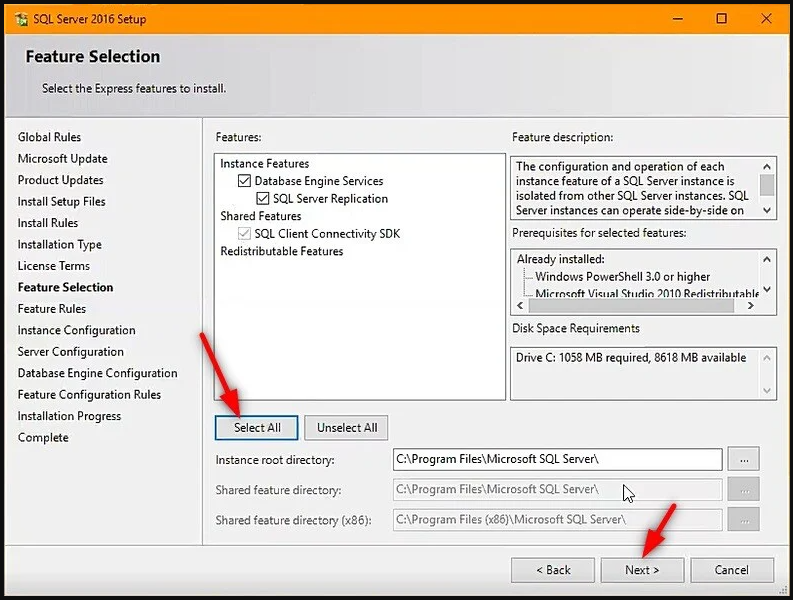
7. In Feature Selection, click Select All and then Next.
8. Select Named Instance, then overwrite the name with UNIFY. This is the default database name for Webgility Desktop. Then click Next.

9. You are required to make two additional changes. First, make sure the Startup Type for both the SQL Server Database Engine and the SQL Server Browser is set to Automatic. Second, make sure the Account Name for the SQL Server Database Engine is NETWORK SERVICE. Then click, Next.

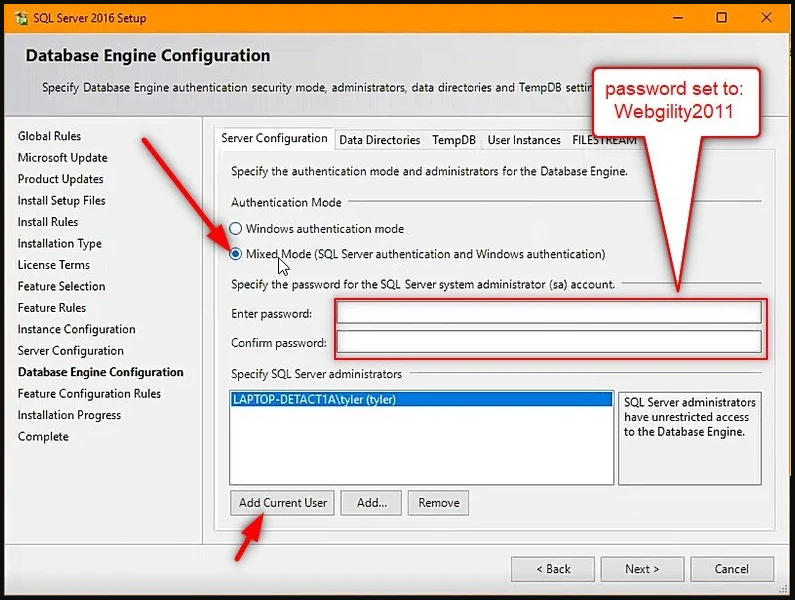
10. Change the authentication mode to Mixed Mode. Then set the password to Webgility Desktop2011. Then click, Next.
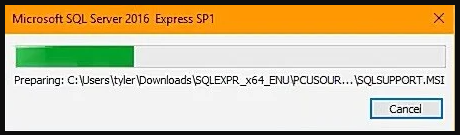
11. Now that the setup is configured, and the installation process will begin. This can take several minutes.

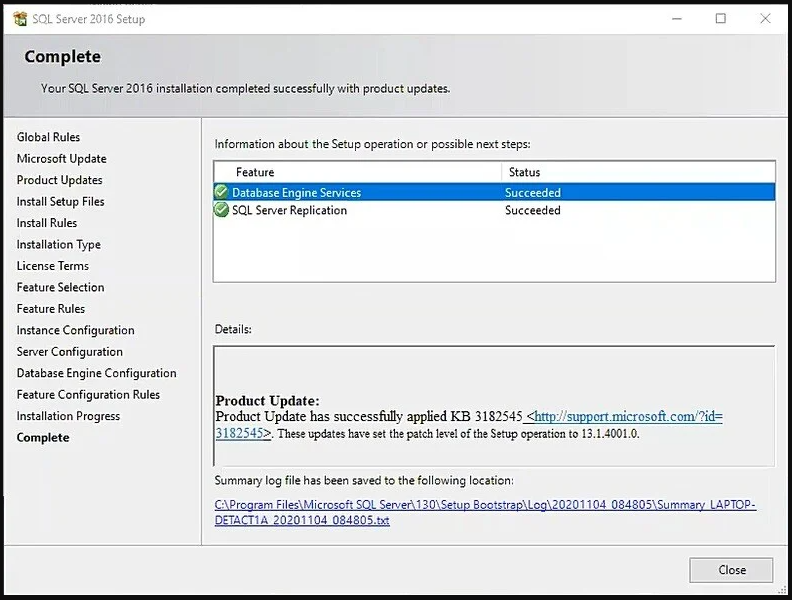
12. When the installation is successfully complete, a popup will notify you. The SQL Database is now installed. Close both this window and the SQL Installation Center.