Steps to Follow:
1. In Webgility Desktop, navigate to Connections > Accounting/POS/ERP > Sync Settings.

2. Go to Expenses & Fees section. Then under Payment fees > Record Payment fees enable both "I want to record payment fees" and "I want to refund recorded payment fees"
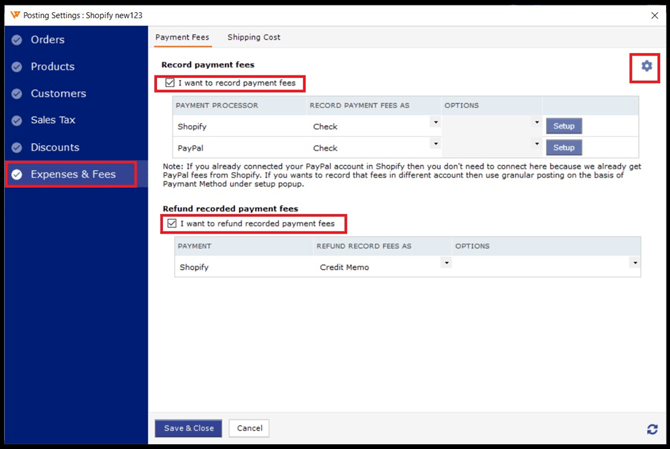
3. To connect to PayPal or Stripe, click on the gear icon in the top right.
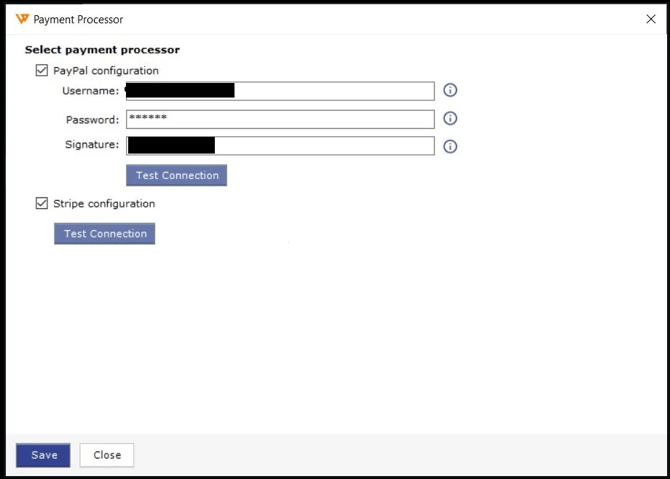
4. Enable your required payment processor and update the require credentials and Test Connection. Once done then click on Save. Then Save and Close.
5. You can record fees as Bill Paid / Bill Unpaid / Check, / Line Items in sales transactions.

6. If you select Check, you will need to provide your bank account and default payee, along with some optional details.
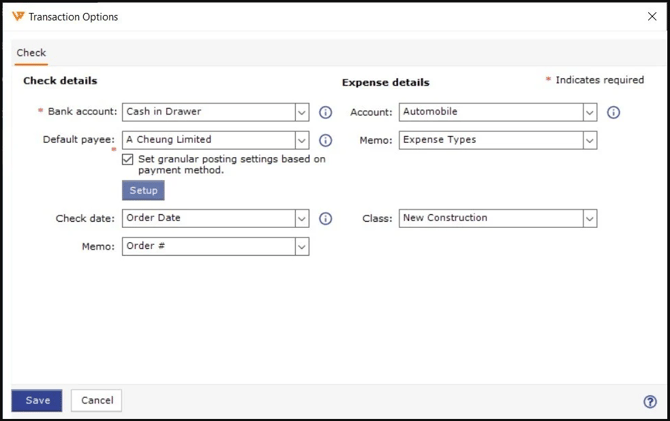
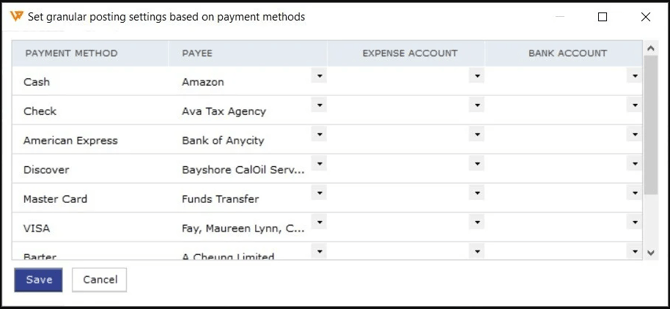
7. You can select posting settings based on payment methods.
8. If you select Bill, you will need to provide a default vendor and expense, along with some optional details.

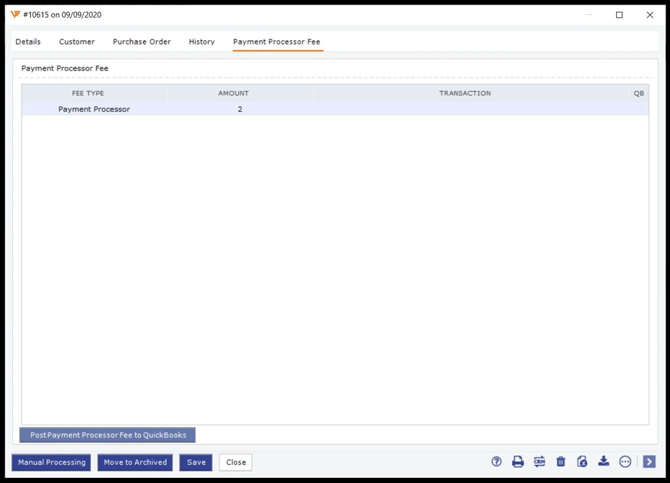
9. You will be able to see payment processor fees in the order details view in the Payment Processor Fee tab.