Overview:
This guide will walk you through the steps to safely uninstall Webgility Desktop from your required machine if needed. This is usually required when migrating to a new machine or troubleshooting with the application.
Follow the instructions below to remove the Webgility Desktop without losing important data and to ensure your account is properly managed.
Steps to follow:
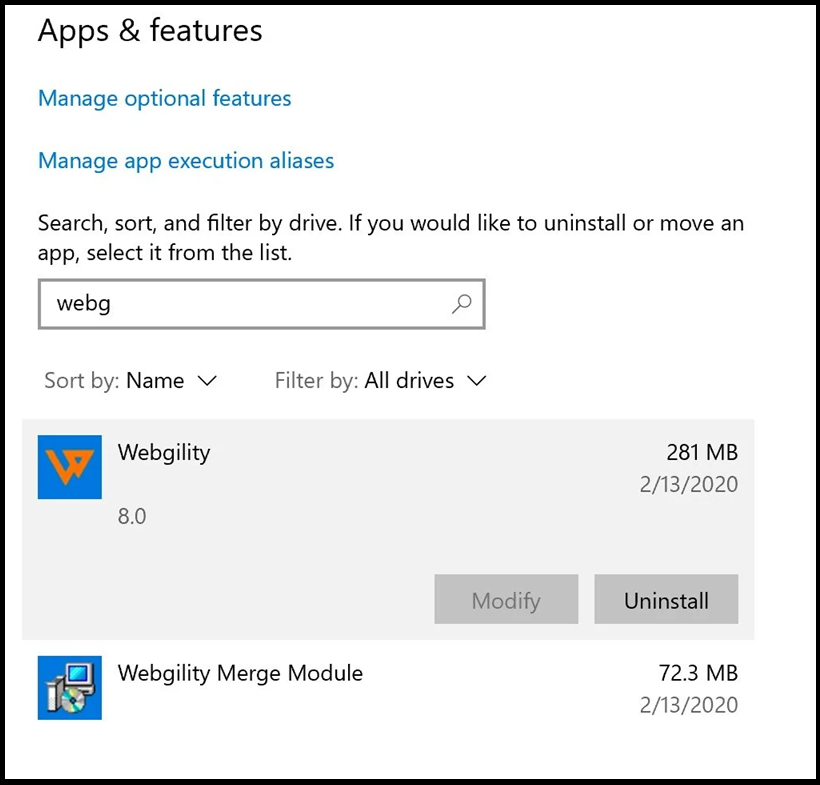
1. To uninstall Webgility Desktop, open Microsoft Windows Add or Remove Programs on your Webgility machine.
-2.jpg)
-4.jpg)
2. Search for Webgility.
-Dec-06-2024-07-07-24-5439-PM.jpg)
3. Select Webgility and click Uninstall.
4. In the pop-up, click Uninstall.

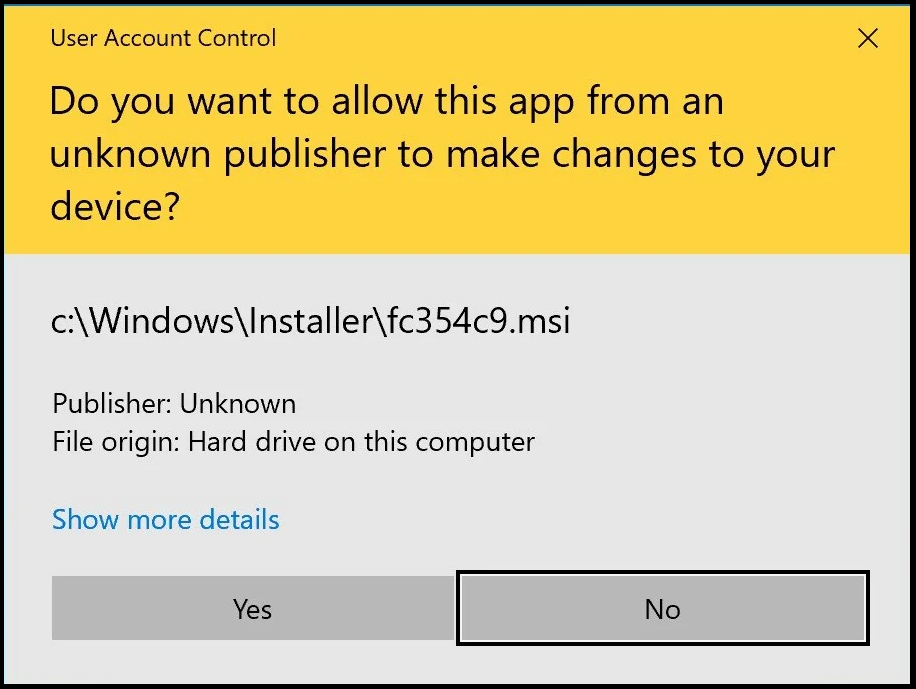
5. In the User Access Control window, click Yes.

6. Click Yes when the system asks if you are sure.

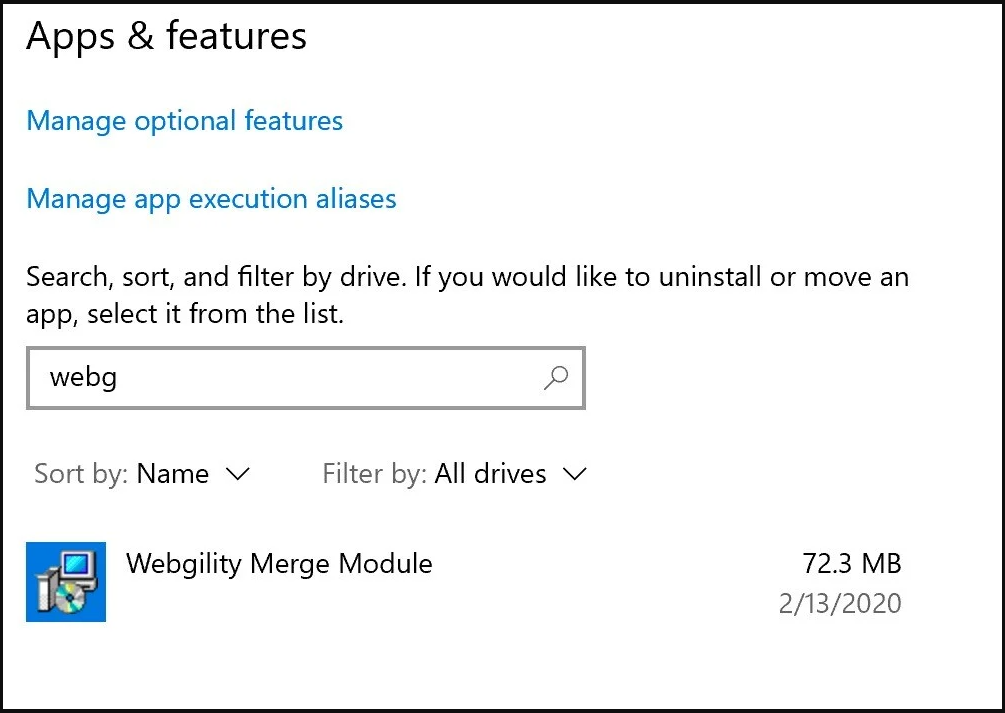
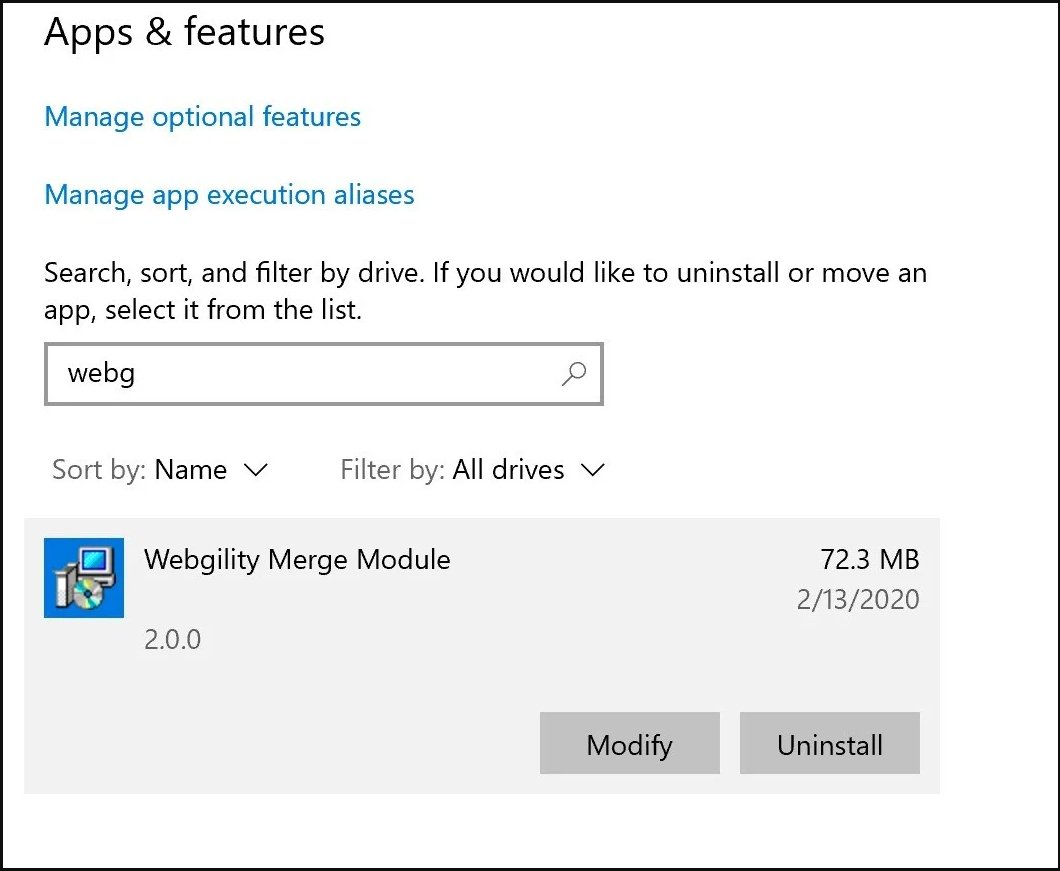
7. Once Webgility is uninstalled, click OK to acknowledge. Then, select Webgility Merge Module. If it isn’t listed, you can skip to the very last step.
8. Click Uninstall.
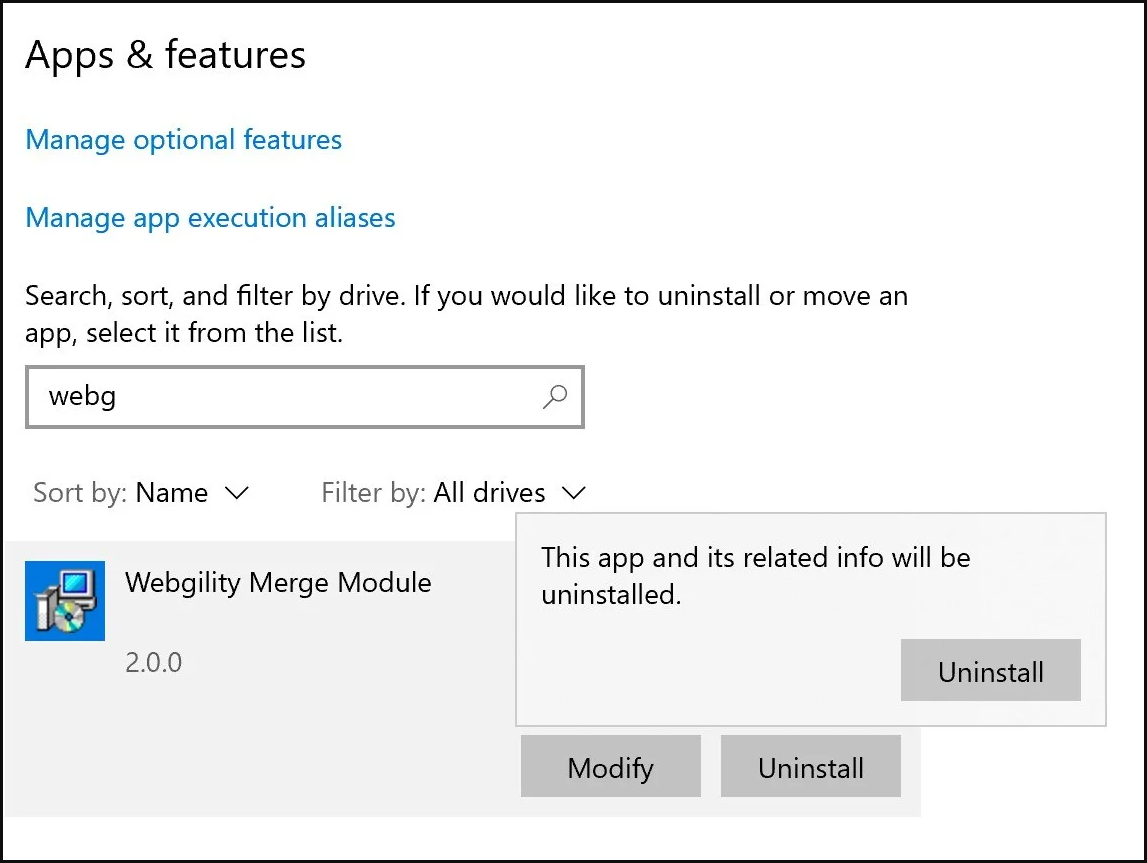
9. Click Uninstall in the dialog pop-up.
10. In the User Access Control window, click Yes.
11. The uninstall is now complete. Please close Add & Remove Programs.