Steps to follow:
1. Go to Connections > Shipping > Shipping Settings then select FedEx.

2. If you are already connected to a FedEx account, then you will see two options in the drop-down. One of these is New Registration. This is used to connect the new FedEx account in Webgility Desktop.

3. After selecting New Registration, you will need to fill out the required information in the pop-up and then click Register.

4. Once successfully registered, the Webgility Desktop default setting needs to select the FedEx account to use for the compare rate function.
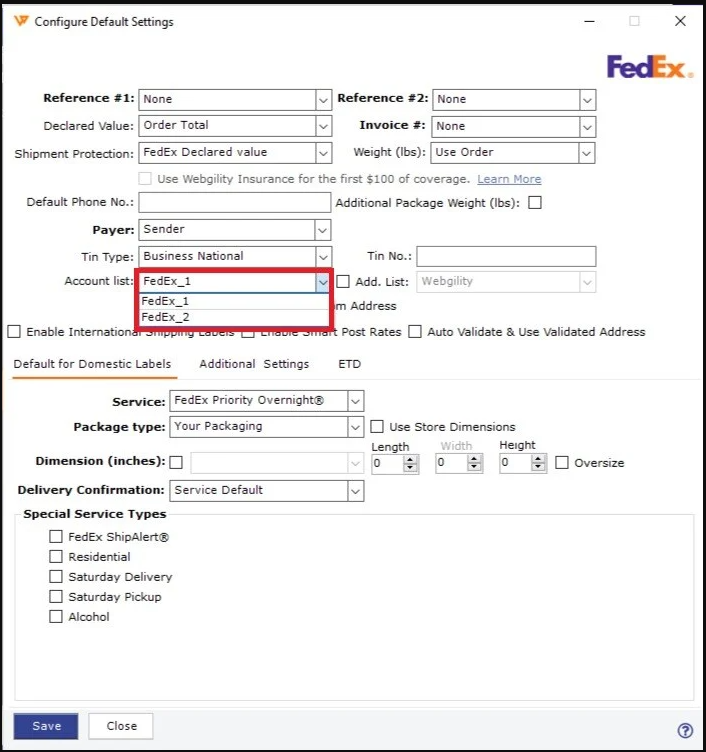
5. If you want to get rates from the second account FedEx account, you can get it by changing the value on the drop-down and then clicking Get Rates.
