How to Connect Webgility Desktop with Shift4Shop
This article helps Webgility Desktop users connect Webgility Desktop with their Shift4Shop store. It guides them through adding the sales channel, entering the required store credentials, and completing the initial setup so that store data can be synced seamlessly with Webgility Desktop.
Steps:
1. From Webgility Desktop, go to Connections > Sales Channel > Add New Sales Channel. If this is the first channel you are adding, you can skip this step.

2. In the pop-up screen, select the store type you wish to connect and give your sales channel a name. Then, click Continue.
-Dec-06-2024-07-10-09-7975-PM.jpg)
3. Enter your store URL in the field and click Connect to Shift4Shop.
-3.jpg)
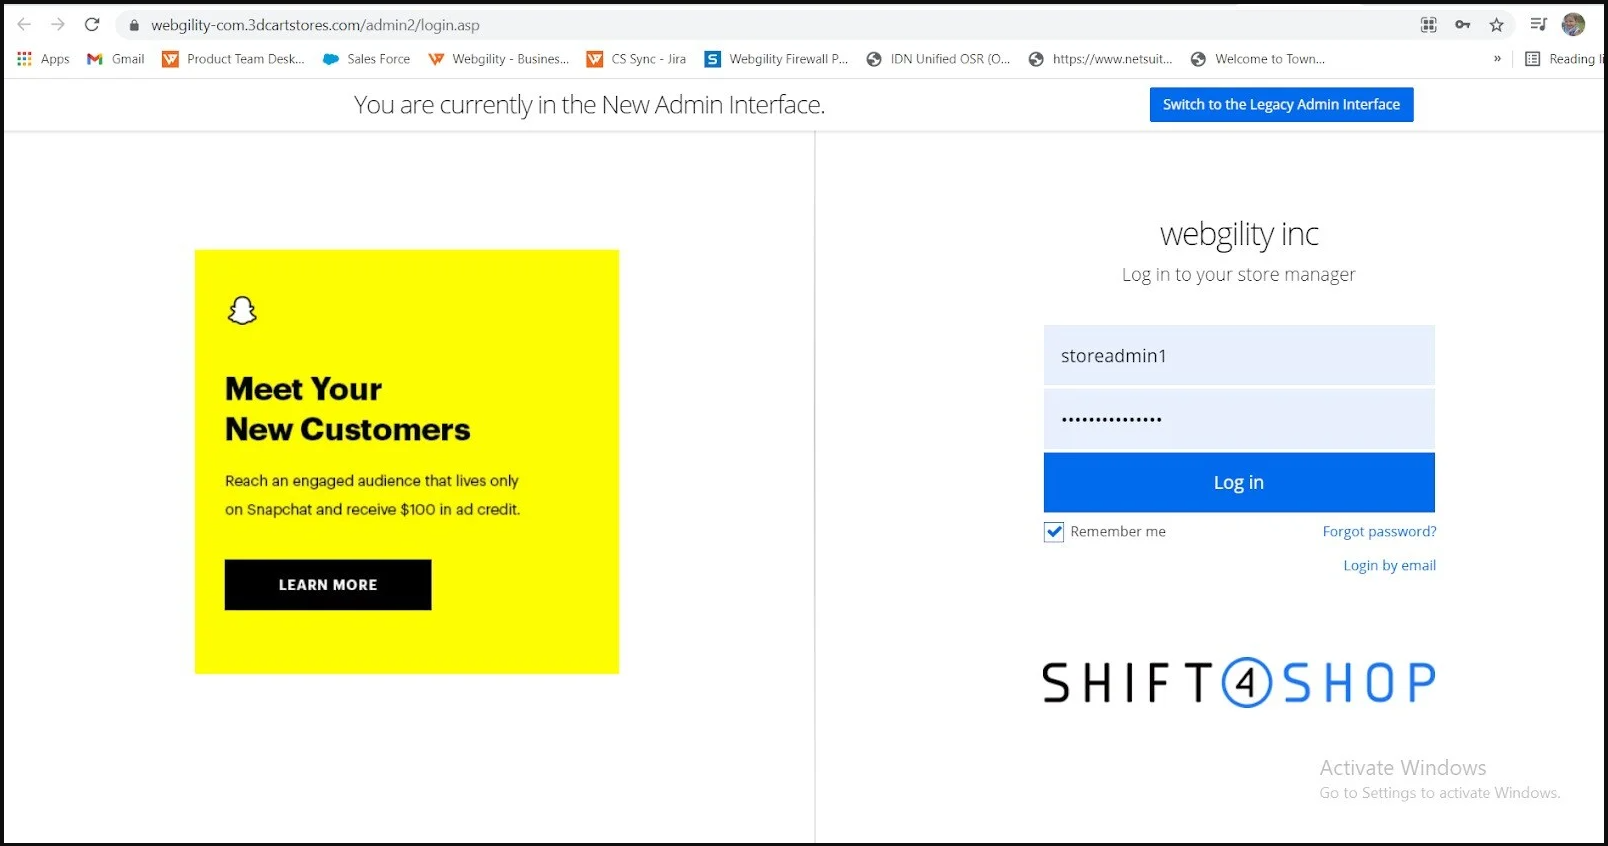
4. If you are unsure what this is, log in to your Shift4Shop Admin and go to Settings > Store Settings, and select the Secure URL.
Then, enter your Shift4Shop admin username and password and click Log in.

5. This will prompt Webgility Desktop to download the store information. Once this has finished, click Continue.

6. Enter your business contact information.
Note: Fields with a red asterisk are required.
7. The next few screens are for connecting your Accounting, ERP, or POS system to Webgility Desktop. refer article
-Dec-06-2024-07-10-30-0616-PM.jpg)