Note: Advanced Inventory must be enabled in QuickBooks Enterprise before configuring it in Webgility.
Learn how to enable Advanced Inventory in QuickBooks Enterprise, click here.
There are two methods to configure the Advanced inventory settings: first, within the Posting Settings, and second, within the Product Module Feature.
1). To enable the Advanced Inventory feature inside the Posting settings.
-
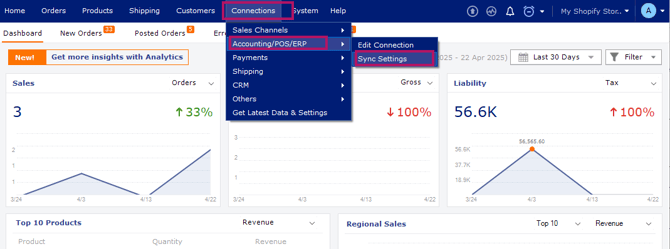
Navigate to Connections then goto Accounting and click on Sync Settings.
-
Follow the Product tab in the left panel and configure the settings of the Advanced Inventory option.

A). Select the Default inventory site for this Sales channel. This will post the transactions to QuickBooks in the specified inventory site.

B). If you need to Track inventory in multiple locations based on country, location, state, or tags, or when the required quantity isn't available in the designated inventory location, you must enable the option to track inventory in multiple locations.
Note: Enable the "Override the inventory site" option, when tracking inventory across multiple locations. This ignores the default inventory site and prioritizes the mapped inventory sites specified within the multiple location options.
2). To map inventory sites based on individual items, go to Products then goto Additional Mapping and click on Inventory Sites.
-
Select the product and choose the Inventory site and Bin location. You can leave the Bin Location blank if no mapping is required.
-
Then, save your mapping selections by clicking Save.
