Overview:
If you are using Magento 2 or higher, you will need to retrieve the access token located in the Admin area of Magento.
Add New Integration in Magento:
A: Navigate to System and then Integrations
B: Add a new integration by clicking Add New Integration.
C: Name the Integration as Webgility_Magento. Type in your sales channel login email address and password.

D: You now have two options to proceed:
Option 1: Provide All resource access to the API, by selecting from the dropdown menu under Available APIs.

Option 2: Provide Custom resources, Sales, Catalog, Customers & Stores access to the API by selecting from the dropdown menu under Available APIs.
E: Activate the new Webgility Desktop integration by selecting Activate.
F: Once you select the Activate option you’ll see the permission access tab. Grant access permission by clicking Allow.
G: Copy the Access Token and paste it into the notepad and then click Save.
H: The integration with Webgility Desktop will be activated once you save the access permission tab by clicking Done.

Part 4: Connecting with Webgility Desktop :
A: Go to Webgility Desktop and click on Connections go to Sales Channels and click on Add a Store. Under the Select Store field, choose Magento 2 and the Higher option.
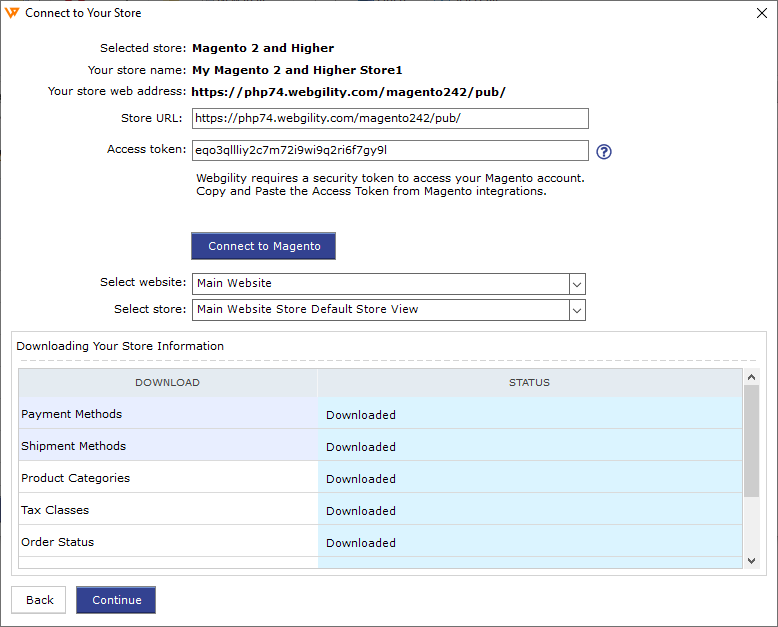
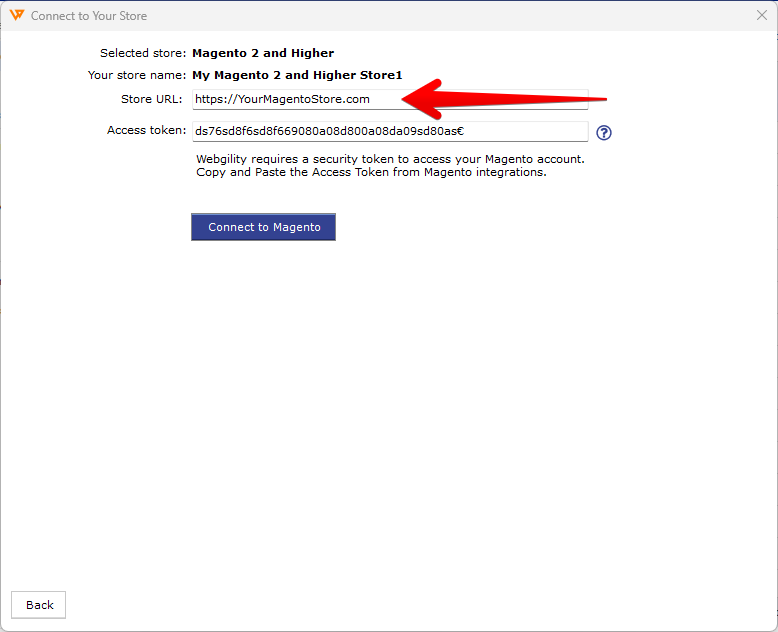
B: Enter the Admin Base URL (Website URL) we created earlier and paste the Access Token. Then click Connect to Magento.
C: Troubleshooting Step: If you receive an error message, then use the main URL of your sales channel instead of the Admin Base URL, along with the Access Token, and click on Connect to Magento.
D: Click Continue which will then take you to the QuickBooks connection screen.
Once there, here is your guide on How to Connect Webgility to Quickbooks.