Accessing the Alerts Tool

2. By clicking this icon a drop-down will display below the bell icon. If you have any recent alerts, they will be shown here. To view or edit the alert rule, click the gear icon on the right of the dropdown.

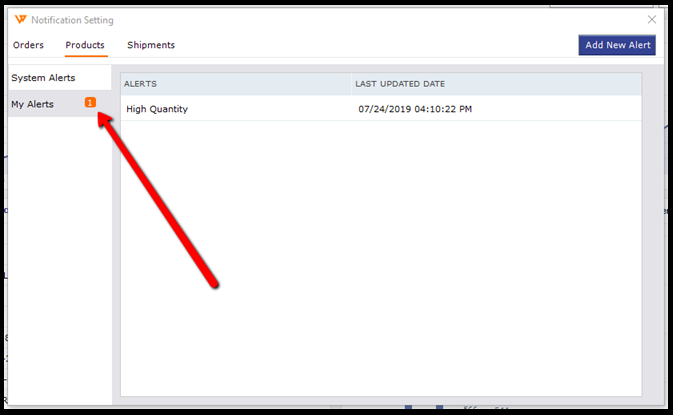
3. This will bring you to the default view for alerts and notifications that are set up. There are three main views: Orders, Products, and Shipments. Each contains the alerts for the area it pertains to.

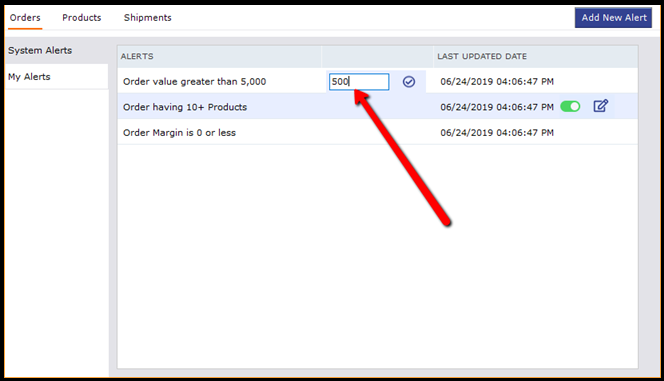
5. System Alerts are pre-configured alerts that are turned on by default. You can modify the alerts by hovering over the row and clicking the edit icon on the far right. This allows you to adjust the values on the requirements for triggering the alerts.
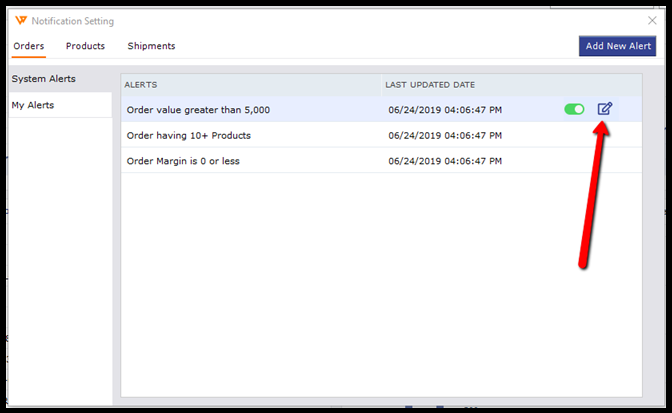
6. You can simply turn the alerts off by clicking the green toggle just to the left of the edit icon.

Creating Your Own Alerts
The first time you visit the Alerts and Notifications tool, you will find the section for My Alerts, blank.

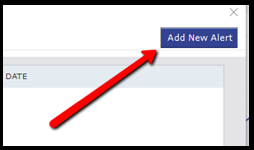
1. To begin adding a custom alert, click the Add New Alert button in the upper right window.
2. This brings you to a blank Configure Alert window.
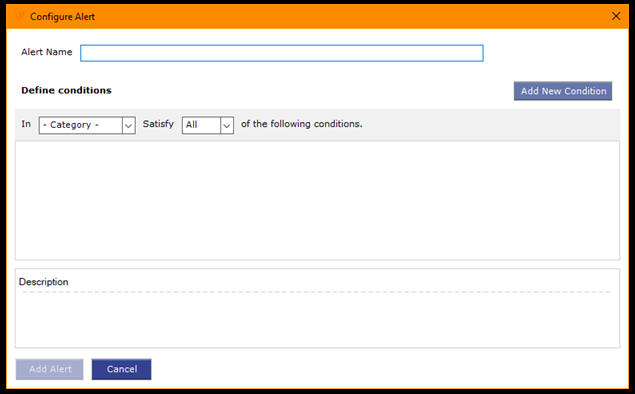
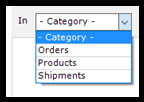
3. To customize your alert begin by selecting orders, products, or shipments, as a starting point for what will cause the alert to trigger.
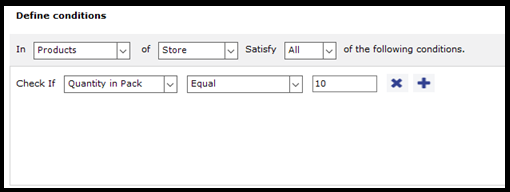
4. If you are making a products-based alert you encounter a drop-down with the options to select whether you want the Store or the Accounting solution to trigger the alert.

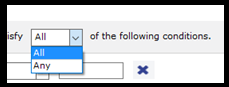
5. Next, you need to select whether All or Any of the conditions need to be met to have the alert trigger.
6. Now, you need to start building out the conditions in the panel.
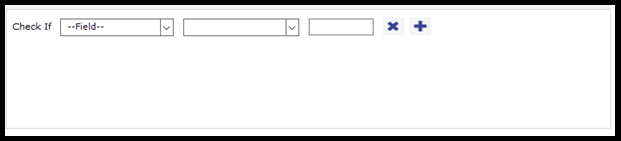
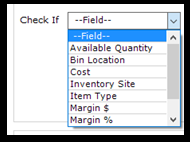
7. Select an element from the Check If drop-down. The contents of this drop-down menu will vary depending on the category of alert you are defining.
8. The contents of the second drop-down menu will again vary depending on what you have chosen in the first, but will generally ask you to define the limit of the alert. In the last field, you will need to define the value you want to trigger the alert.
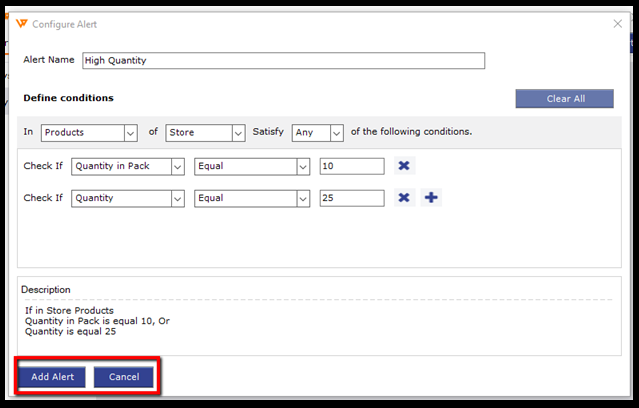
9. You will notice that the description of your alert will populate as you build it.

10. You can also add multiple conditions to an alert by clicking the + icon on the right. Remember if you have selected All above, then all conditions must be met for the alert to activate.
11. Once you are happy with how your new alert is defined, click Add Alert. If you want to start over click Cancel.
Triggering Alerts
Alerts will trigger when the associated action happens. For example, product levels below a defined amount. You will know if an alert has been triggered because there will be a number overlapping with the bell icon.