Overview:
Payment processing in Webgility Desktop allows you to integrate your Authorize.net, PayPal, or Paypal PayFlow account. This is so it can process payments offline for all orders or just for those orders that have been created manually in Webgility Desktop.
Steps to follow:
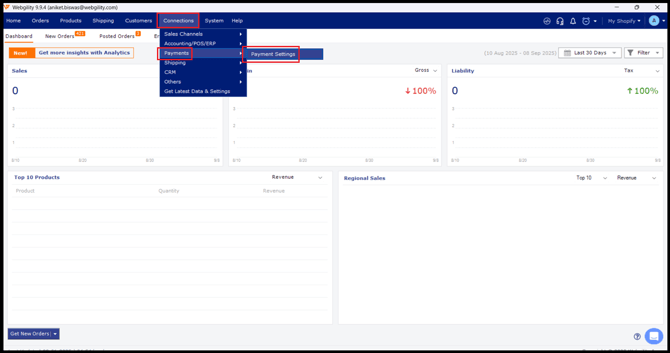
1. To get started, go to Connections > Payments > Payment Settings.
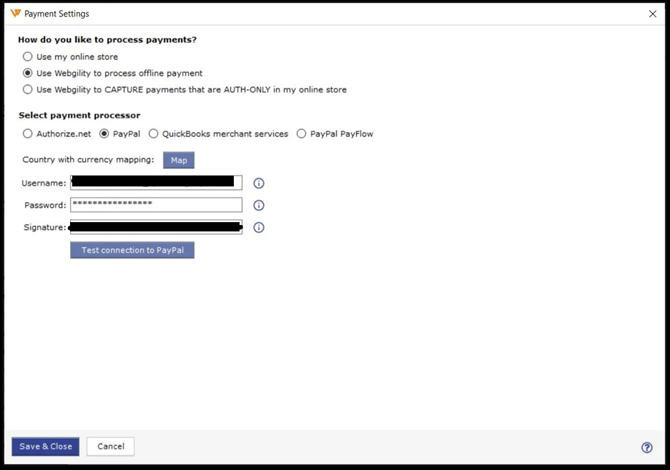
2. Select how you'd like to process payments either "Use Webgility to process offline payments" OR "Use Webgility to CAPTURE payments that are AUTH-ONLY in my Sales Channel", then it will allow you to configure the supported Payment Processors integation

3. For example if you select 'Use Webgility to Process Offline Payment', you will need to select the payment processor and enter your account details. Then, click Test Connection. Upon successful login, you'll receive a confirmation message authorizing Webgility Desktop to access your payment processing account.
4. Selling internationally? You can also map currency for international transactions from this view. Select Map Currency and set up the currency.