Creating Variants from QuickBooks Desktop to Shopify with Webgility Desktop
You can create/transfer missing item variants from QuickBooks Desktop to Shopify by using the Webgility Desktop.
The settings below are for enabling product variant options inside Product settings.
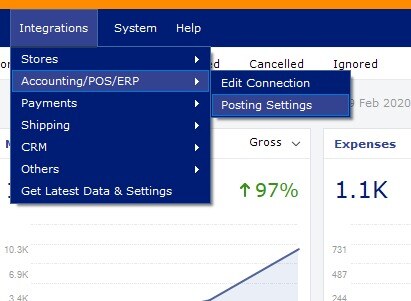
1. Navigate to Integrations> Accounting/POS/ERP> Posting Settings.
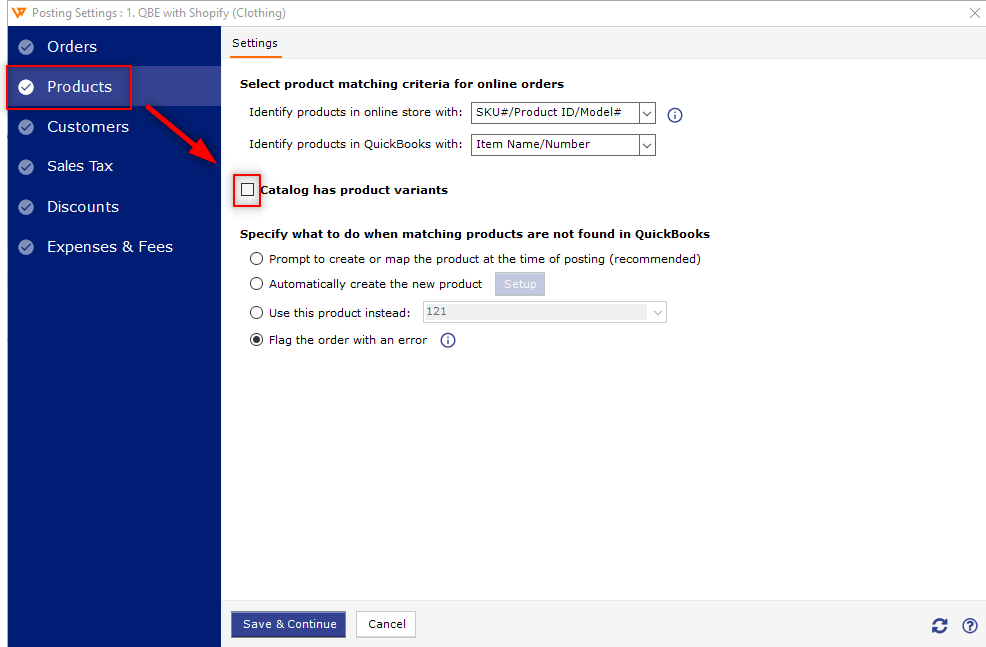
2. Select the Products option from the left navigation panel of the posting settings.
Enable Catalogue has Product Variants check box.
3. You’ll get multiple options to configure the product variants depending on the ‘Special Characters’ you need to assign to separate the attributes of the variants based on Color, Size, Weight, etc.
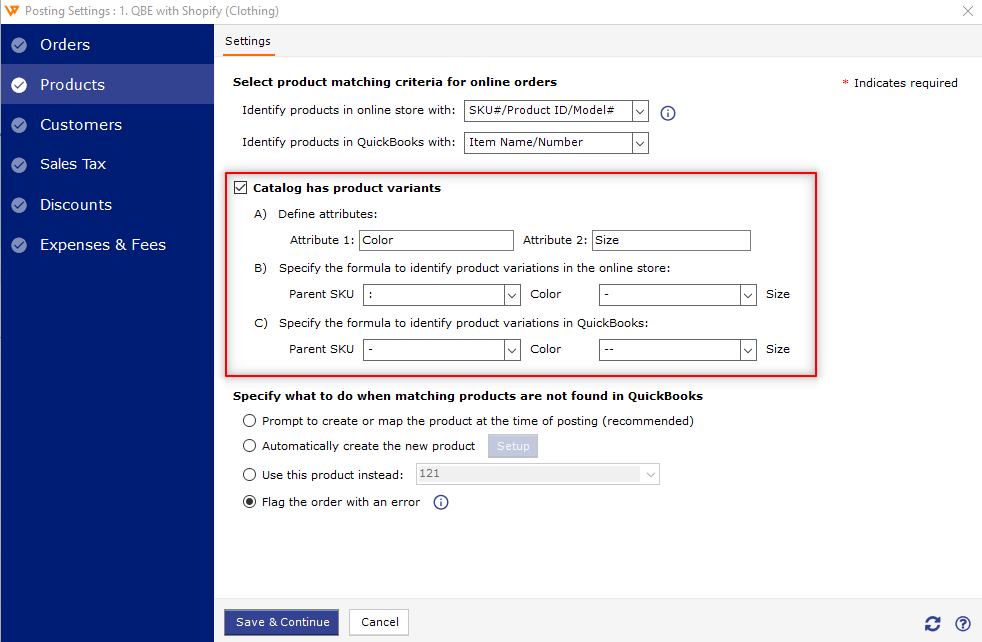
I. Under Section A, you need to specify the attributes of the product that you have listed inside QuickBooks such as Color, Size, Weight, etc.

II. Under Section B, you need to specify the formula to identify the product variation in the online store by using special characters (-, - -, +, >, . & / ).

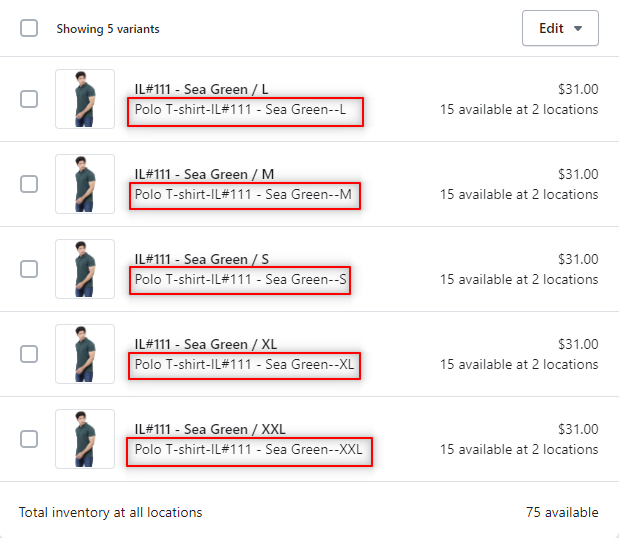
For Reference: The Item variant’s SKU# is listed in the Shopify Store.
III. Under Section C, you will need to specify the formula to identify the product variation in the QuickBooks by using special characters (-, - -, +, >, . & / ).

For Reference: The Items Name/Number is what is listed in QuickBooks Desktop

4. Navigate to the Products menu of Webgility Desktop from the dashboard screen.
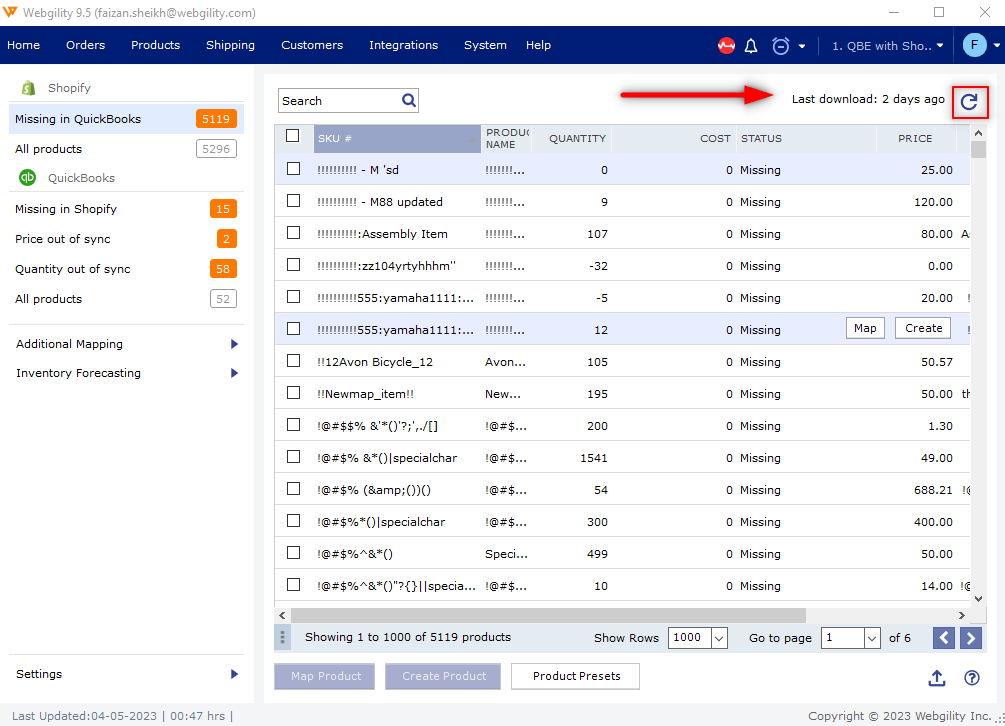
5. From the top right corner, confirm the last download date of the Products Catalog or select the ‘Refresh’ Icon to download the product details from QuickBooks Desktop & Shopify store to update to the latest product catalog information.
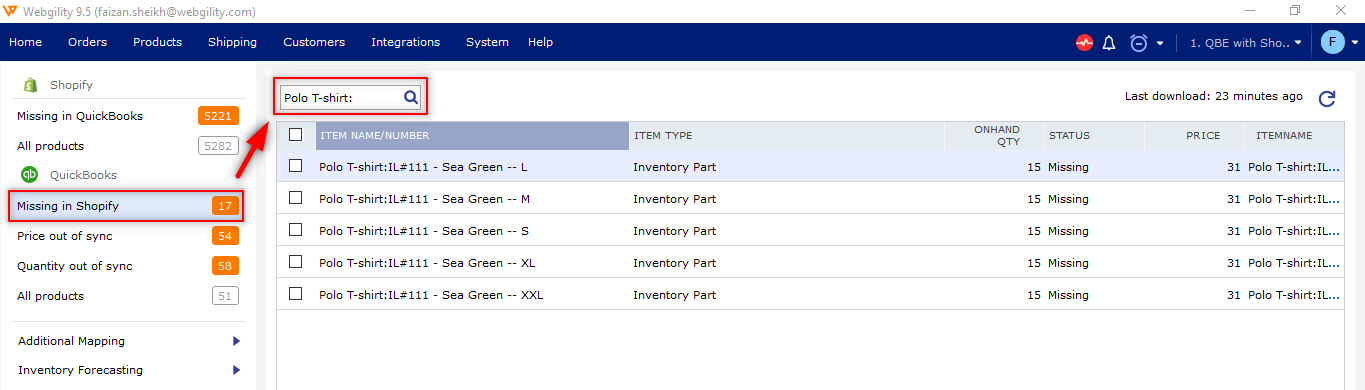
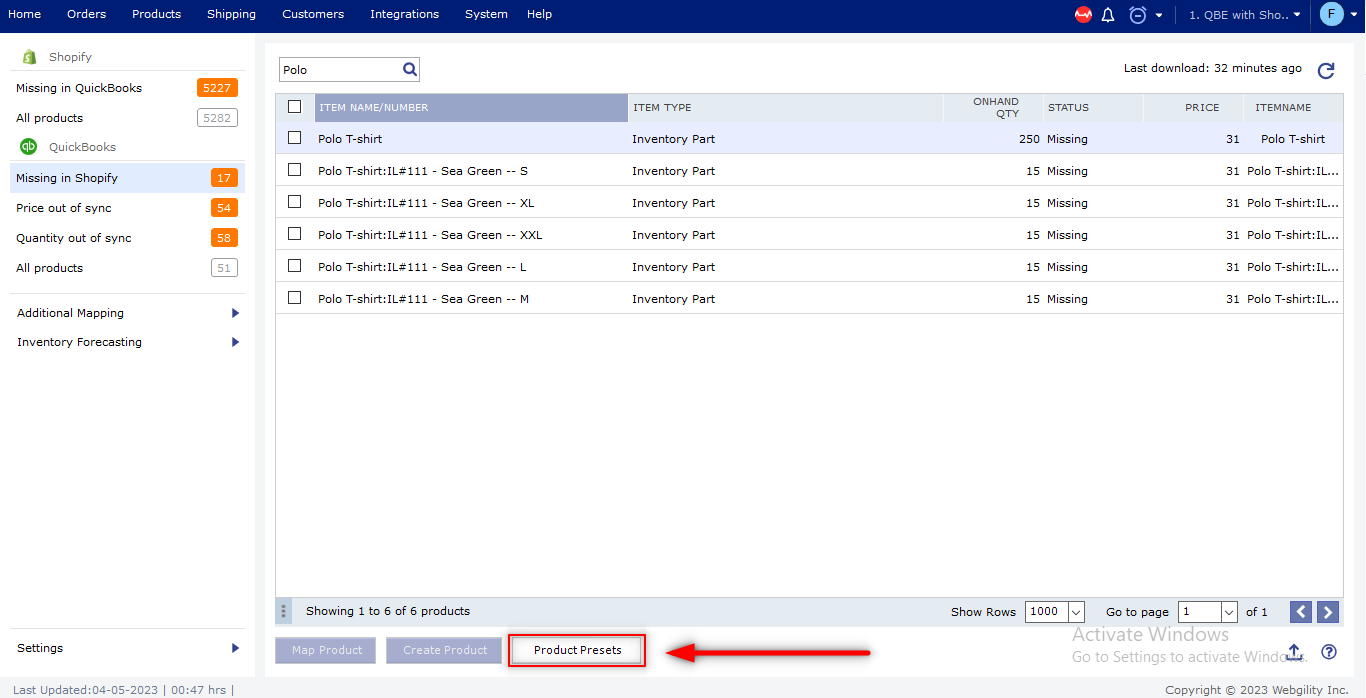
6. Go to the Missing in Shopify option from the left panel for the QuickBooks Products section. Search for the items that you want to create or transfer as a variant.
7. Select all the product variants and click Create Product from the bottom of the screen.
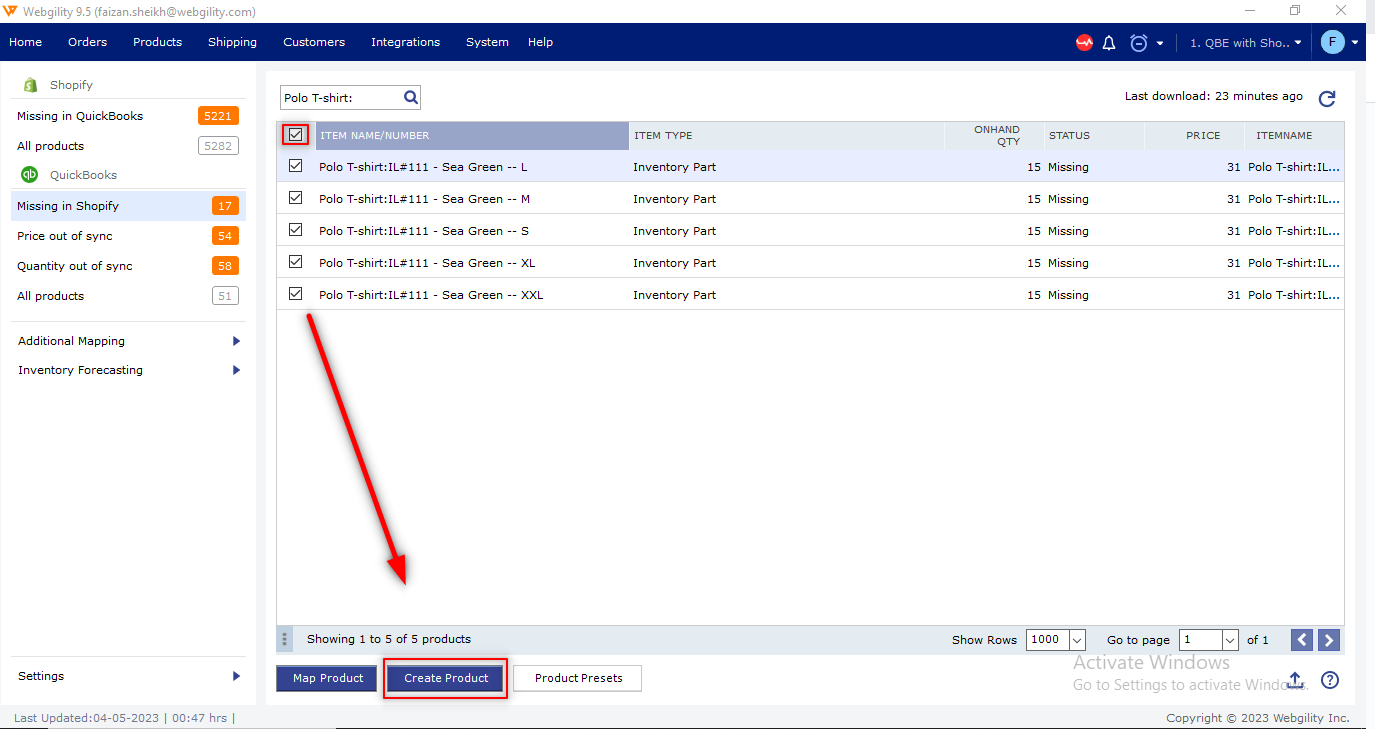
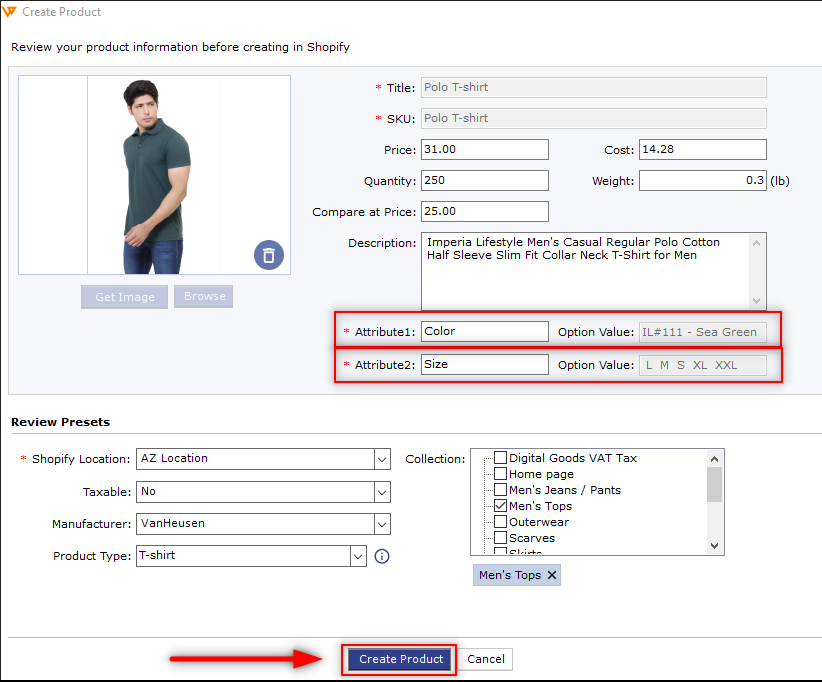
8. You’ll see a new Create Product tab populated with the complete details of the item along with variants.
I. Before creating the variant in Shopify, you may review the product information. The Title & SKU# fields are grayed out, Webgility will use the same Product title & SKU# while creating products for Shopify, so the product will match with the QuickBooks item.
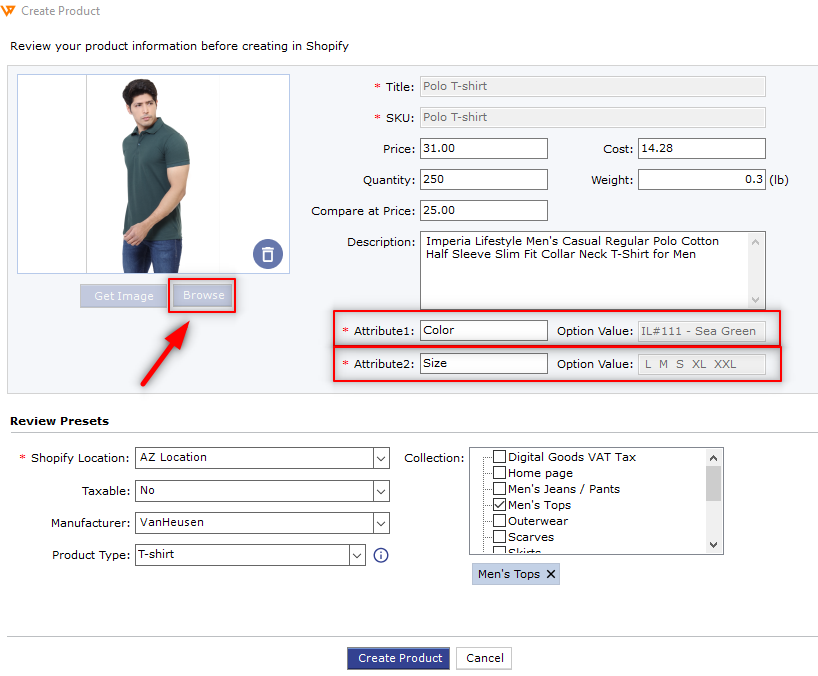
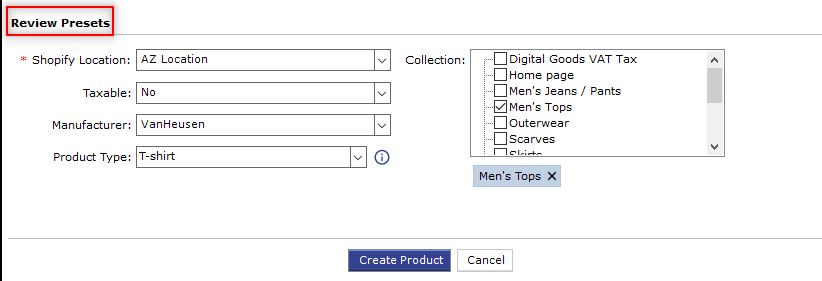
II. Review Presets option points to the Shopify store. This shows what Shopify location, product type, manufacturer, and collection details you want to define while creating products.
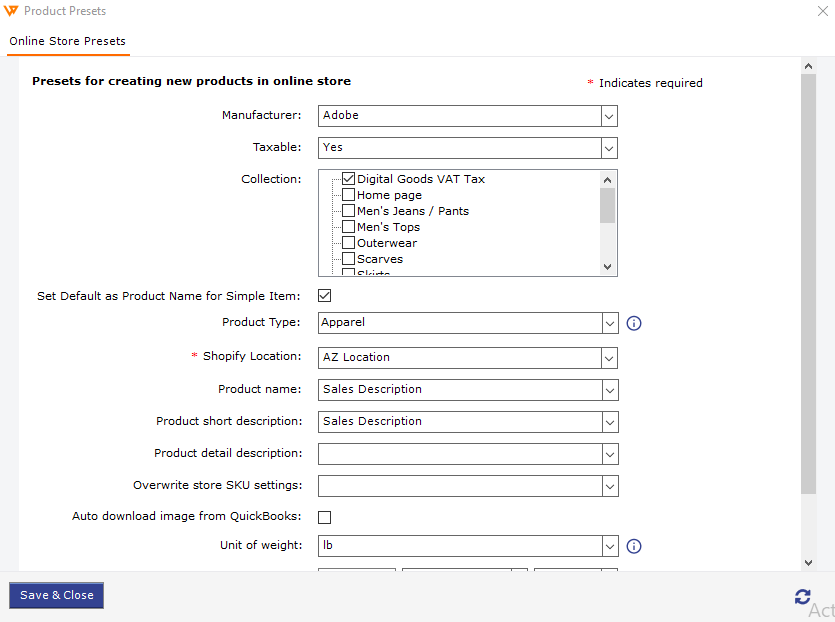
III. To configure the default settings of the Review Preset. Select the Product Presets from the bottom center of the Product Module menu.
9. Once all the Product details have been verified, select Create Product from the bottom center.
Webgility Desktop will create a new product with multiple variants at the Shopify Store.
10. You can view the created product at Shopify Store.
