Overview:
To link Webgility with X-Cart 5, begin by selecting X-Cart 5 as your sales channel type in Webgility. You'll need details from your X-Cart 5 account—specifically the Extension URL and Access Key—which you can find in the My Apps section of X-Cart. Enable the Webgility app, copy these details, and paste them into Webgility to establish the connection. Once connected, enter your business contact information and link any accounting or POS systems to complete the setup. This integration allows for a streamlined and efficient connection between your X-Cart 5 and Webgility.
Steps to connect X-Cart 5 with Webgility:
1. Start the Connection Process
-
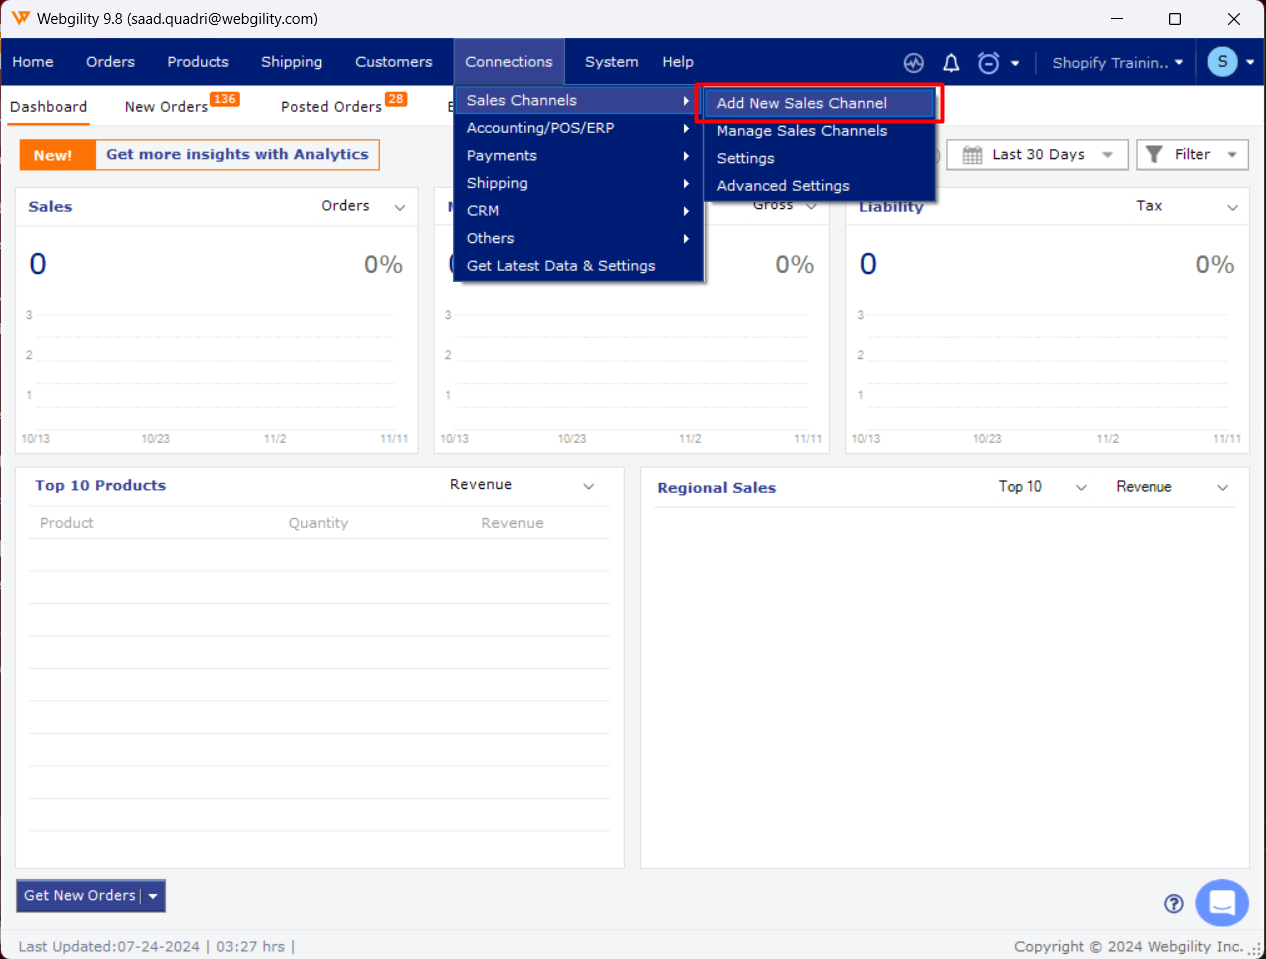
If this is your first sales channel in Webgility, you’ll see a prompt to Add New Sales channel after logging in.
-
For additional sales channels, go to Integrations >Sales Channels > Manage Sales Channels.
2. Set Up Your Sales Channel in Webgility
-
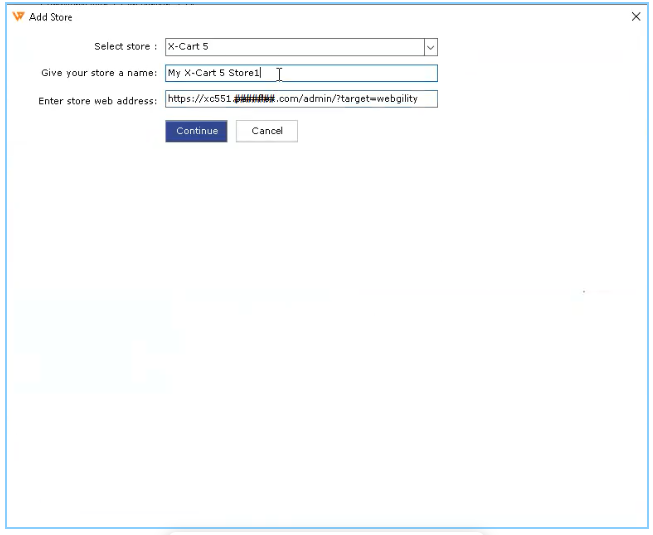
In the Add Sales Channel screen, select X-Cart 5 as the sales channel type, give it a name, and enter the sales channel's web address.
3. Enter Connection Details
-
Next, you’ll be asked to provide the Webgility Extension URL, admin username, and Access Key.

4. Find Required Details in X-Cart 5
-
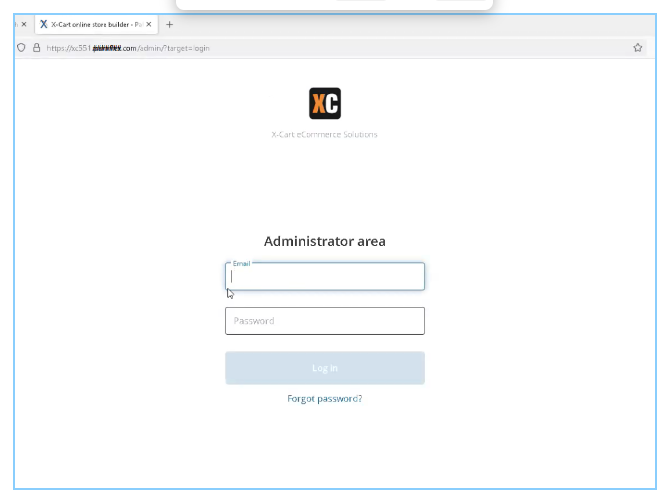
Log into your X-Cart 5 account as an admin.
-
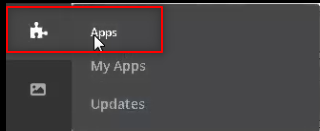
Go to My Apps on the left menu and search for the Webgility app.
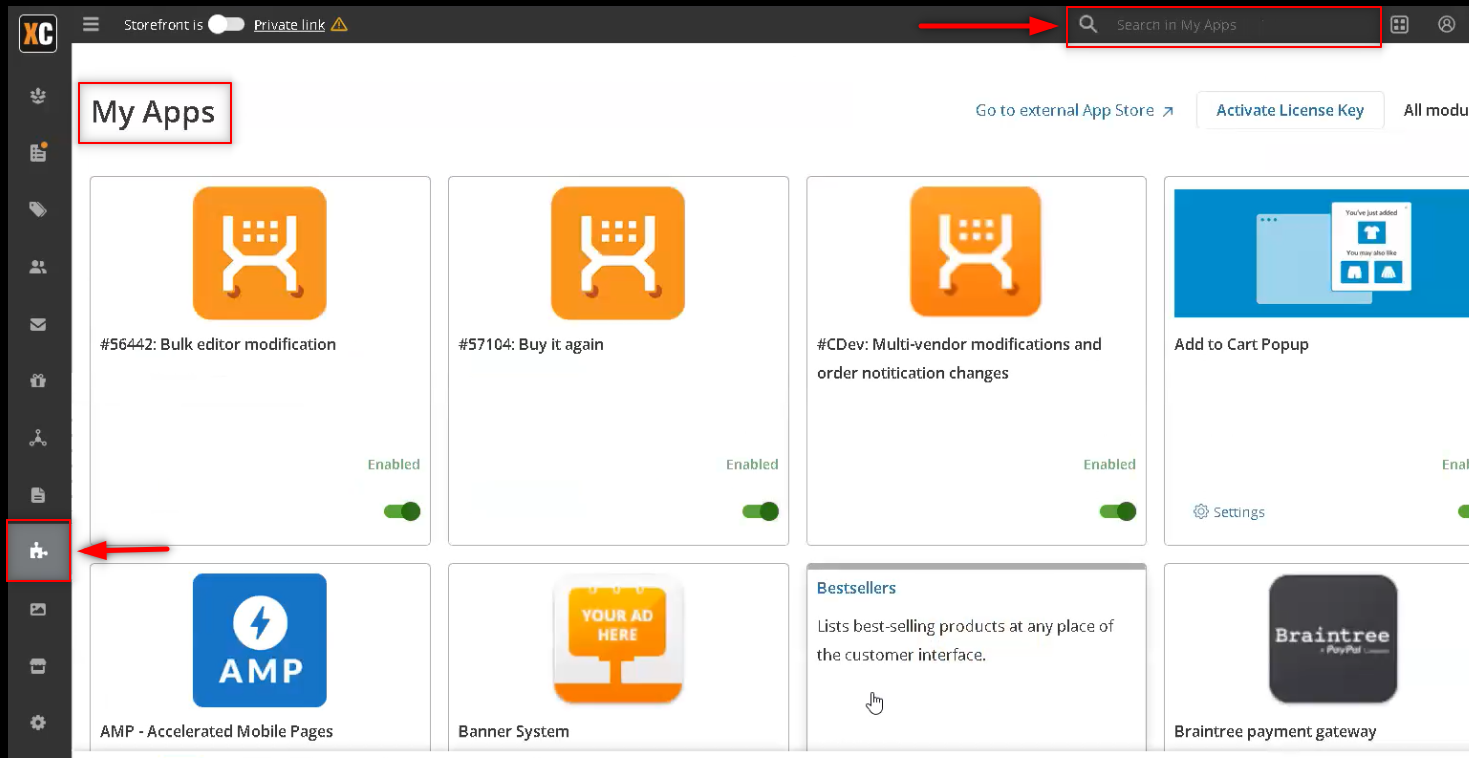
-
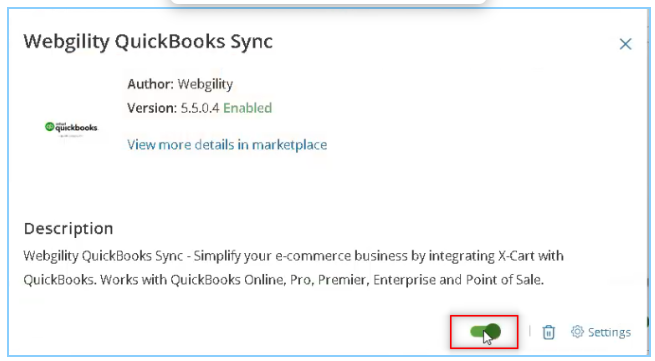
Enable the Webgility app for X-Cart, then open Settings.
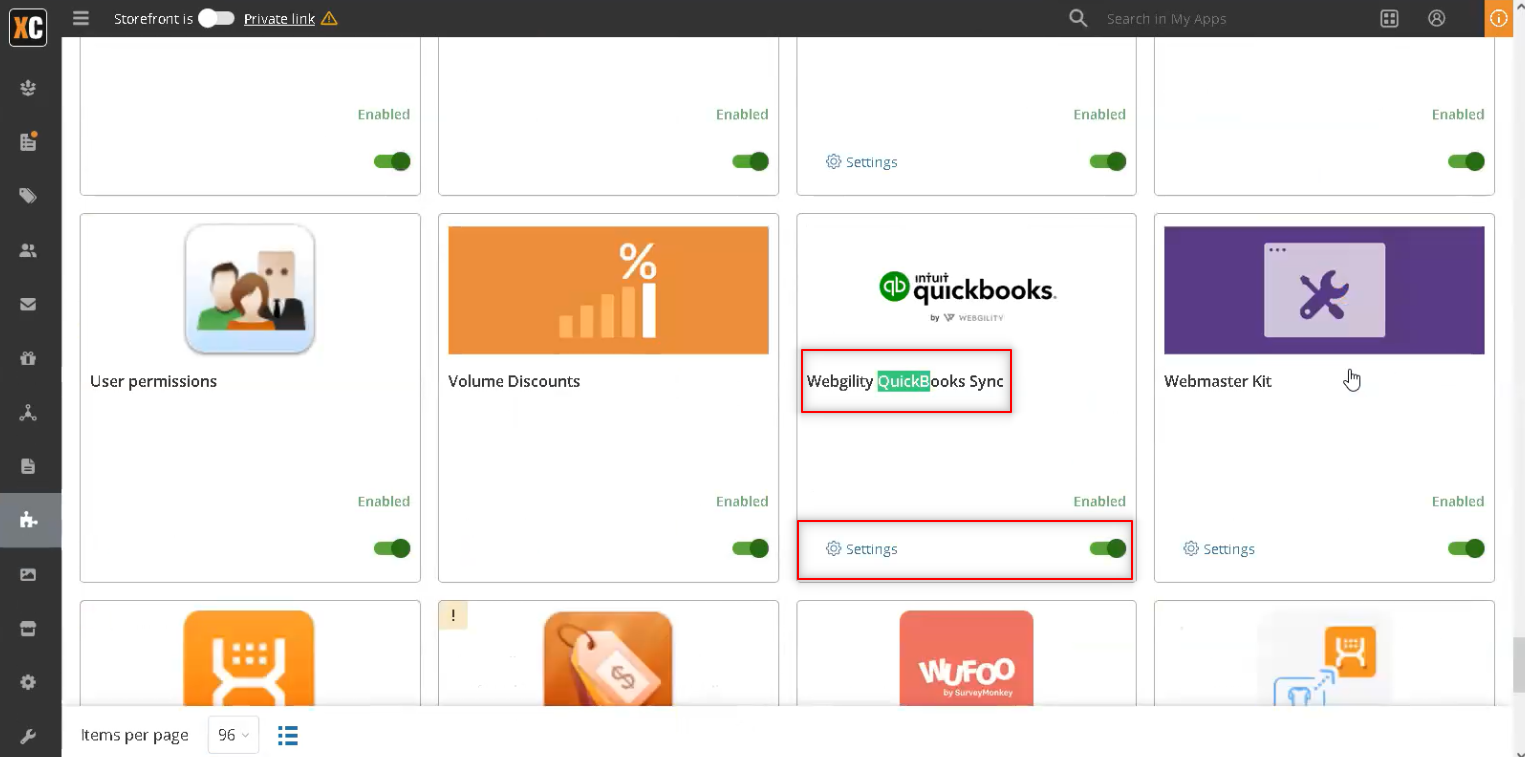
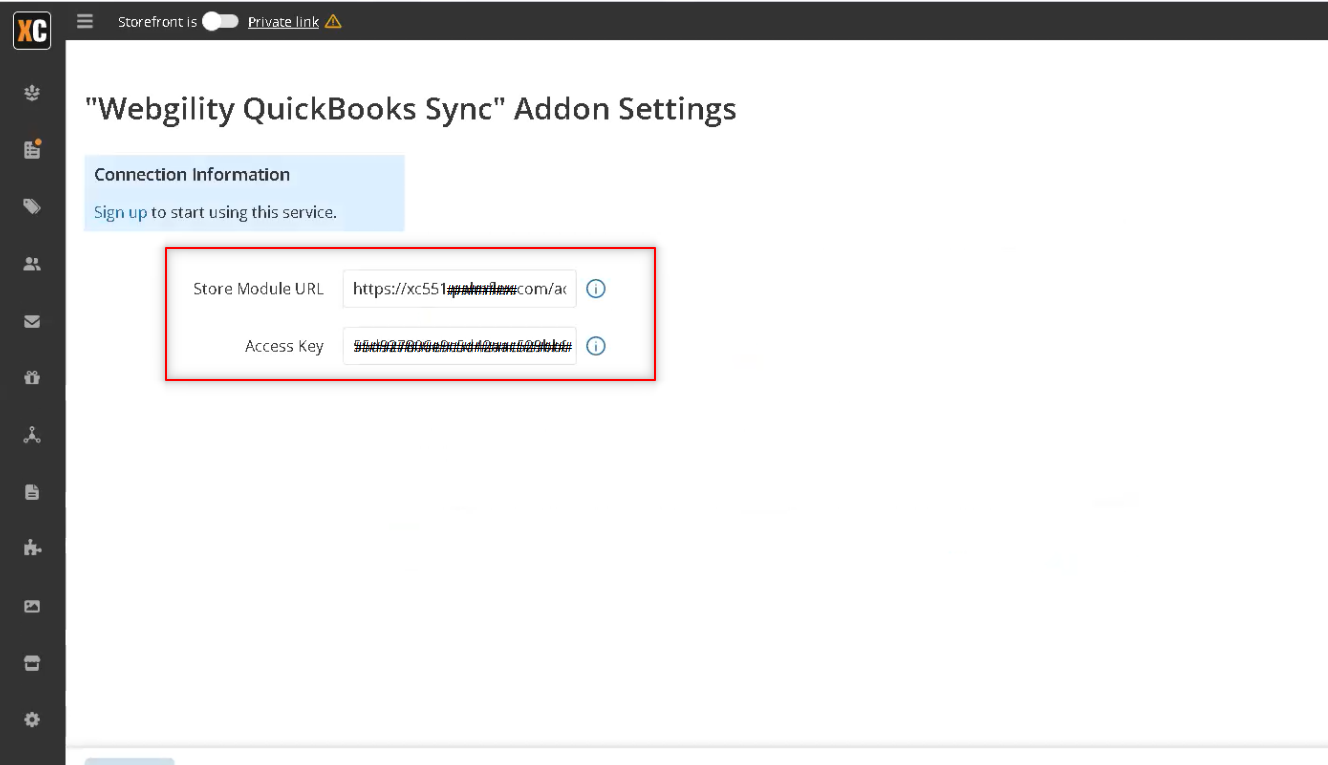
- Copy the Extension URL and Access Key displayed in the settings and paste them into the Webgility connection page.
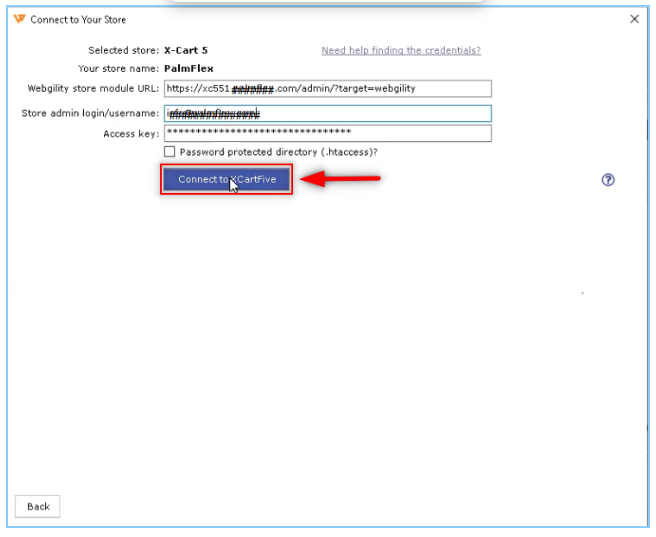
5. Complete the Connection
-
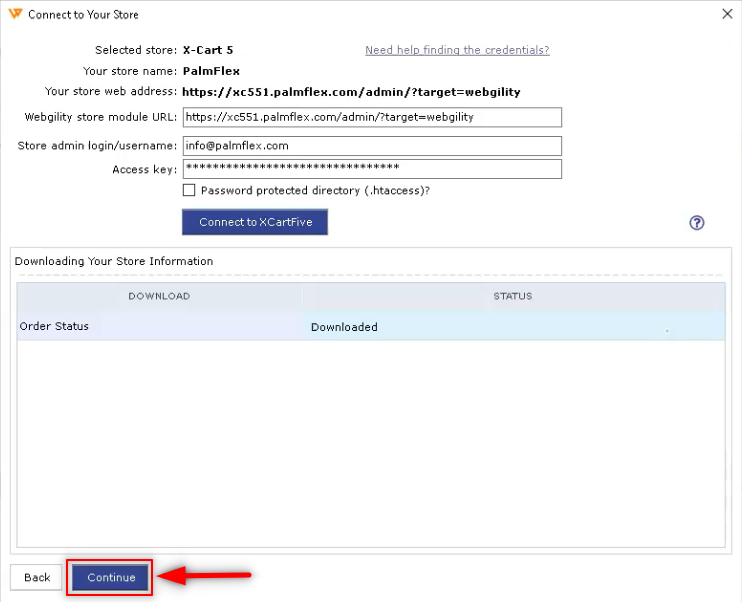
Click Connect to X-Cart 5. Once connected, select Continue at the bottom left of the screen.
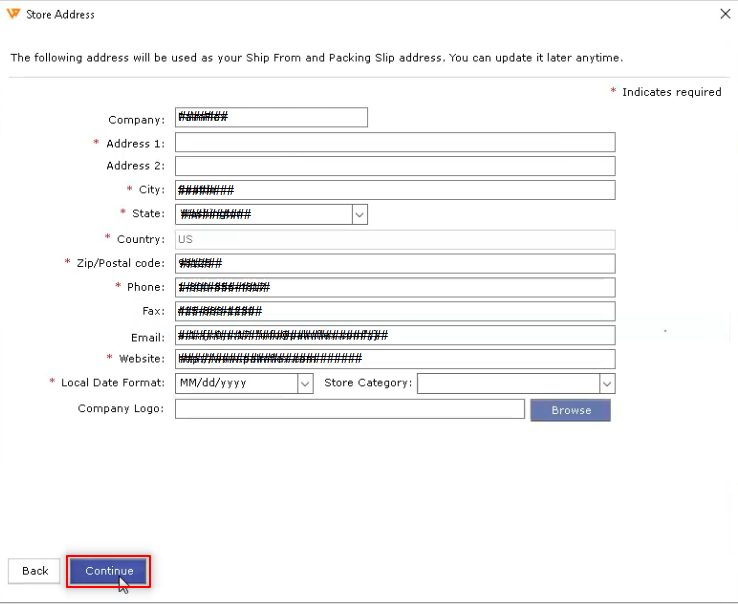
-
Enter your business contact information; fields marked with a red asterisk (*) are required.
6.Connect Your Accounting or POS System
-
Now, connect your accounting, ERP, or POS system to Webgility.
If you have any questions or need more help, please contact our support team.